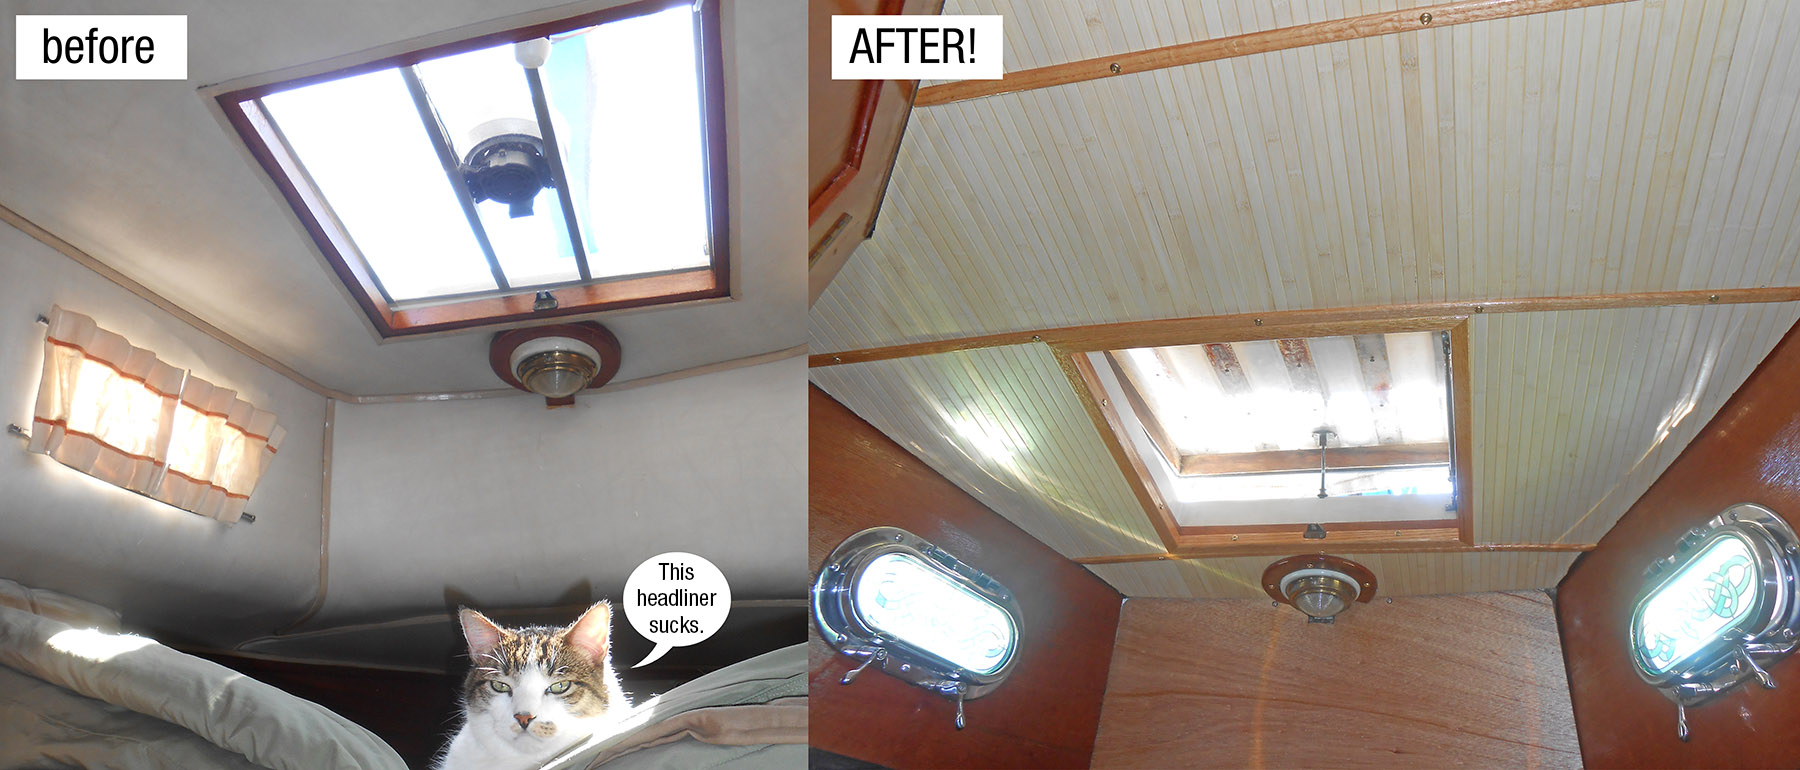
This past weekend marked the completion of the new headliner (cue trumpets), a much awaited milestone indeed! I could lie and say we did it all in a few weekends with minimal effort and planning, but nothing could be further from the truth. It was tricky and there were several setbacks along the way, but having a classy looking overhead that is both easily removable (for deck maintenance) and easy on the eyeballs is reward enough.
The fictitious “Nauga” was part of a 1960s ad campaign for Naugahyde.
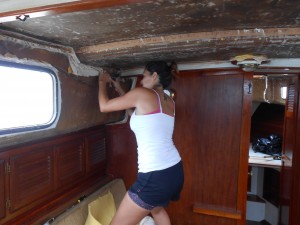
First things first – the DEMOLITION! We had the great intention of carefully removing each headliner section to preserve for template making…a lovely thought, but we quickly learned it’s impossible. The headliner was affixed to the cabin top and sides with roughly 1,000,000 staples, most of which were rusty, brittle and stubborn. The staples numbered as many as stars in the Milky Way. Seriously! It took the better part of 2 days to remove them, our hands tender from prolonged plier gripping. We surmised that the original installer must have been paid per staple. Curse you Staple Man!
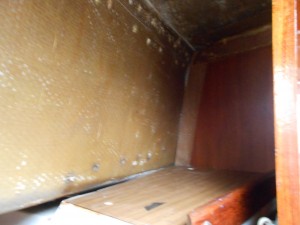
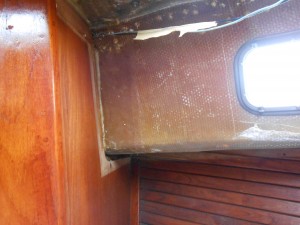
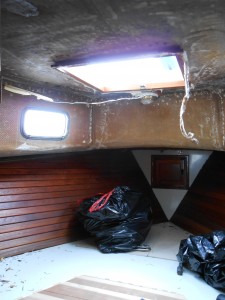
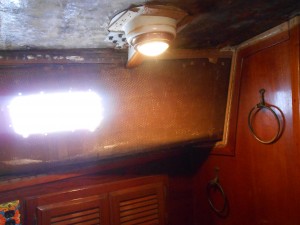
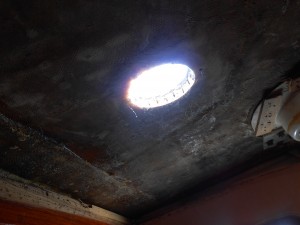
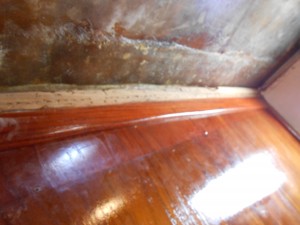
In the wake of battle, we found mold in spots, mummified insects and several suspect areas where thru-bolted hardware had likely been leaking for decades. These problem areas needed to be addressed before going further but with the headliner out is was considerably less complicated to do so. Additionally, It was a good time to remove the handrails and secure them with proper SS washers and fasteners and the dorade boxes had to come of to access the brass thru-deck flanges underneath.
In the meantime, I scoured the web for inspiration and information for a handsome and practical headliner replacement. Of course in our case, it was really a headliner/cabin side/underdeck replacement – given the original headliner wrapped around the cabin sides and underneath the side deck. My eureka moment came when I happened upon John Stone’s Far Reach Blog. After reading over his wonderfully detailed process write up a few times my tenuous grasp on what needed to be done turned into an informed confidence and know-how. Without it, I think I’d still be doodling on graph paper and scratching my head.
Using Mr. Stone’s ideas I went to installing overhead cleats to screw the new headliner panels into. I ripped 3/4″ marine ply into several 1.5″ strips and pre-coated them with Smith’s Penetrating epoxy. While those cured, I roughed up the FG where the cleats would be glued with 50 grit and cleaned with acetone. Some of the gel goat on the stringer tabs needed to be ground off before cleats could be glued but the disc grinder made quick, albeit messy work of it. To affix the cleats, I used some 1.5″ self-taping screws and liberal amounts of PL Premium. Once the PLP cured I removed the screws and filled the holes with epoxy.
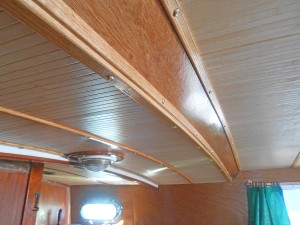
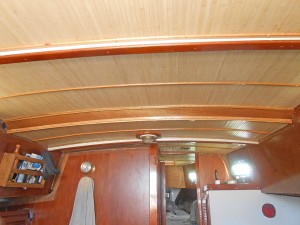
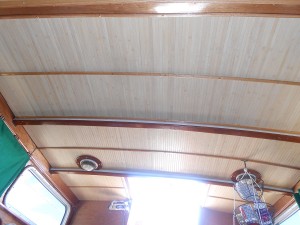
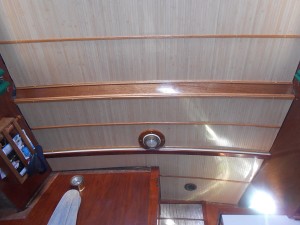
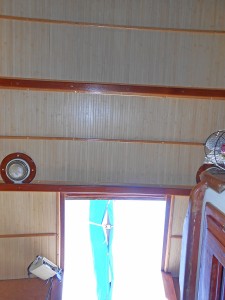
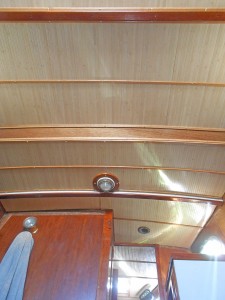
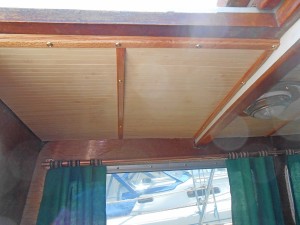
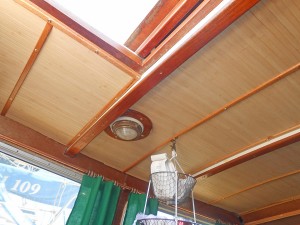
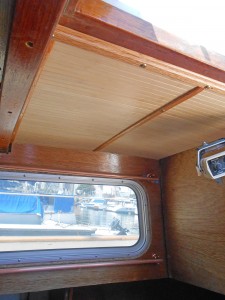
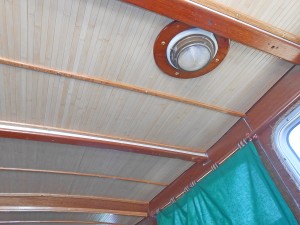
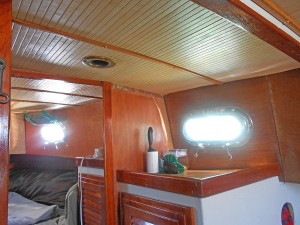
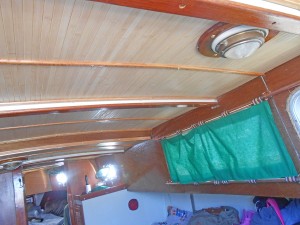
After weighing the pros/cons of a few different materials we found a promising product over at CaliBamboo made of thin, finished sanded bamboo paneling on a mesh-backed 4′ x 8′ roll. After estimating the square footage needed I ordered 6 rolls and went to work making templates out of cardboard. When the bamboo arrived it was obvious that the mesh was not rigid enough to hold the form of the cabin top curvature – in other words, it sagged a bit during the rough install. The simple solution was to cut matching panels from luan and glue the bamboo panel atop those to add rigidity and hug the curvature of the cabin top. In the end, there were 14 panels making up the new headliner – coated with clear polyurethane.
(Unfortunately, CaliBamboo has since discontinued the 4′ X 8′ bamboo rolls I used. They do however now offer 1/4″ bamboo plywood with the same planked look and no need to double-up with luan backing.)
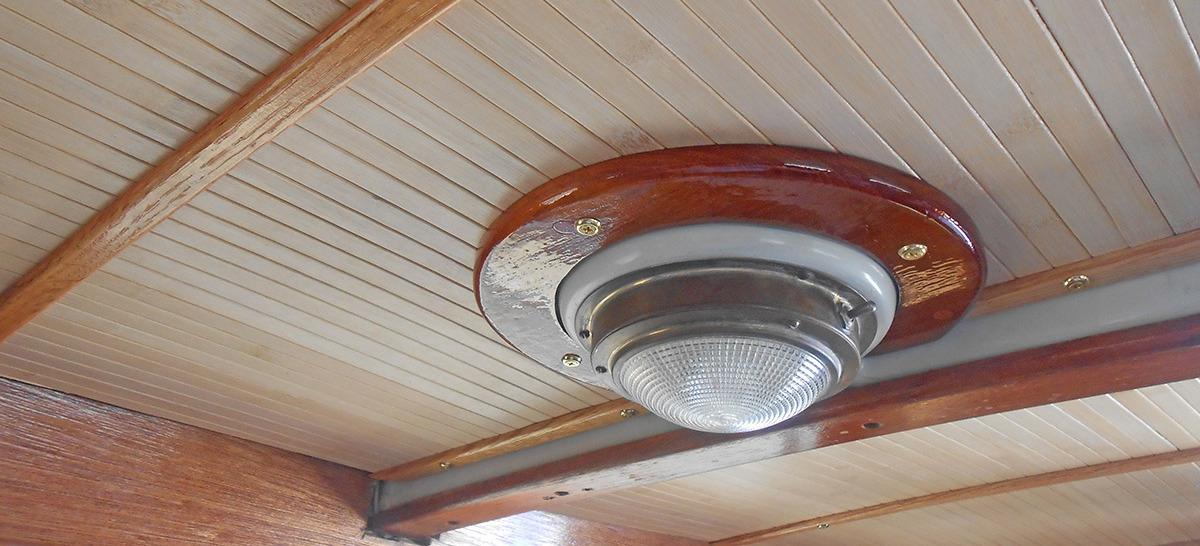
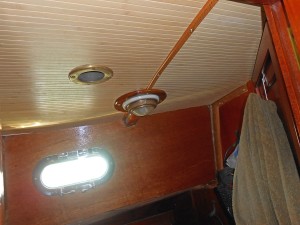
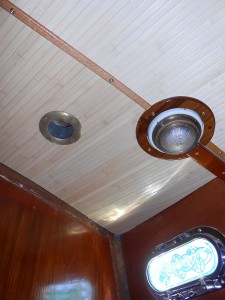
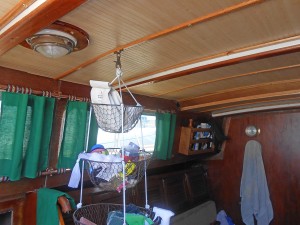
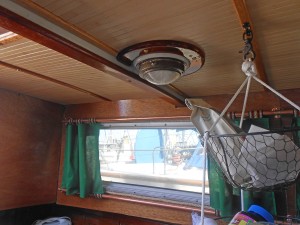
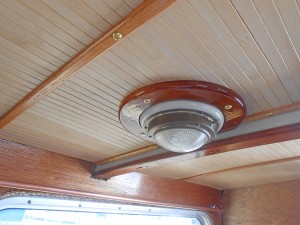
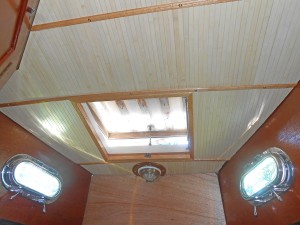
Holding it all up are 1″ red oak battens fixed through the panel edges and into the 3/4″ overhead cleats with #6 brass finish screws and #6 finish washers. I found the battens pre-made at our local Ganahl Lumber for a reasonable price, freeing me up from lots of work with the router. Most sections have 3 battens holding them up – forward, middle and aft. Not only do the battens hold the panels securely in place, but they hide any gaps and trim the overhead to the stringers. I tapered the end edges of the battens so they’ll fit snuggly in place once the top cabin side moulding is installed. Once they were all cut and sanded they got a few coats of Epifanes clear varnish. The original teak trim rings for the dome lights had to be shaved of a bit to accommodate the 3/4″ drop in headliner height.
With a 3/4″ gap between the overhead panels and the bare FG cabin top we considered installing some insulation in that space. So far however, that pocket of air has kept the cabin very comfortable in our So. Cal climate. It is nice to know it can be added easily if the need arises, as each section takes less than minute to unscrew and take down.
With the overhead complete I’m moving forward with installing wood panels under the side deck and getting started on the really fun part – ultimately trimming everything together to create a seamless work of wooden art!
Article Courtesy of s/v San Patricio at https://vivasanpatricio.wordpress.com/2015/04/27/reinventing-the-headliner/


Love it!! I knew if I stared at the snot green bare FG long enough, a story of inspiration would come along. Now what wood are you using for the side panels?
Hilary
S/V Mongojo
http://www.sailingwithmongojo.com
Hi Hilary,
We used 1/2″ Marine Grade Mahogany for the cabin sides. It took 5 4′ X 8′ sheets due to having to match the grain directions horizontally.
Also did you remove the ports and rebed? Or cut around them? Looking sweet!
Thanks Hilary!
We replaced all the original fixed ports with NFM opening ports and installed new fixed windows in the main cabin from Bomon. I wrote up the whole process here:
https://vivasanpatricio.wordpress.com/2015/04/26/portholes-cabin-sides/