By Eric of Windsong,
AT LAST…the big windows are FINALLY in! This is a huge step for me, as this particular project was much more involved than I ever expected it to be, and was a crucial step to sealing up the boat. Windows, ports, portlights, deadlights…they have many names; but for now I will just refer to these as windows.
Long time readers of the blog will know that I’ve pondered the question long ago what I will be doing with the large cabin windows. The original ones were very thin acrylic with cheap plastic frames and barely sealed in. They leaked, they cracked, they were overall unsuited for offshore work as I’ve read a few accounts of DE38 windows breaking easily under the pressure of waves. These windows needed an upgrade for safety as much as appearance. I pondered the choices for replacing the windows long ago here: http://www.thequestforwindandwaves.com/?p=227
Since then I have pondered further, and after much research I finally settled on the materials and the method for installing. In the end I decided to make my own windows out of tinted cast acrylic, installed using a fastener-less method with Dow Corning 795. I won’t re-write what has already been written on the subject, so I will just link you to the most important pieces I found that summarizes the research:
1. Maine Sail (link), renown guru of all things sailboats summarizes the choices between lexan and acrylic (plexiglass), the various sealants and methods of installing including the recommendation for not using fasteners. here: http://www.sailnet.com/forums/1000233-post16.html
2. This is an article that many people reference for installing fastener-less windows, aka “Sexy Windows” (click here for original Cruisers Forum discussion). The author originally uses heavy duty 2-sided tape for the installation, but in his notes at the bottom he mentions the current trend of not using the tape, just the sealant: http://www.thecoastalpassage.com/windows.html
3. This is a great article someone pointed me to that details the method of installing the windows using temporary screws to affix them while the sealant dries. I followed these instructions with a few minor variations. I detail some of my installation variations in the picture captions below. http://distributionbizwiz.wordpress.com/2007/09/12/hints-for-replacing-sealing-acrylic-boat-windows/
Using those three links as the basis (and much more forum and article research), I went ahead with creating my windows. Unfortunately, this project was a great example of how order of operations creates big problems. For example, before any windows could be installed, I needed to settle how I will be rebuilding the cabin liner because otherwise I wouldn’t be able to trace out the window openings. That process itself was a huge project because I had no idea how I planned on doing the cabin liner, so I had to make a lot of final decisions in the process. I will write that process up once I am further down the line on it, but will preview it below in the pictures.
At last these windows are sealed up, and a lot of progress can now be made inside the boat. The boat interior was practically outside and exposed to the weather since those windows are so huge. Now I can finally keep the interior clean for projects that require it, and am no longer at the mercy of the weather to work inside the boat.
As with my last few posts, below are a bunch of pictures with the story in the captions.
-
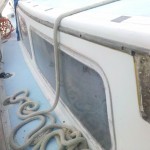
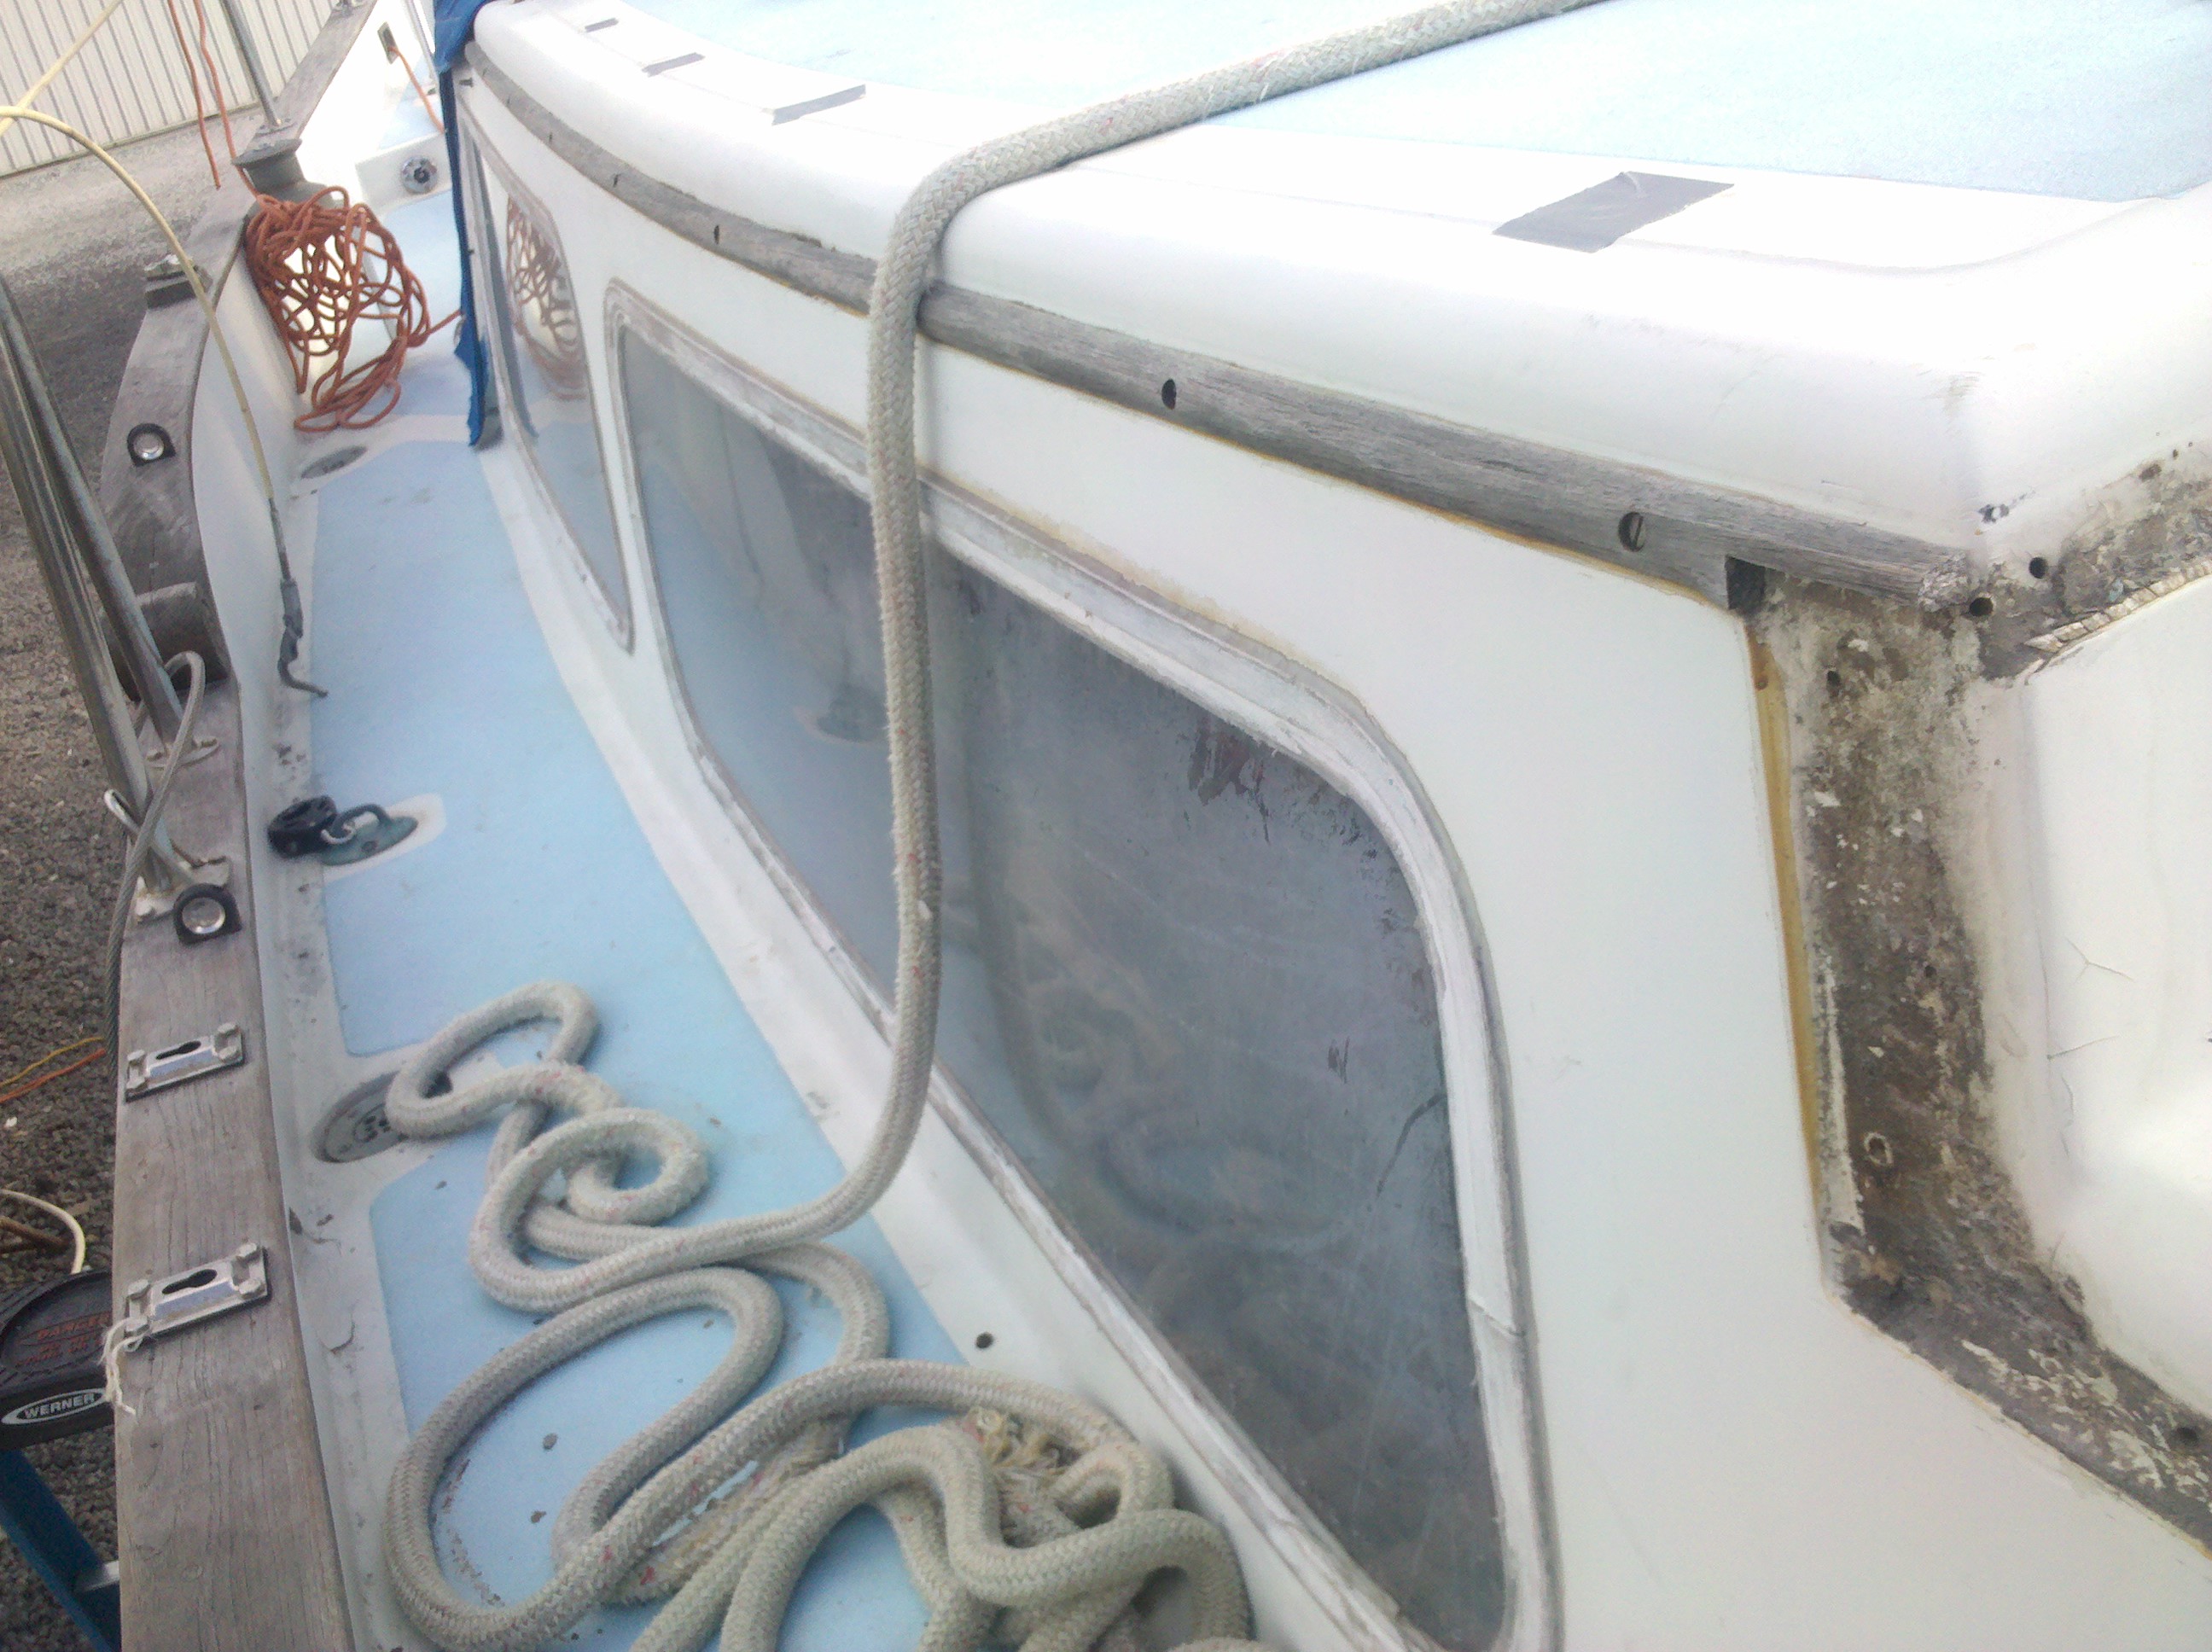
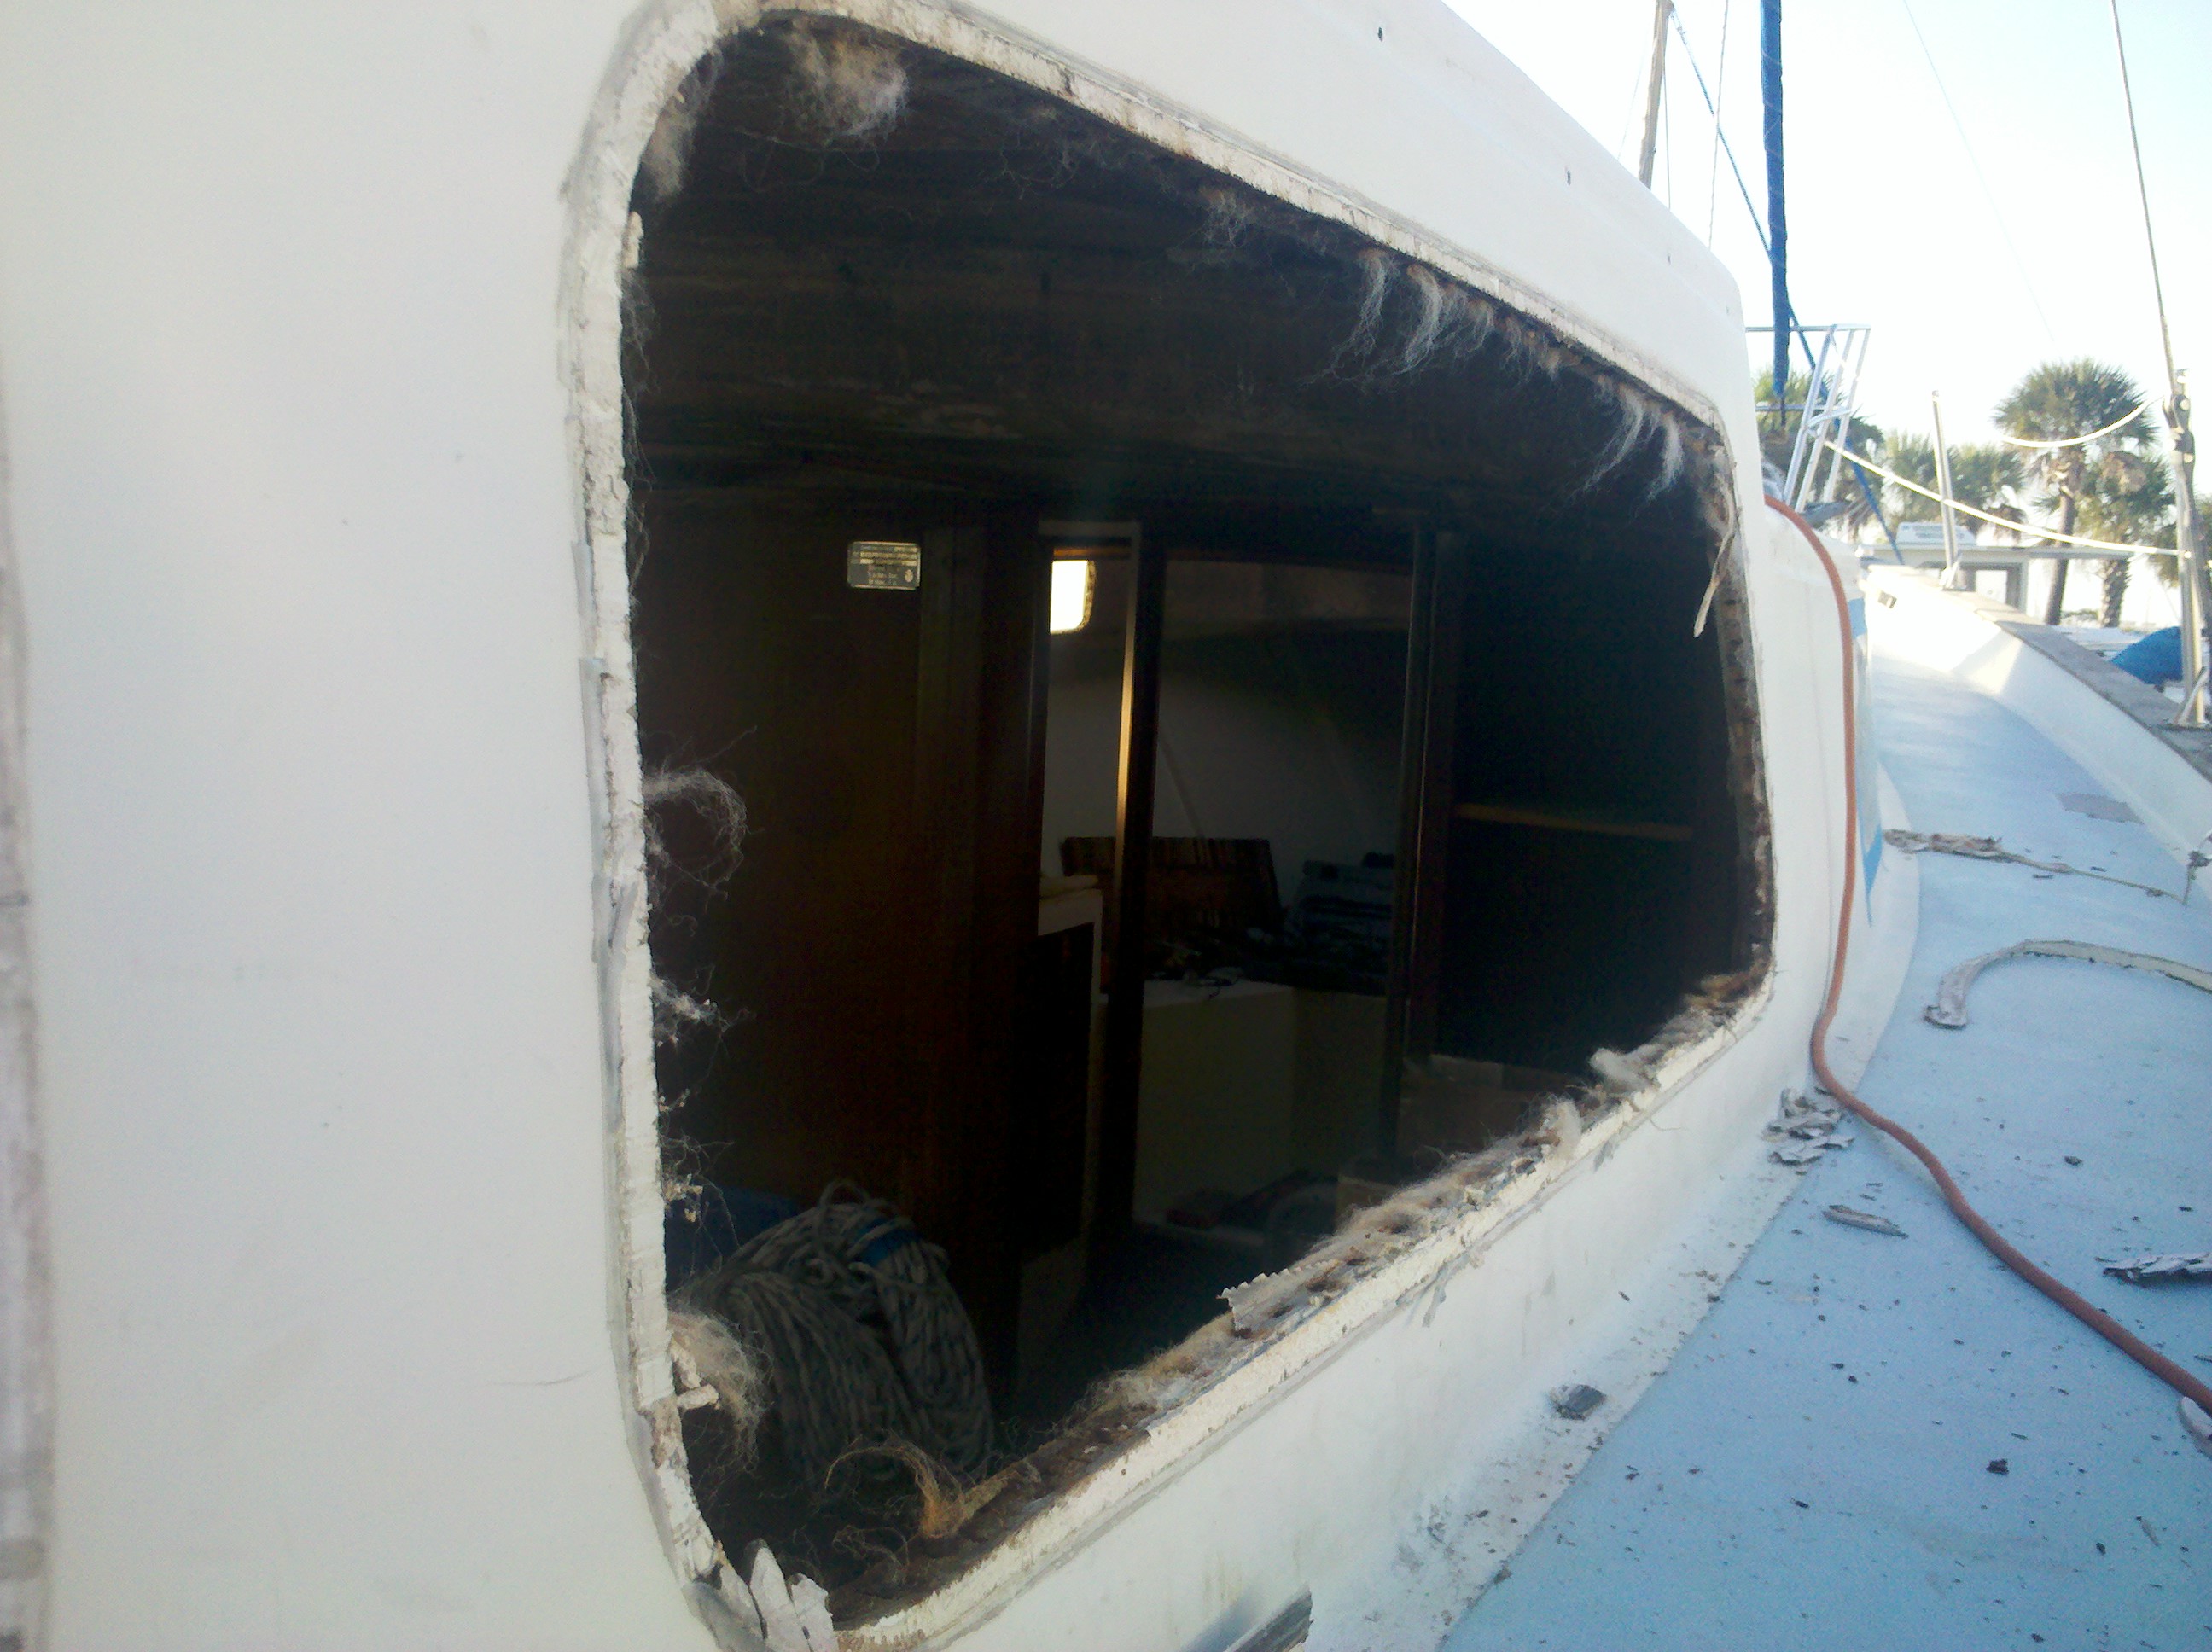
- Original windows. Cheap plastic frames, very thin acrylic, leaked badly.
-
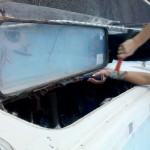
- Removal of original windows. Had to chip away at the frames with a chisel.

-
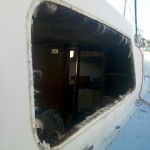
- Window removed. Old headliner staples and mess left in the core.
-
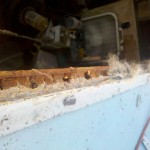
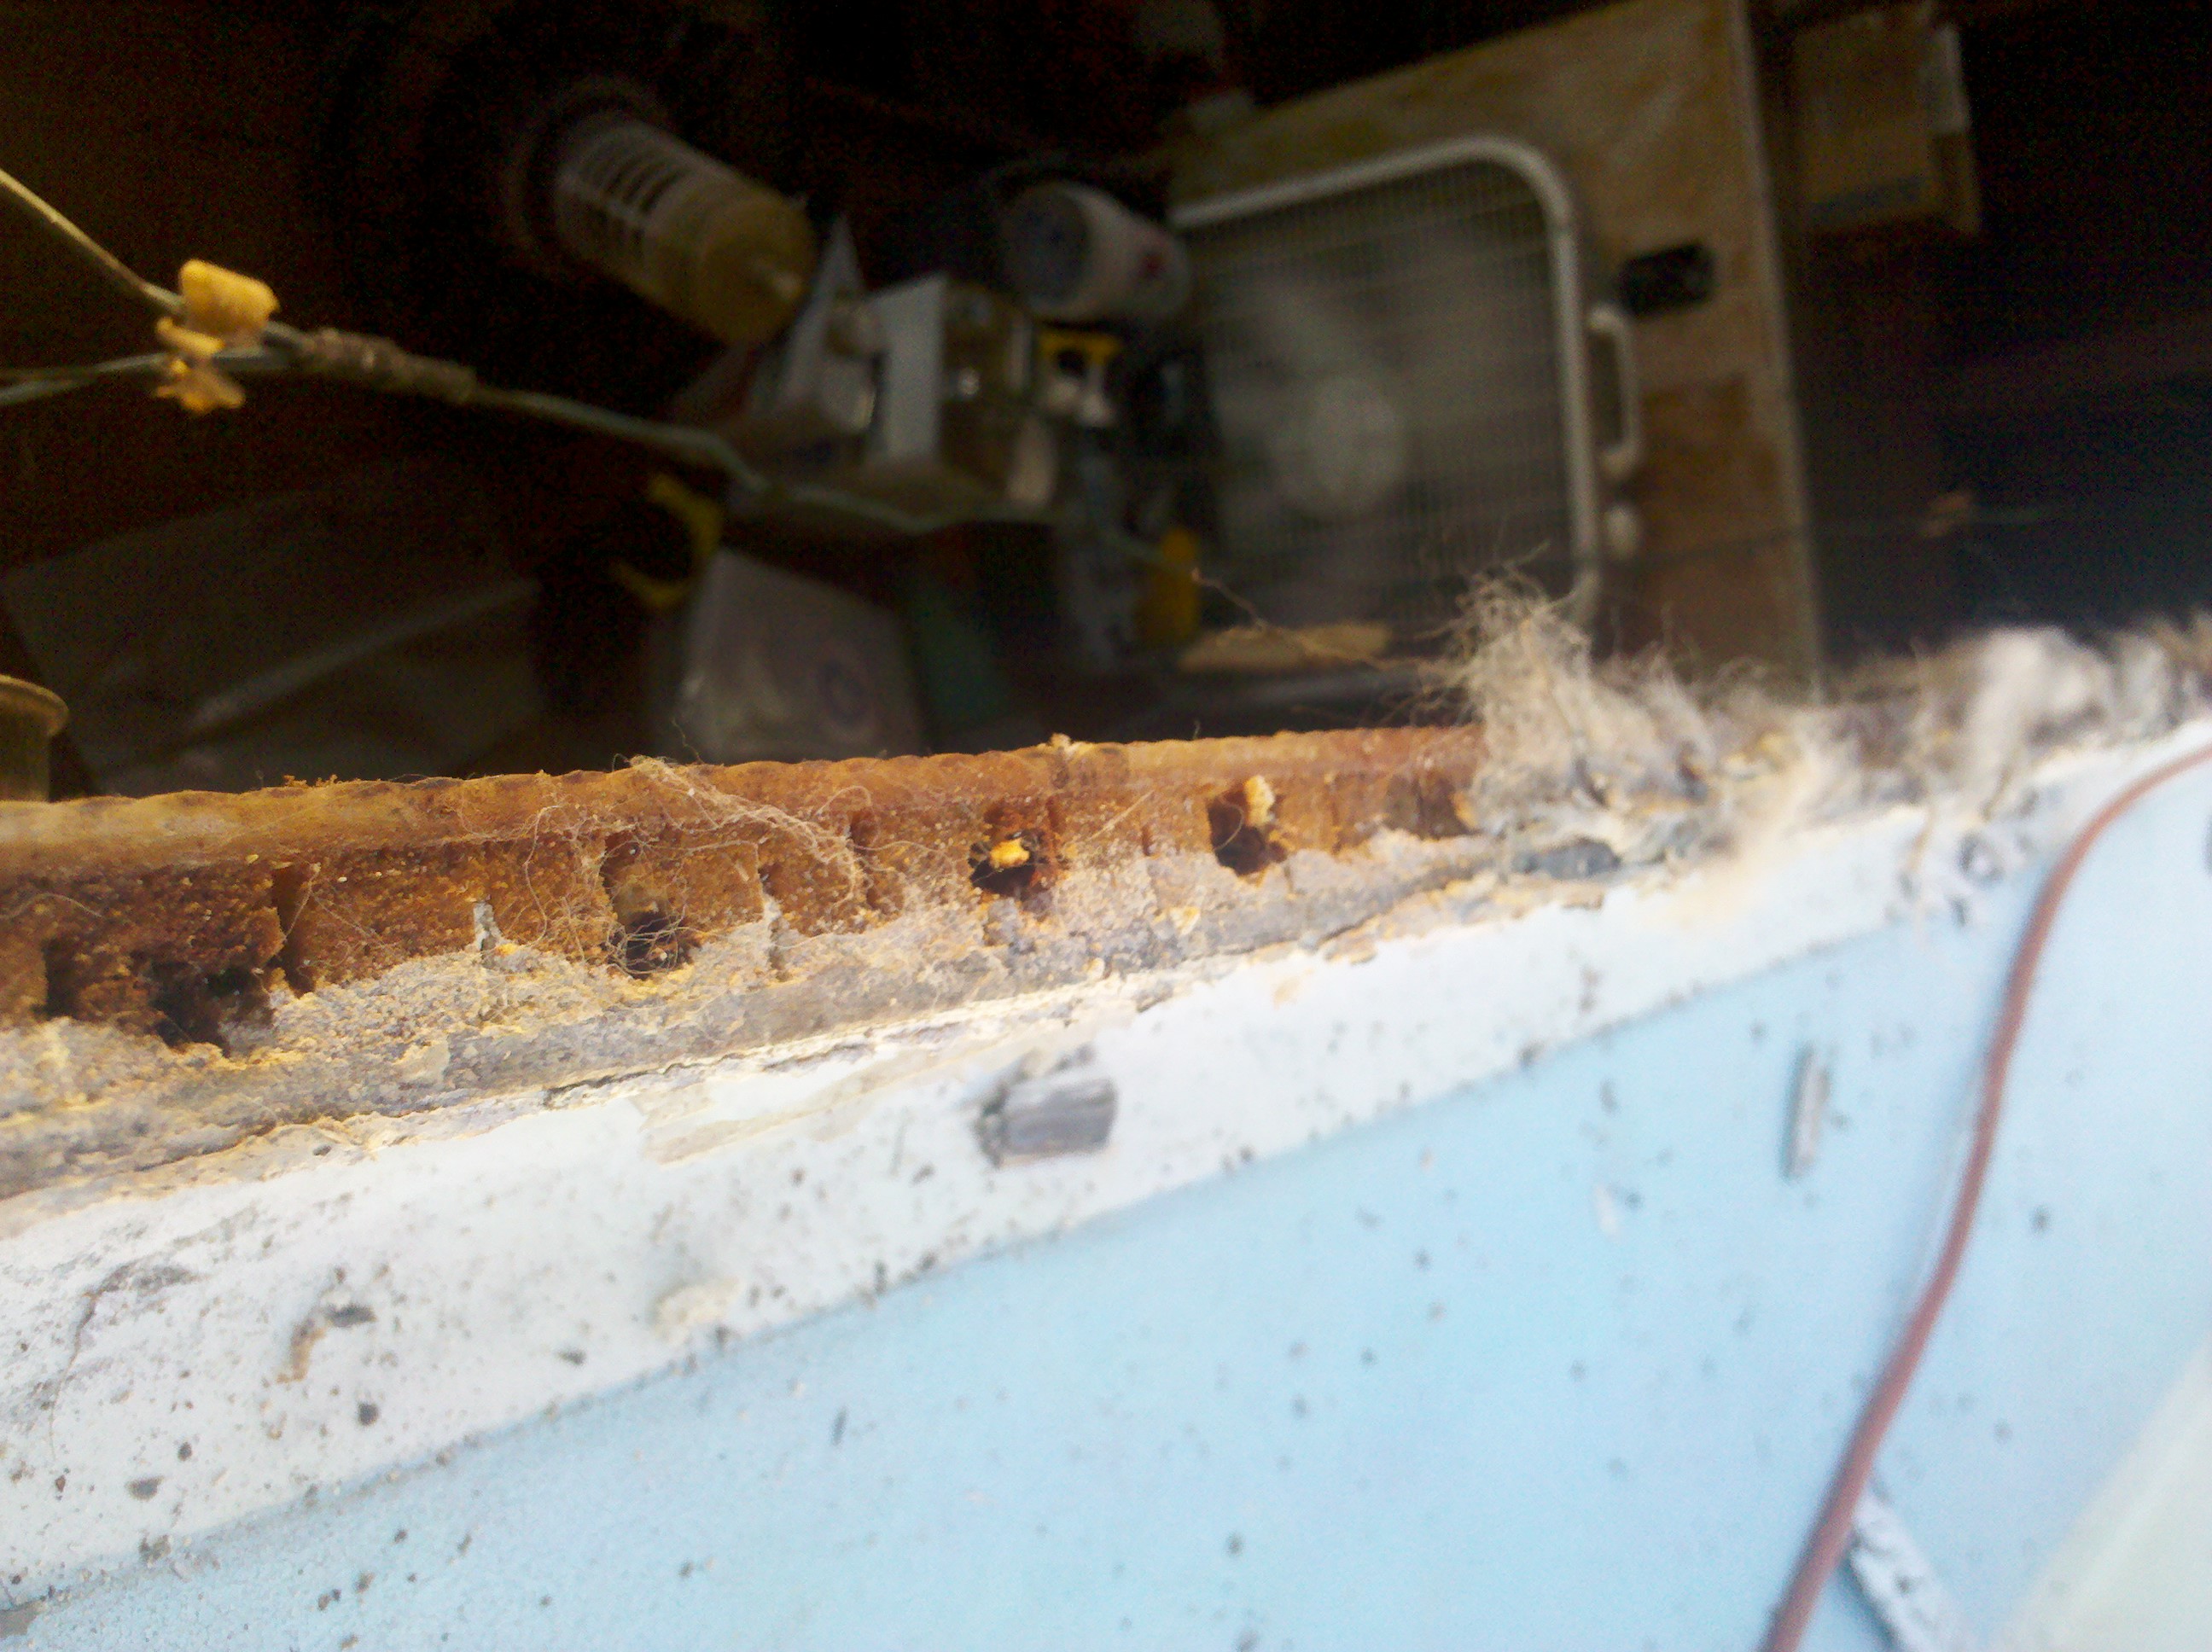
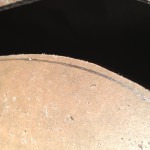
- The core was exposed behind the old windows. I removed about a half inch of the core and filled up with thickened epoxy to seal the edges.
-
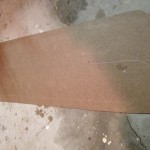
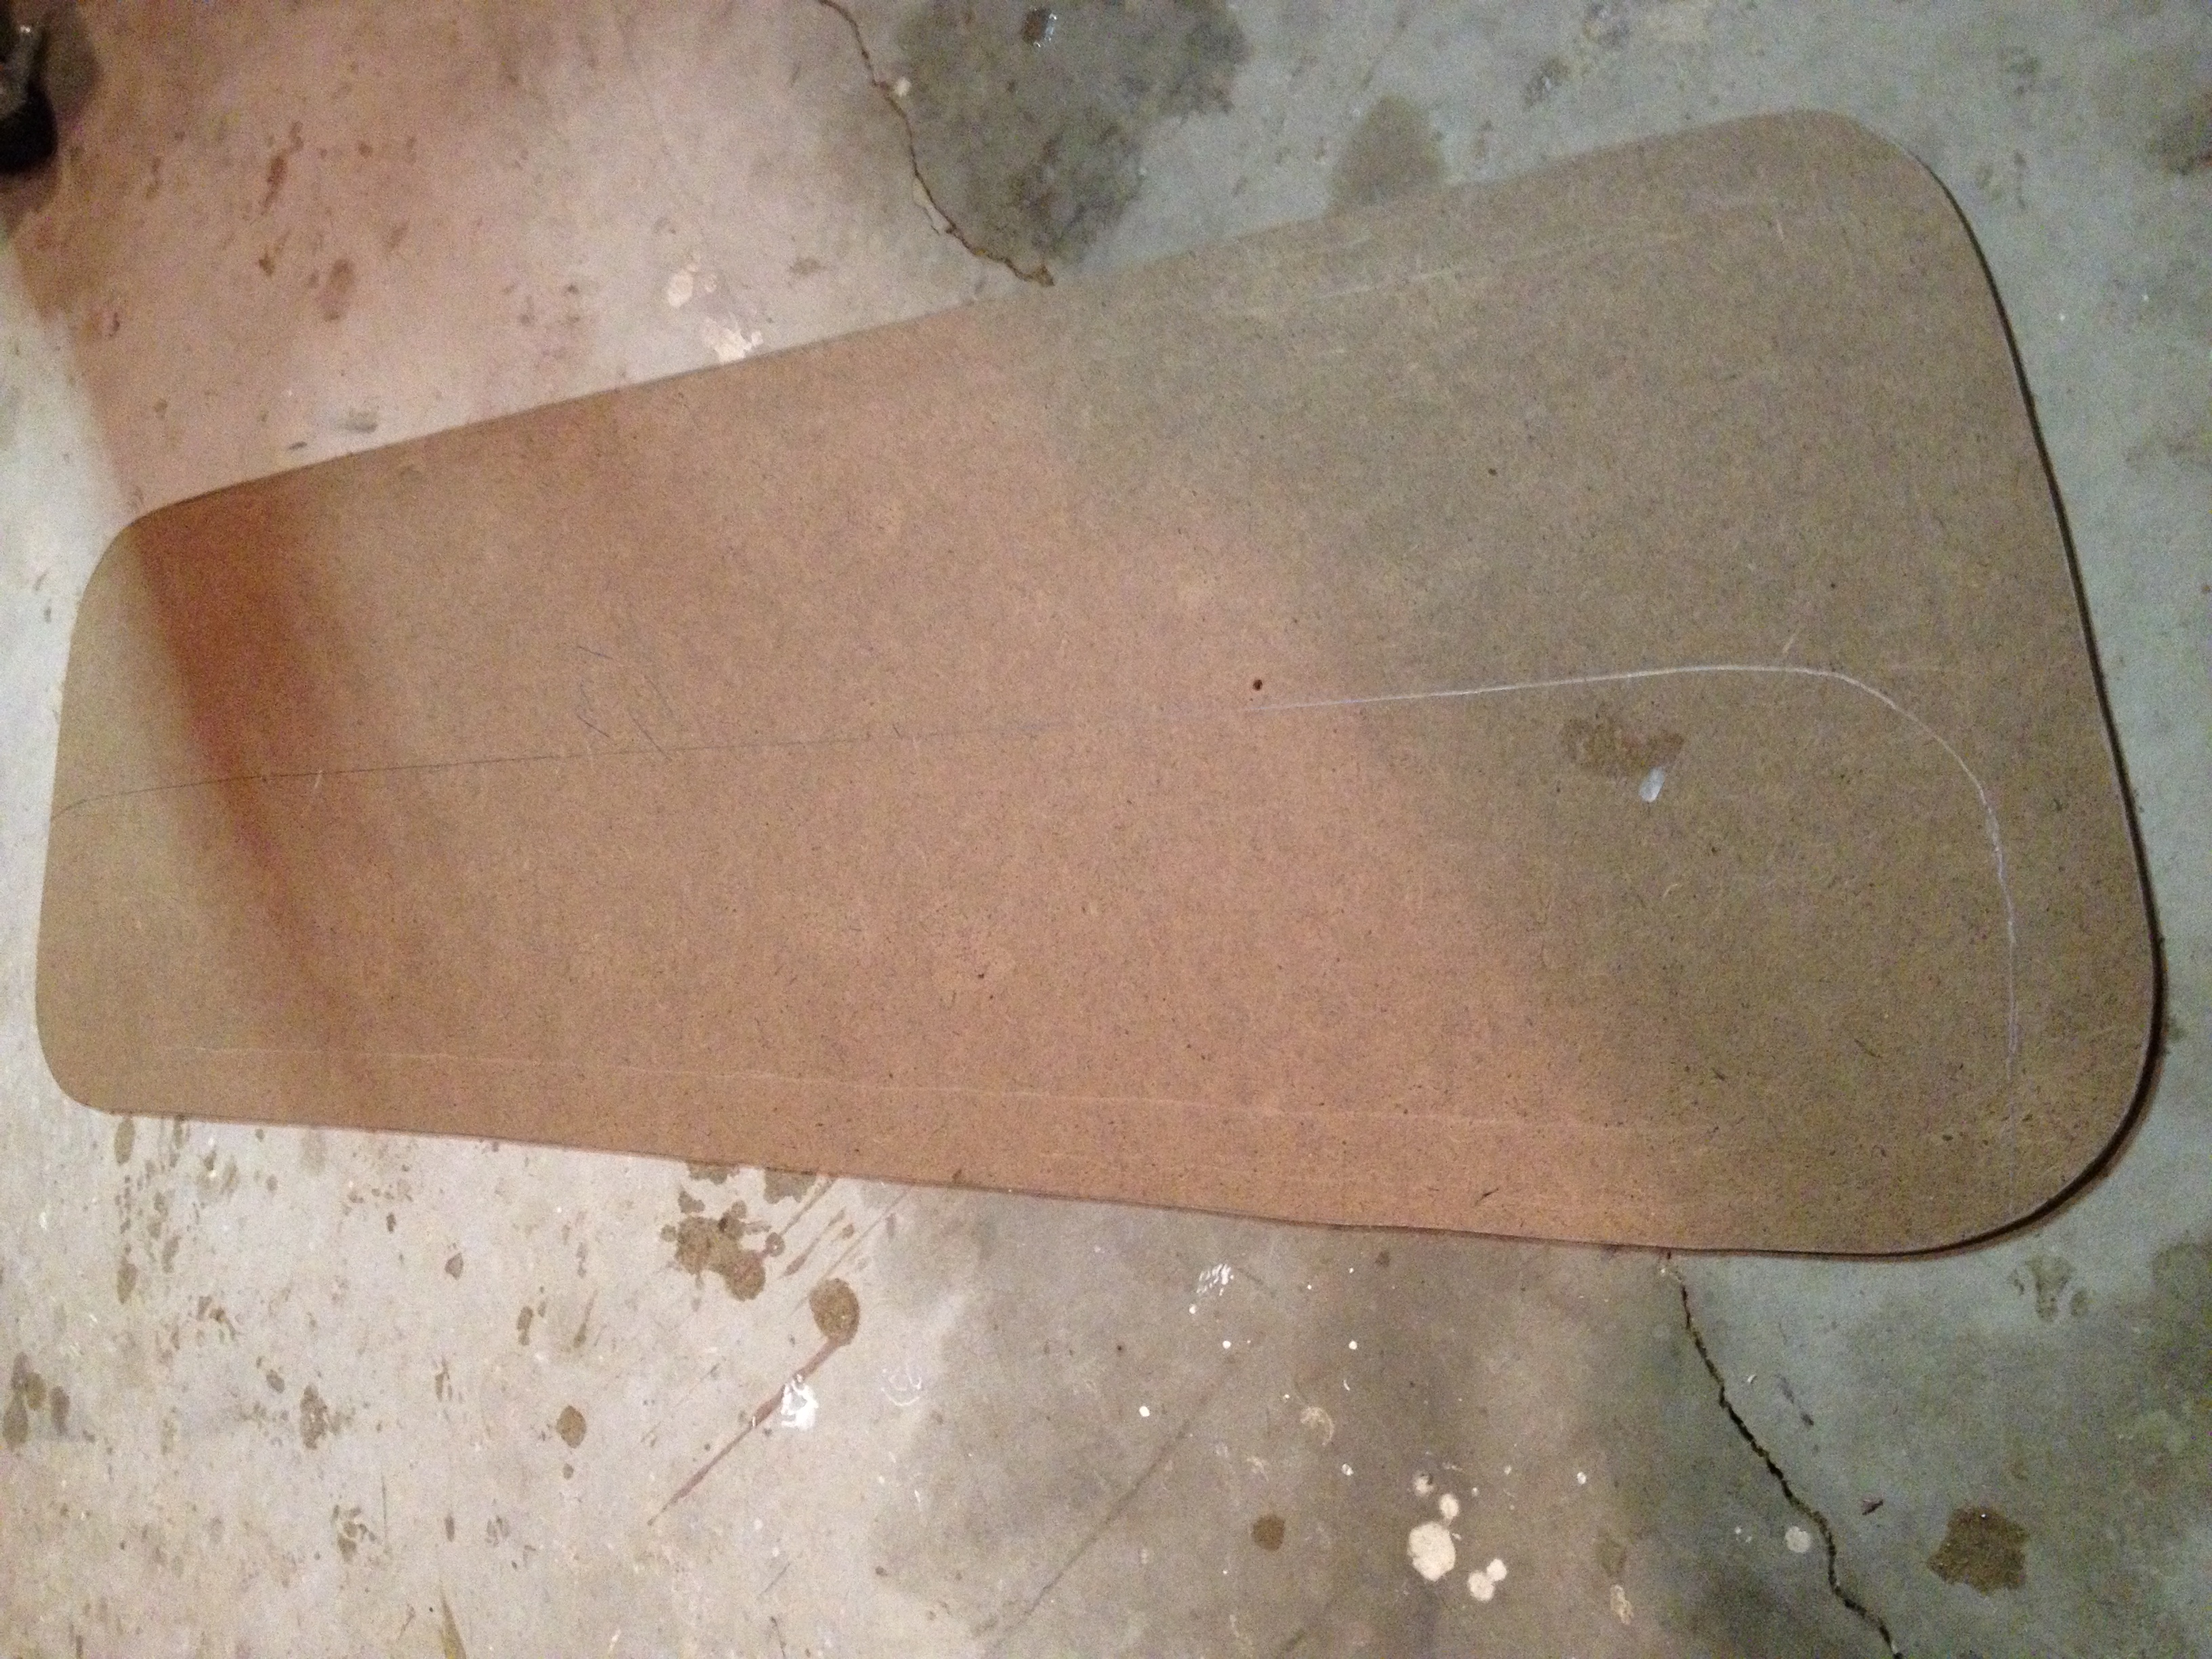
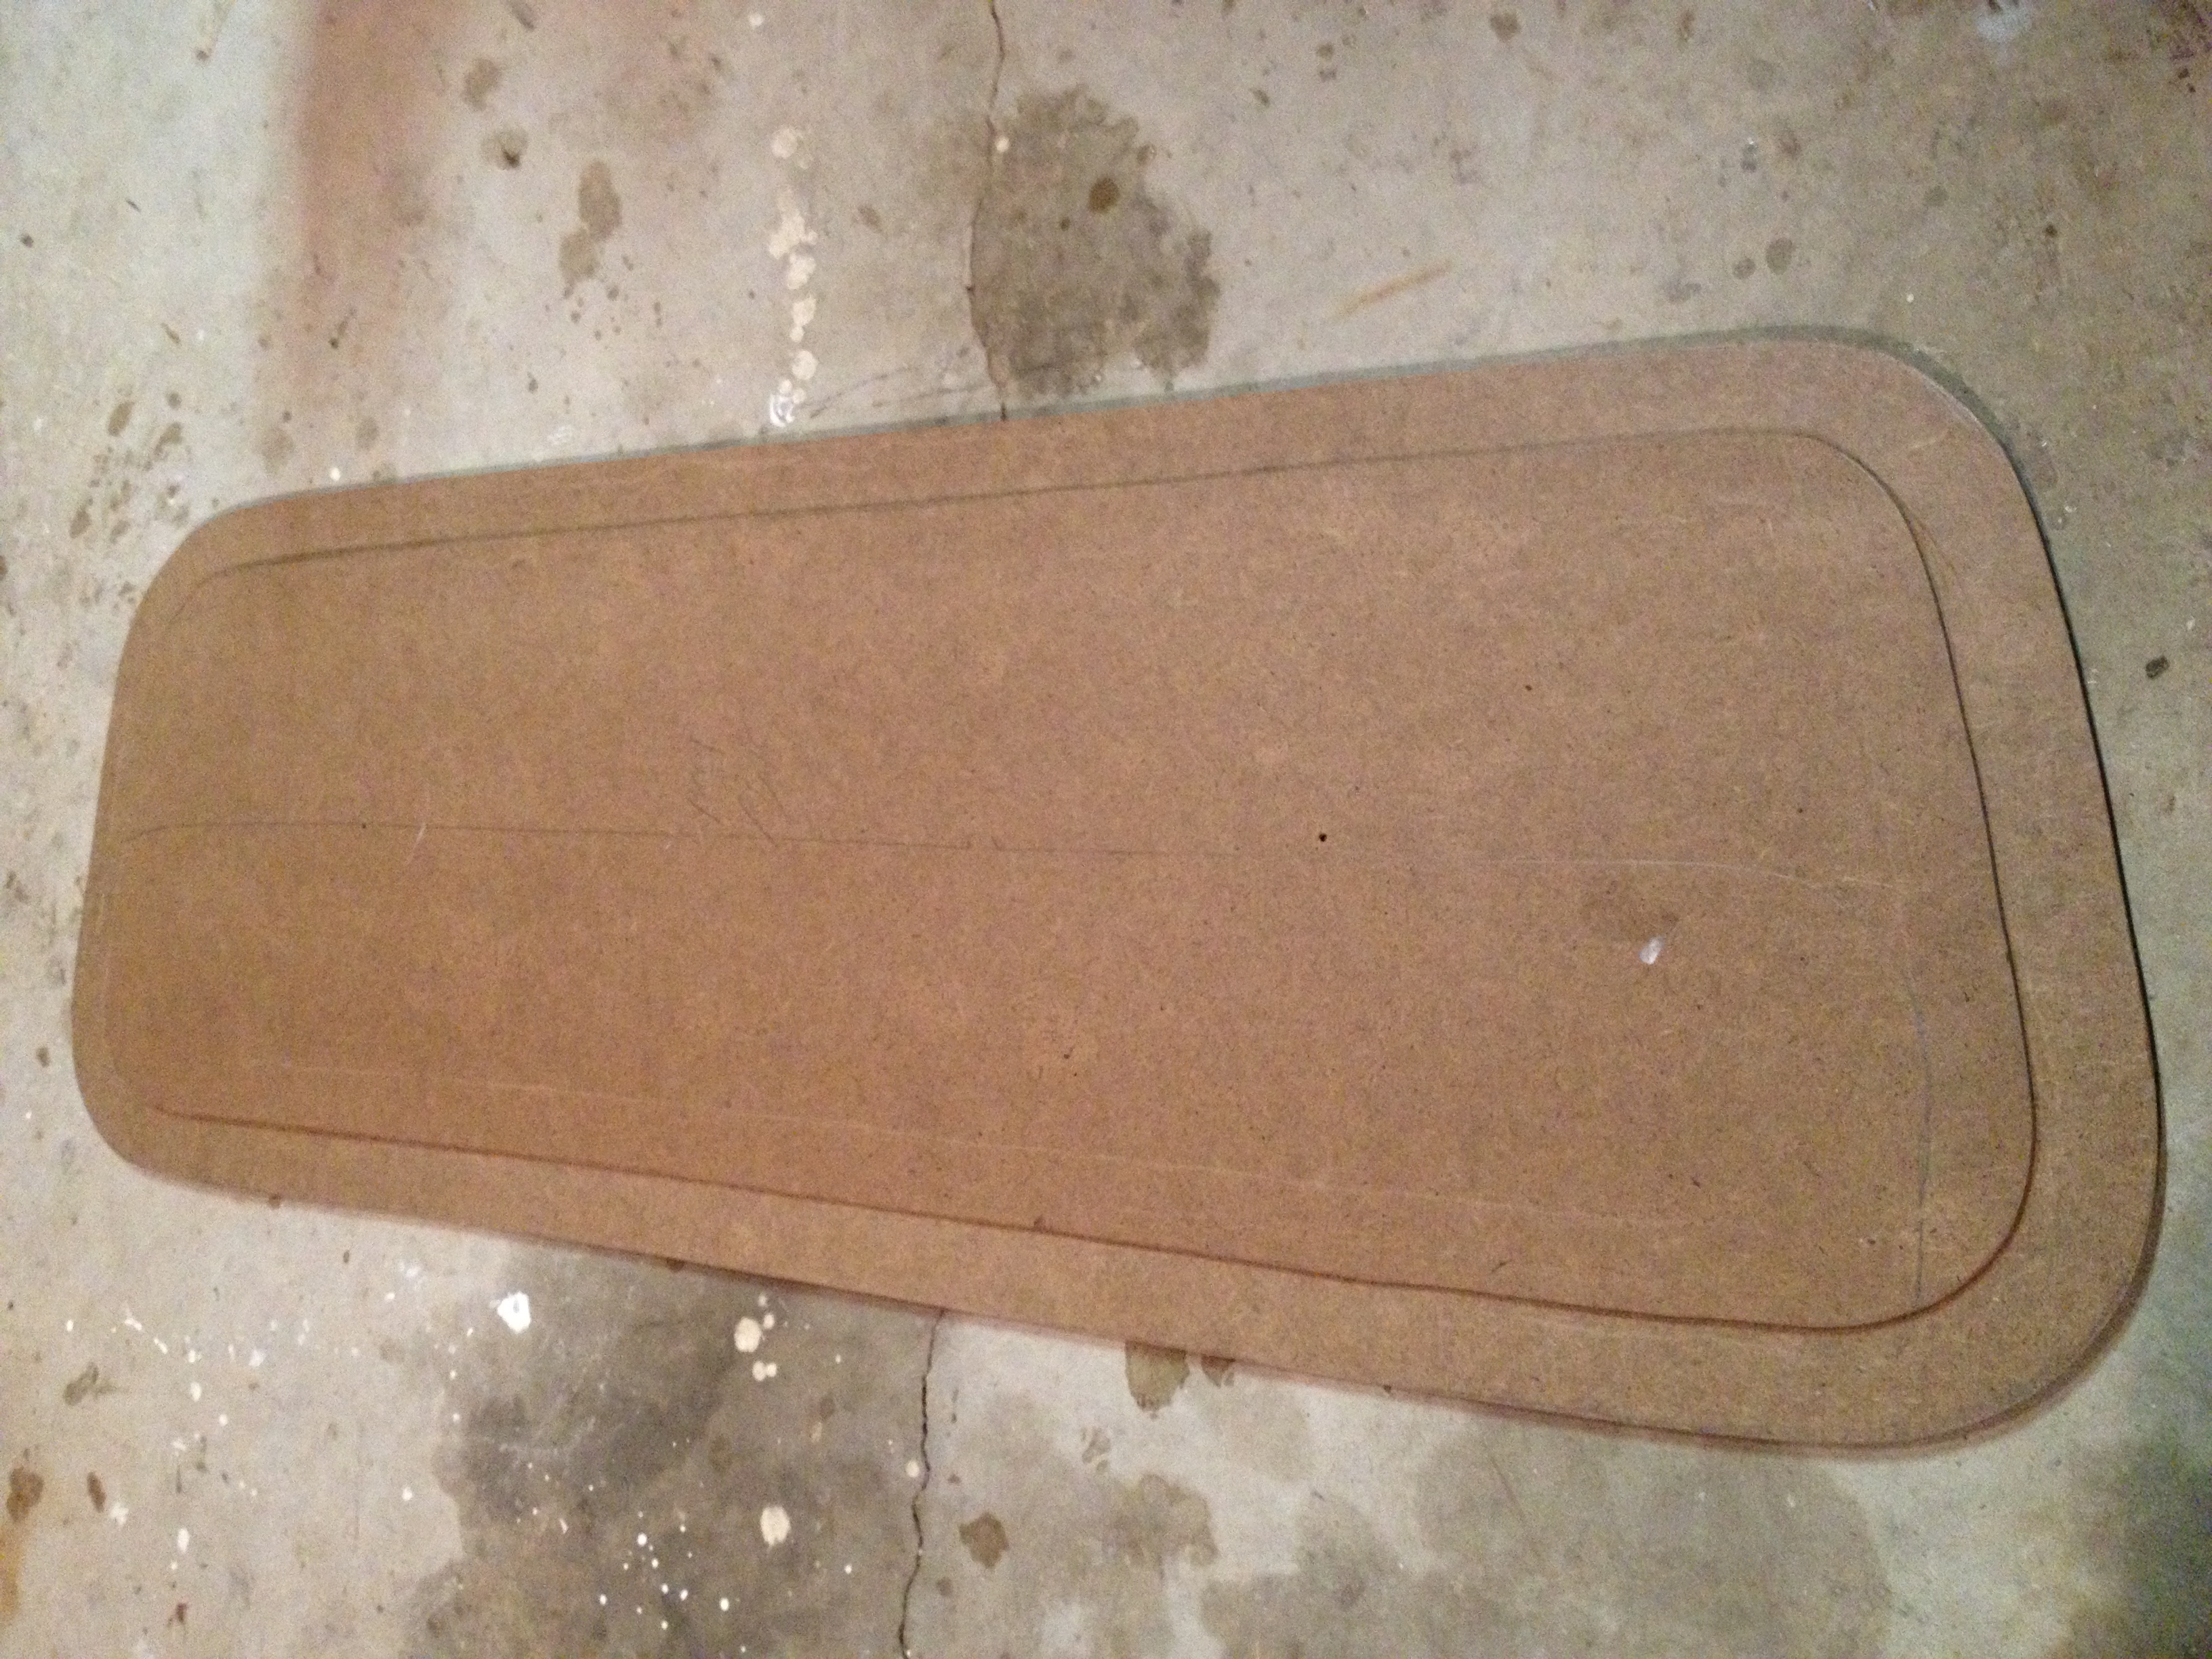
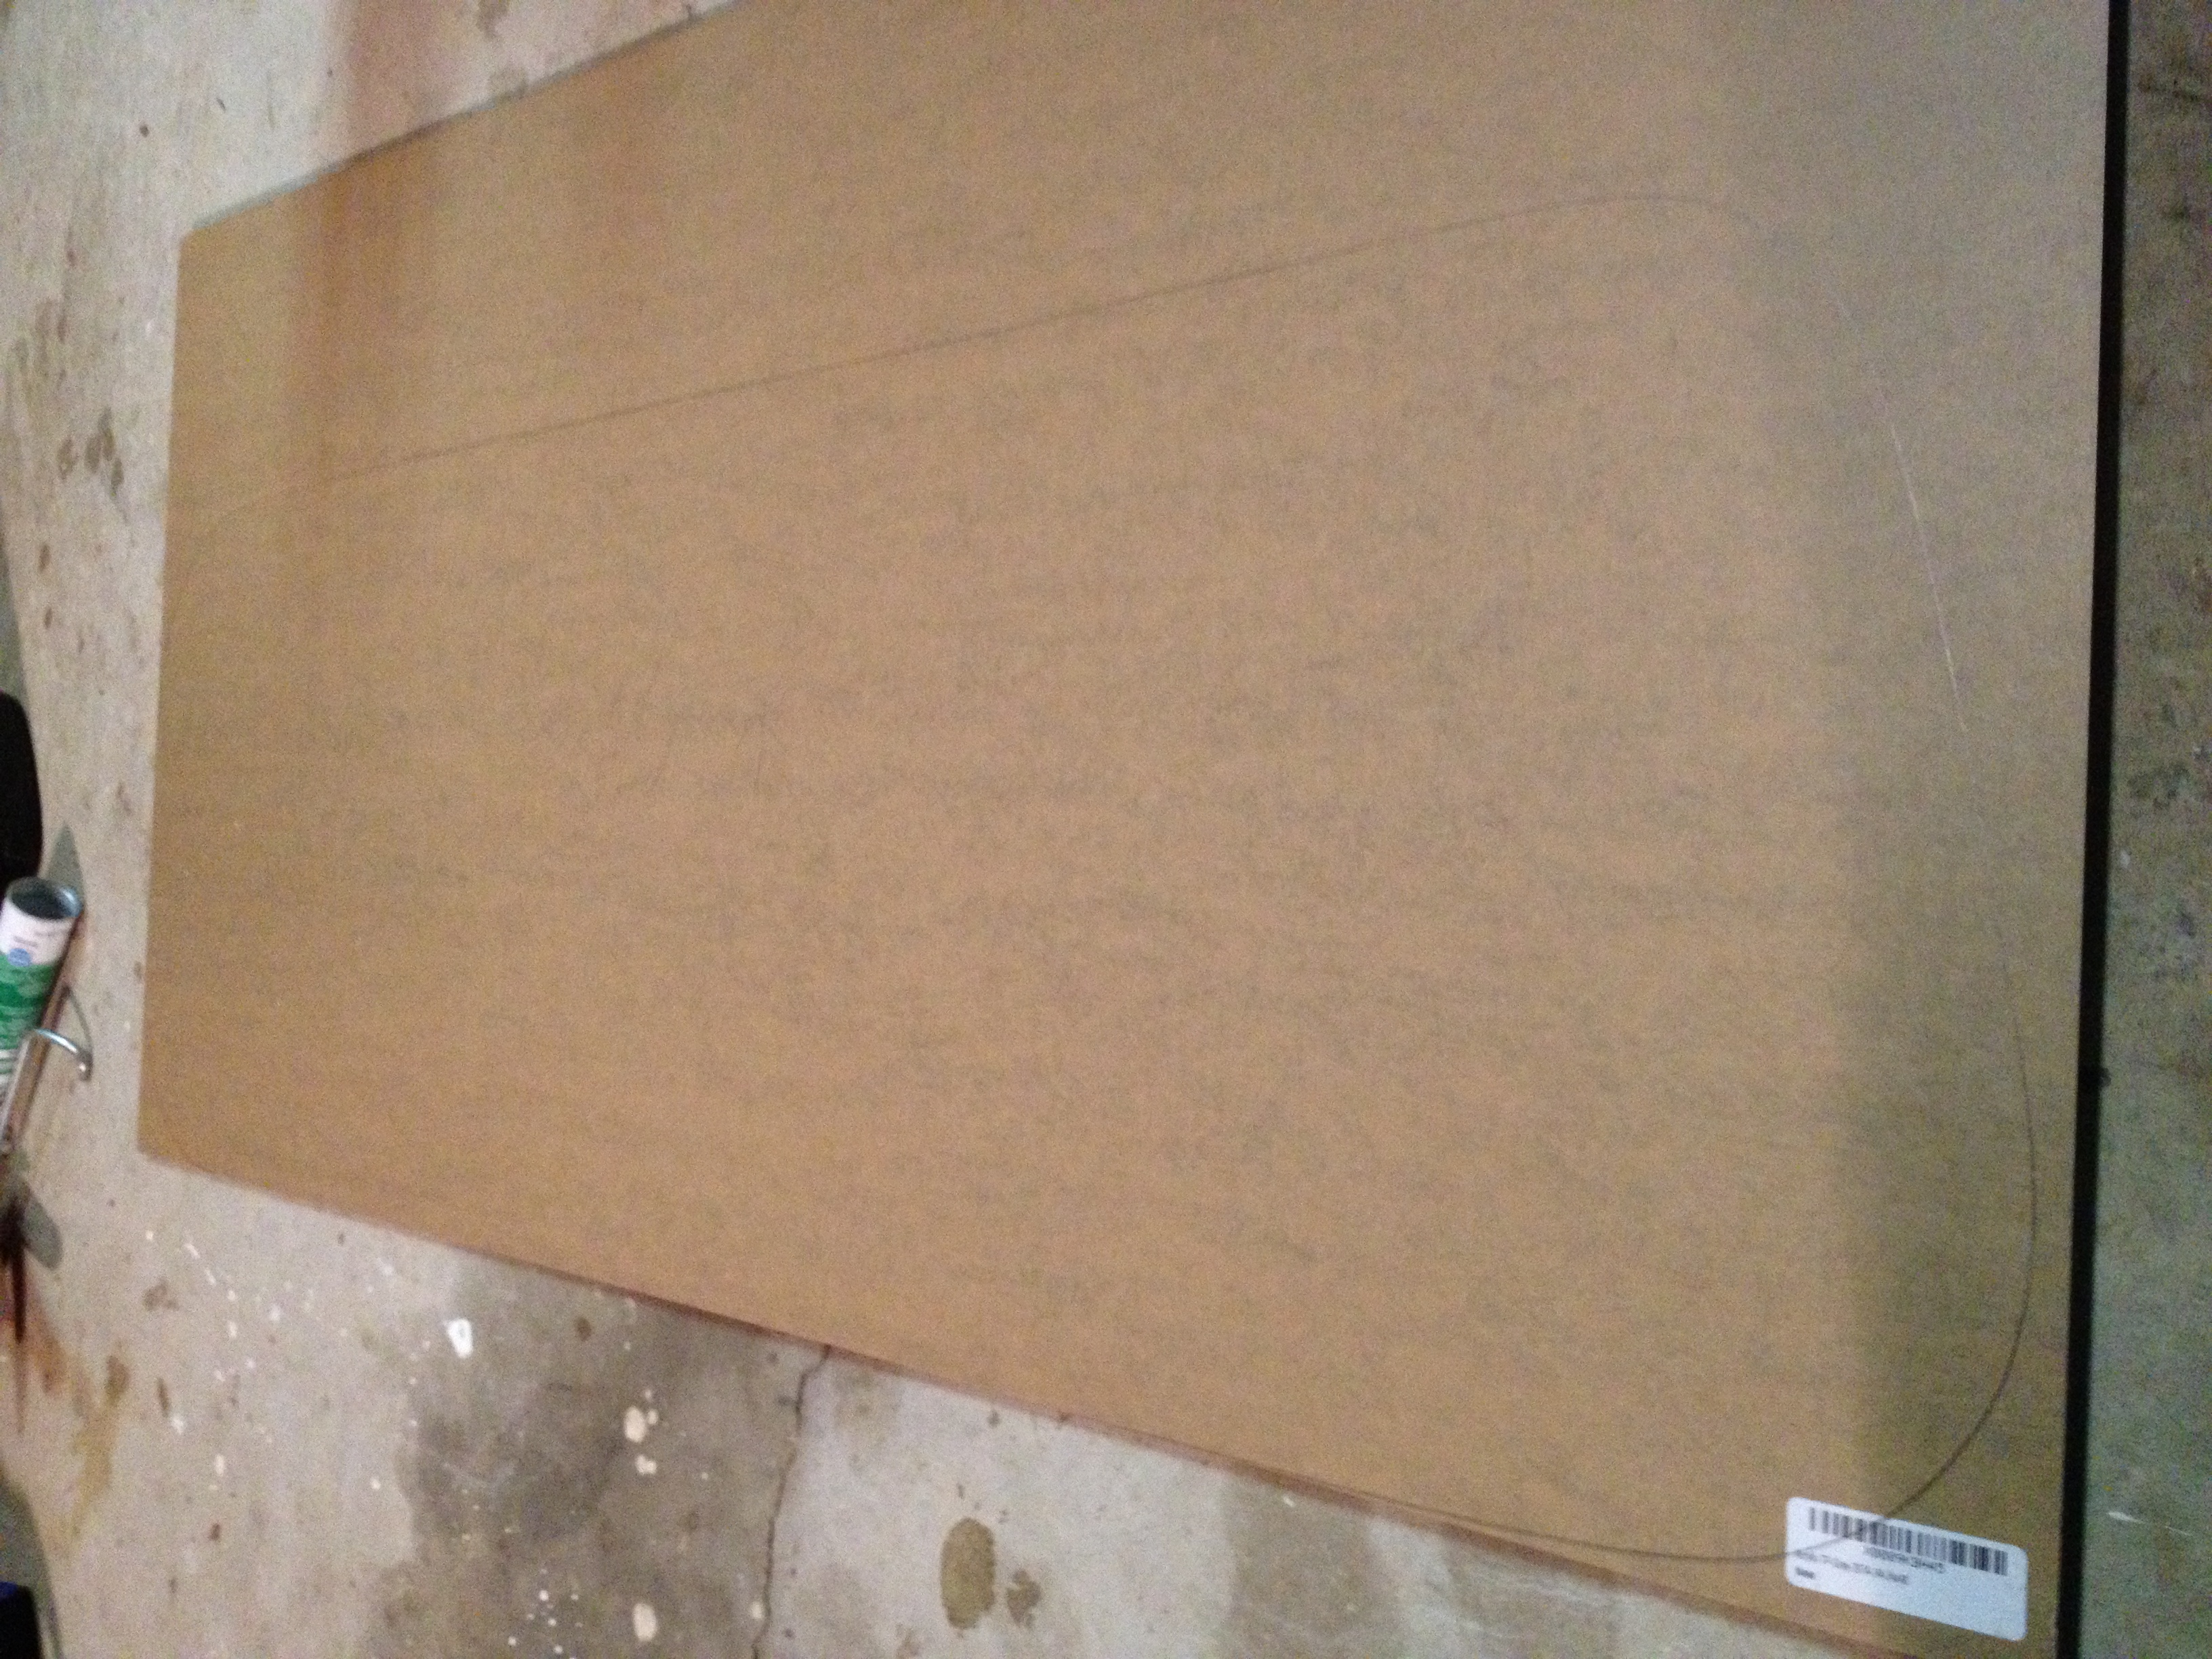
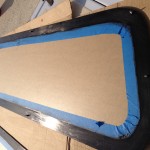
- This is a window opening template made from some hard board. This was made by just pressing the 2′ x 4′ board up against the window and tracing from the outside.
-
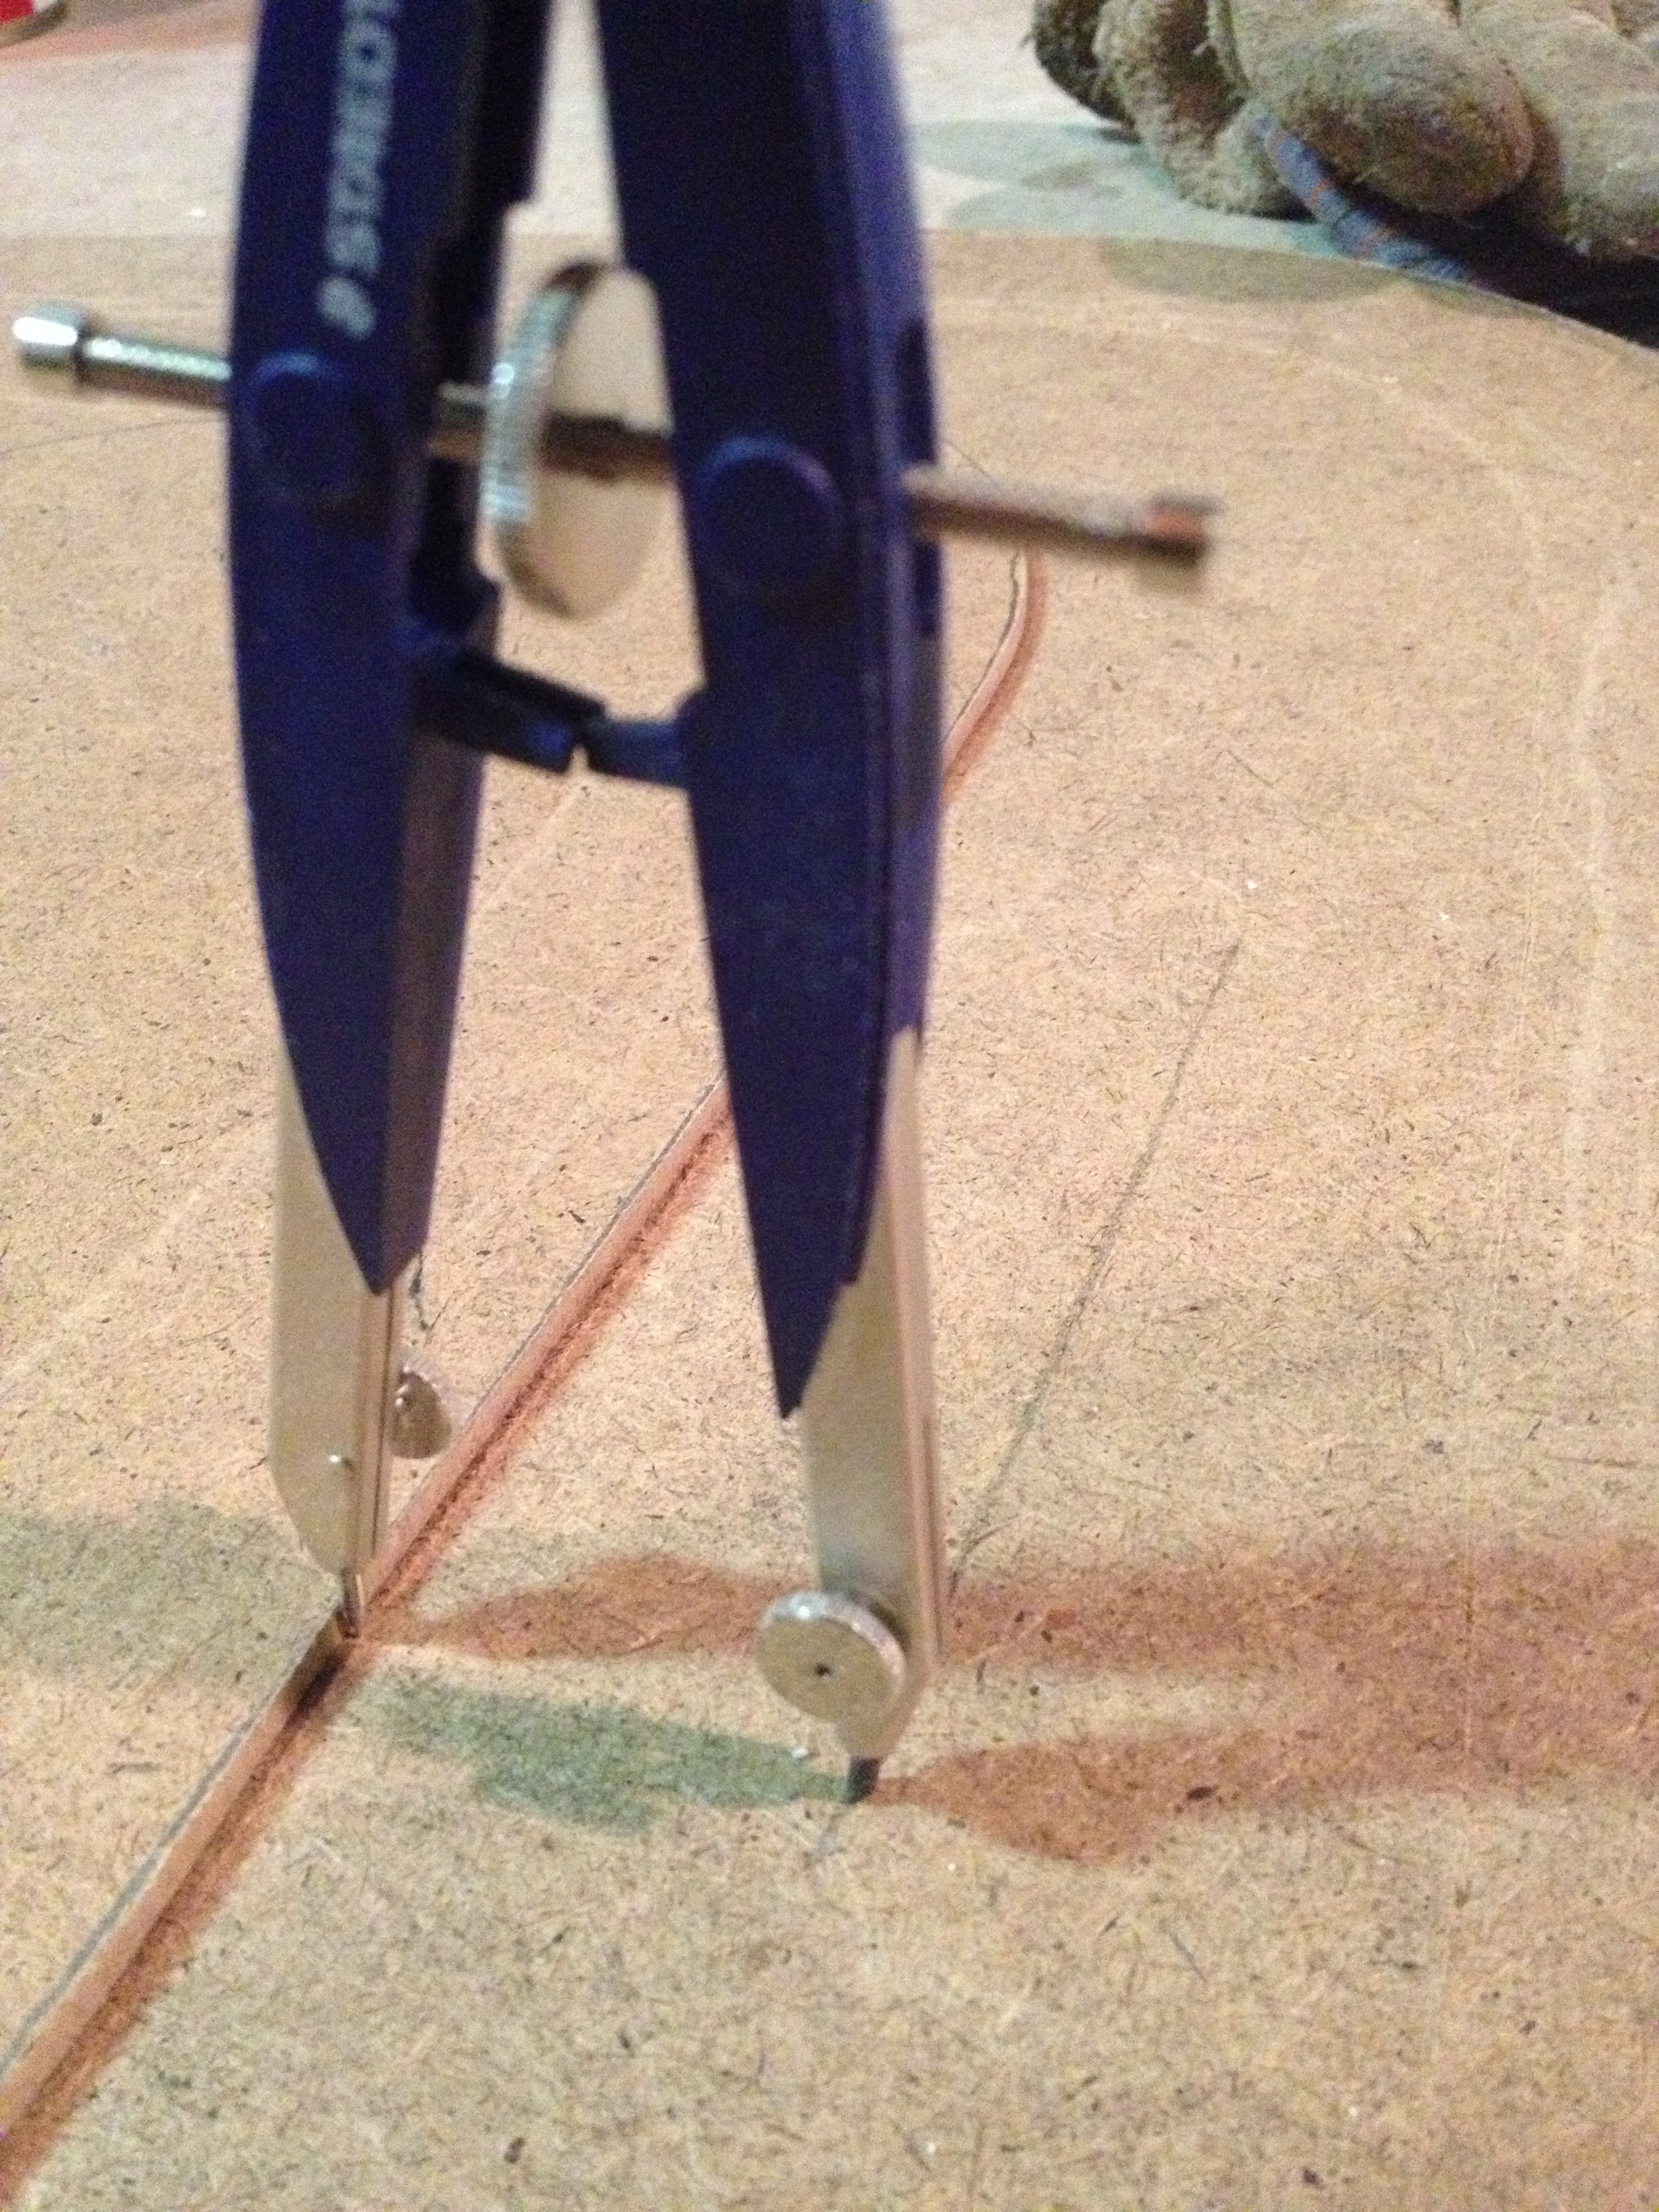
- To make the templates for the windows themselves, I used the window opening template, and sketched 1-3/4″ outside of the opening line to create the window over-lap.
-
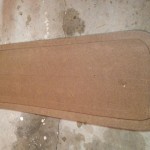
- Here is the window opening template, and the window template. This shows how the window would sit over the opening.
-
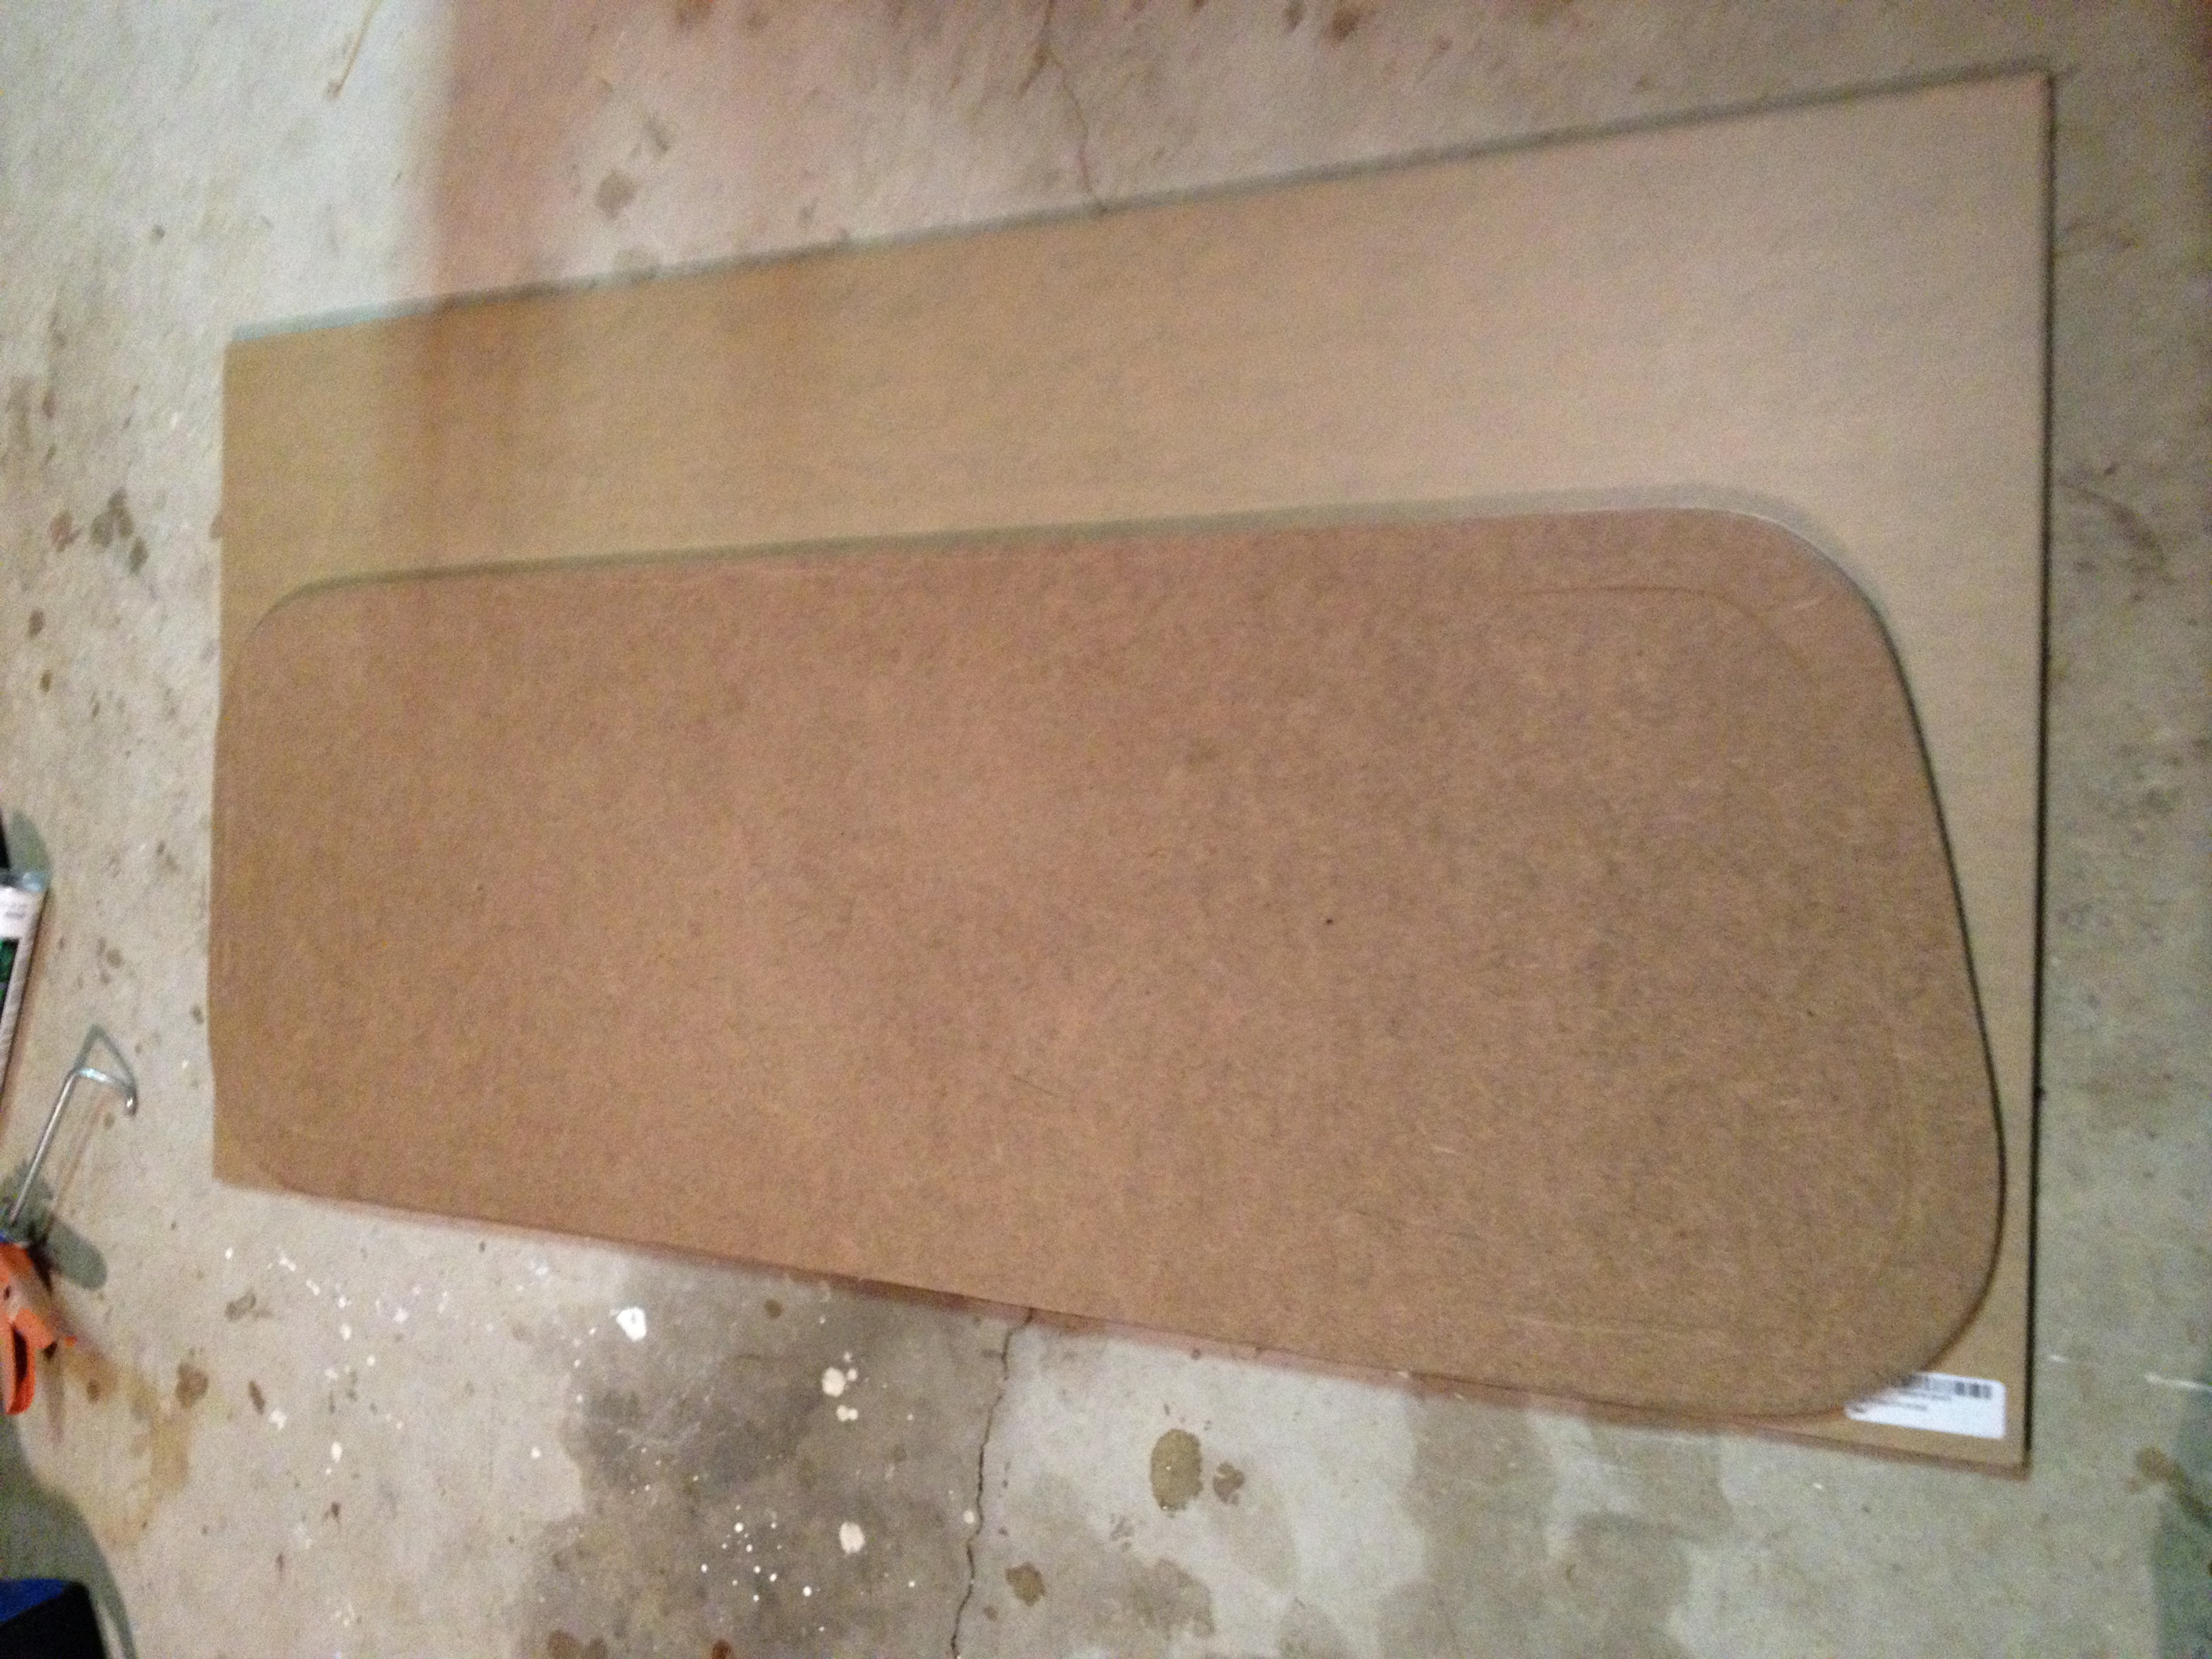
- Tracing the window template onto the acrylic.
-
- Tracing the window template onto the acrylic.
-
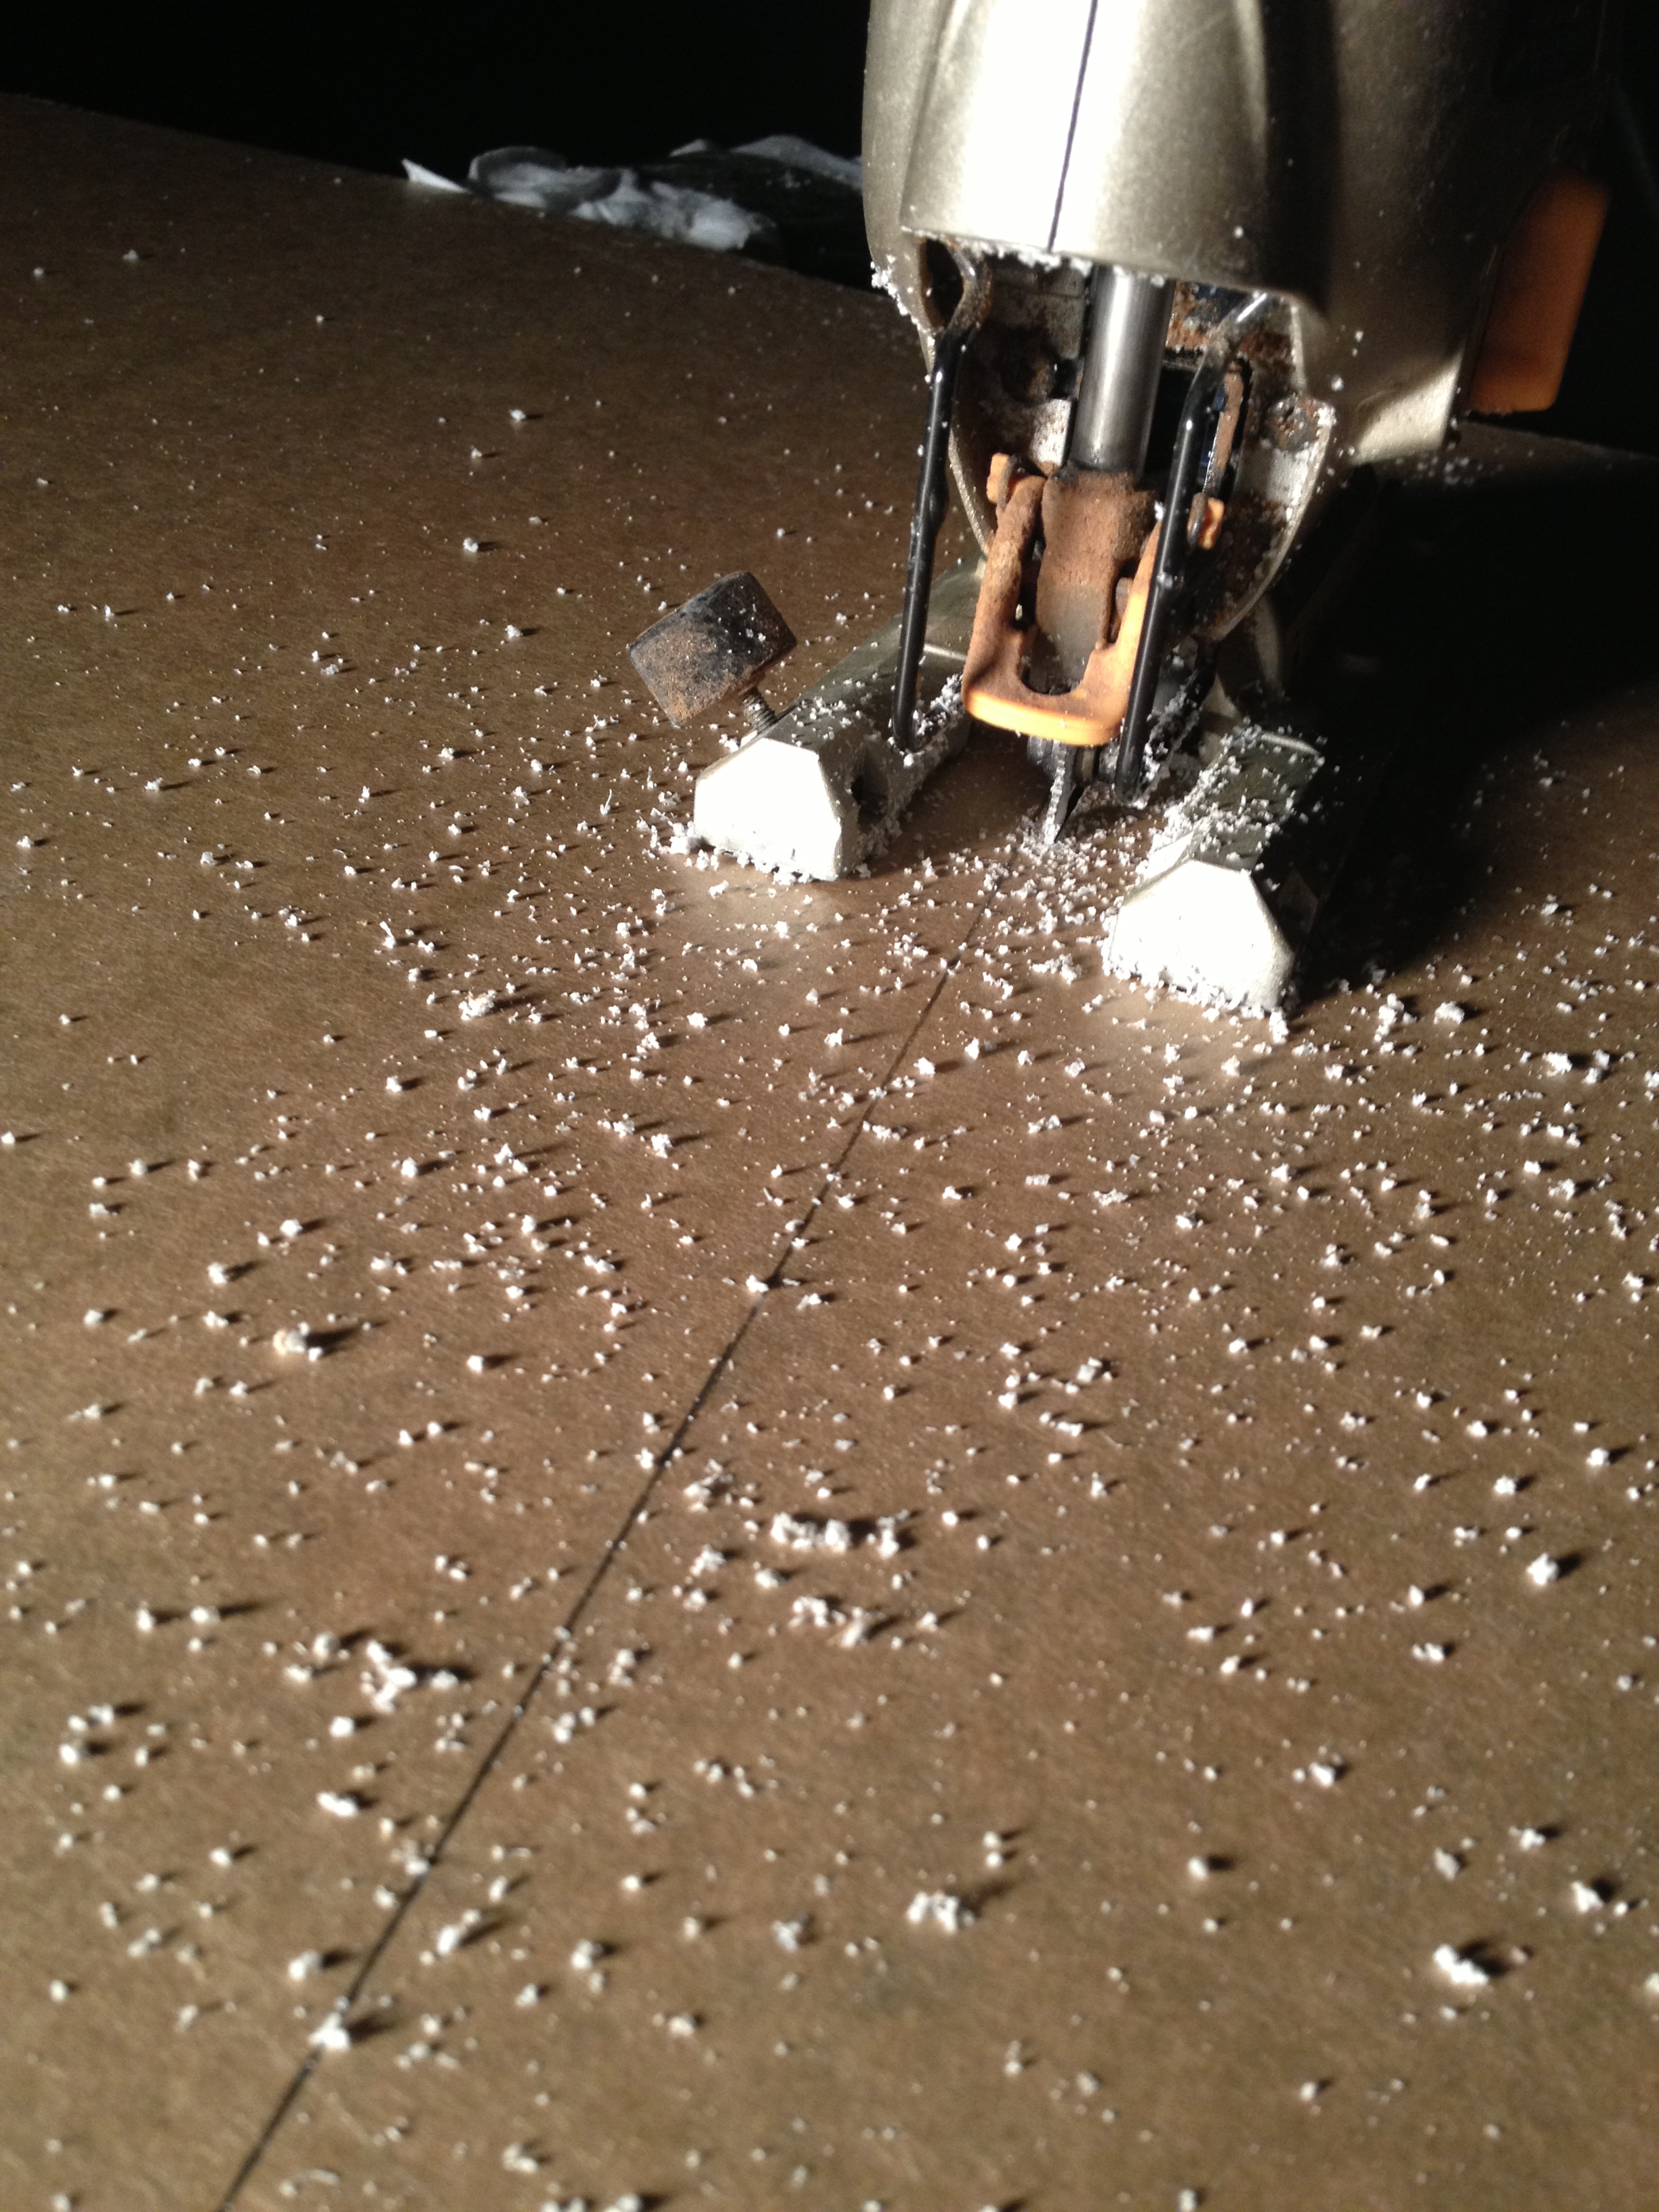
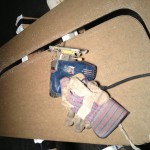
- Cutting the acrylic, making sure I am well outside of the template line to avoid any chips or dips into the line.
-
- Rough cut finished

-
- You can see here the rough cut, and how I kept outside to avoid screwing up the lines.

-
- Using my orbital sander with an 80 grit sheet, I shaped the windows down to the template lines to create nice and neat shapes. I felt much more comfortable shaping the windows this way than trying to keep a good line using the jig saw. Plus, the jig saw will chip occasionally due to my lack of technique, being careful to remain outside the lines and shape afterwards helped with that.
-
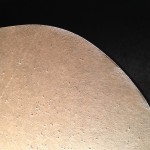
- Clean lines after sanding.
-
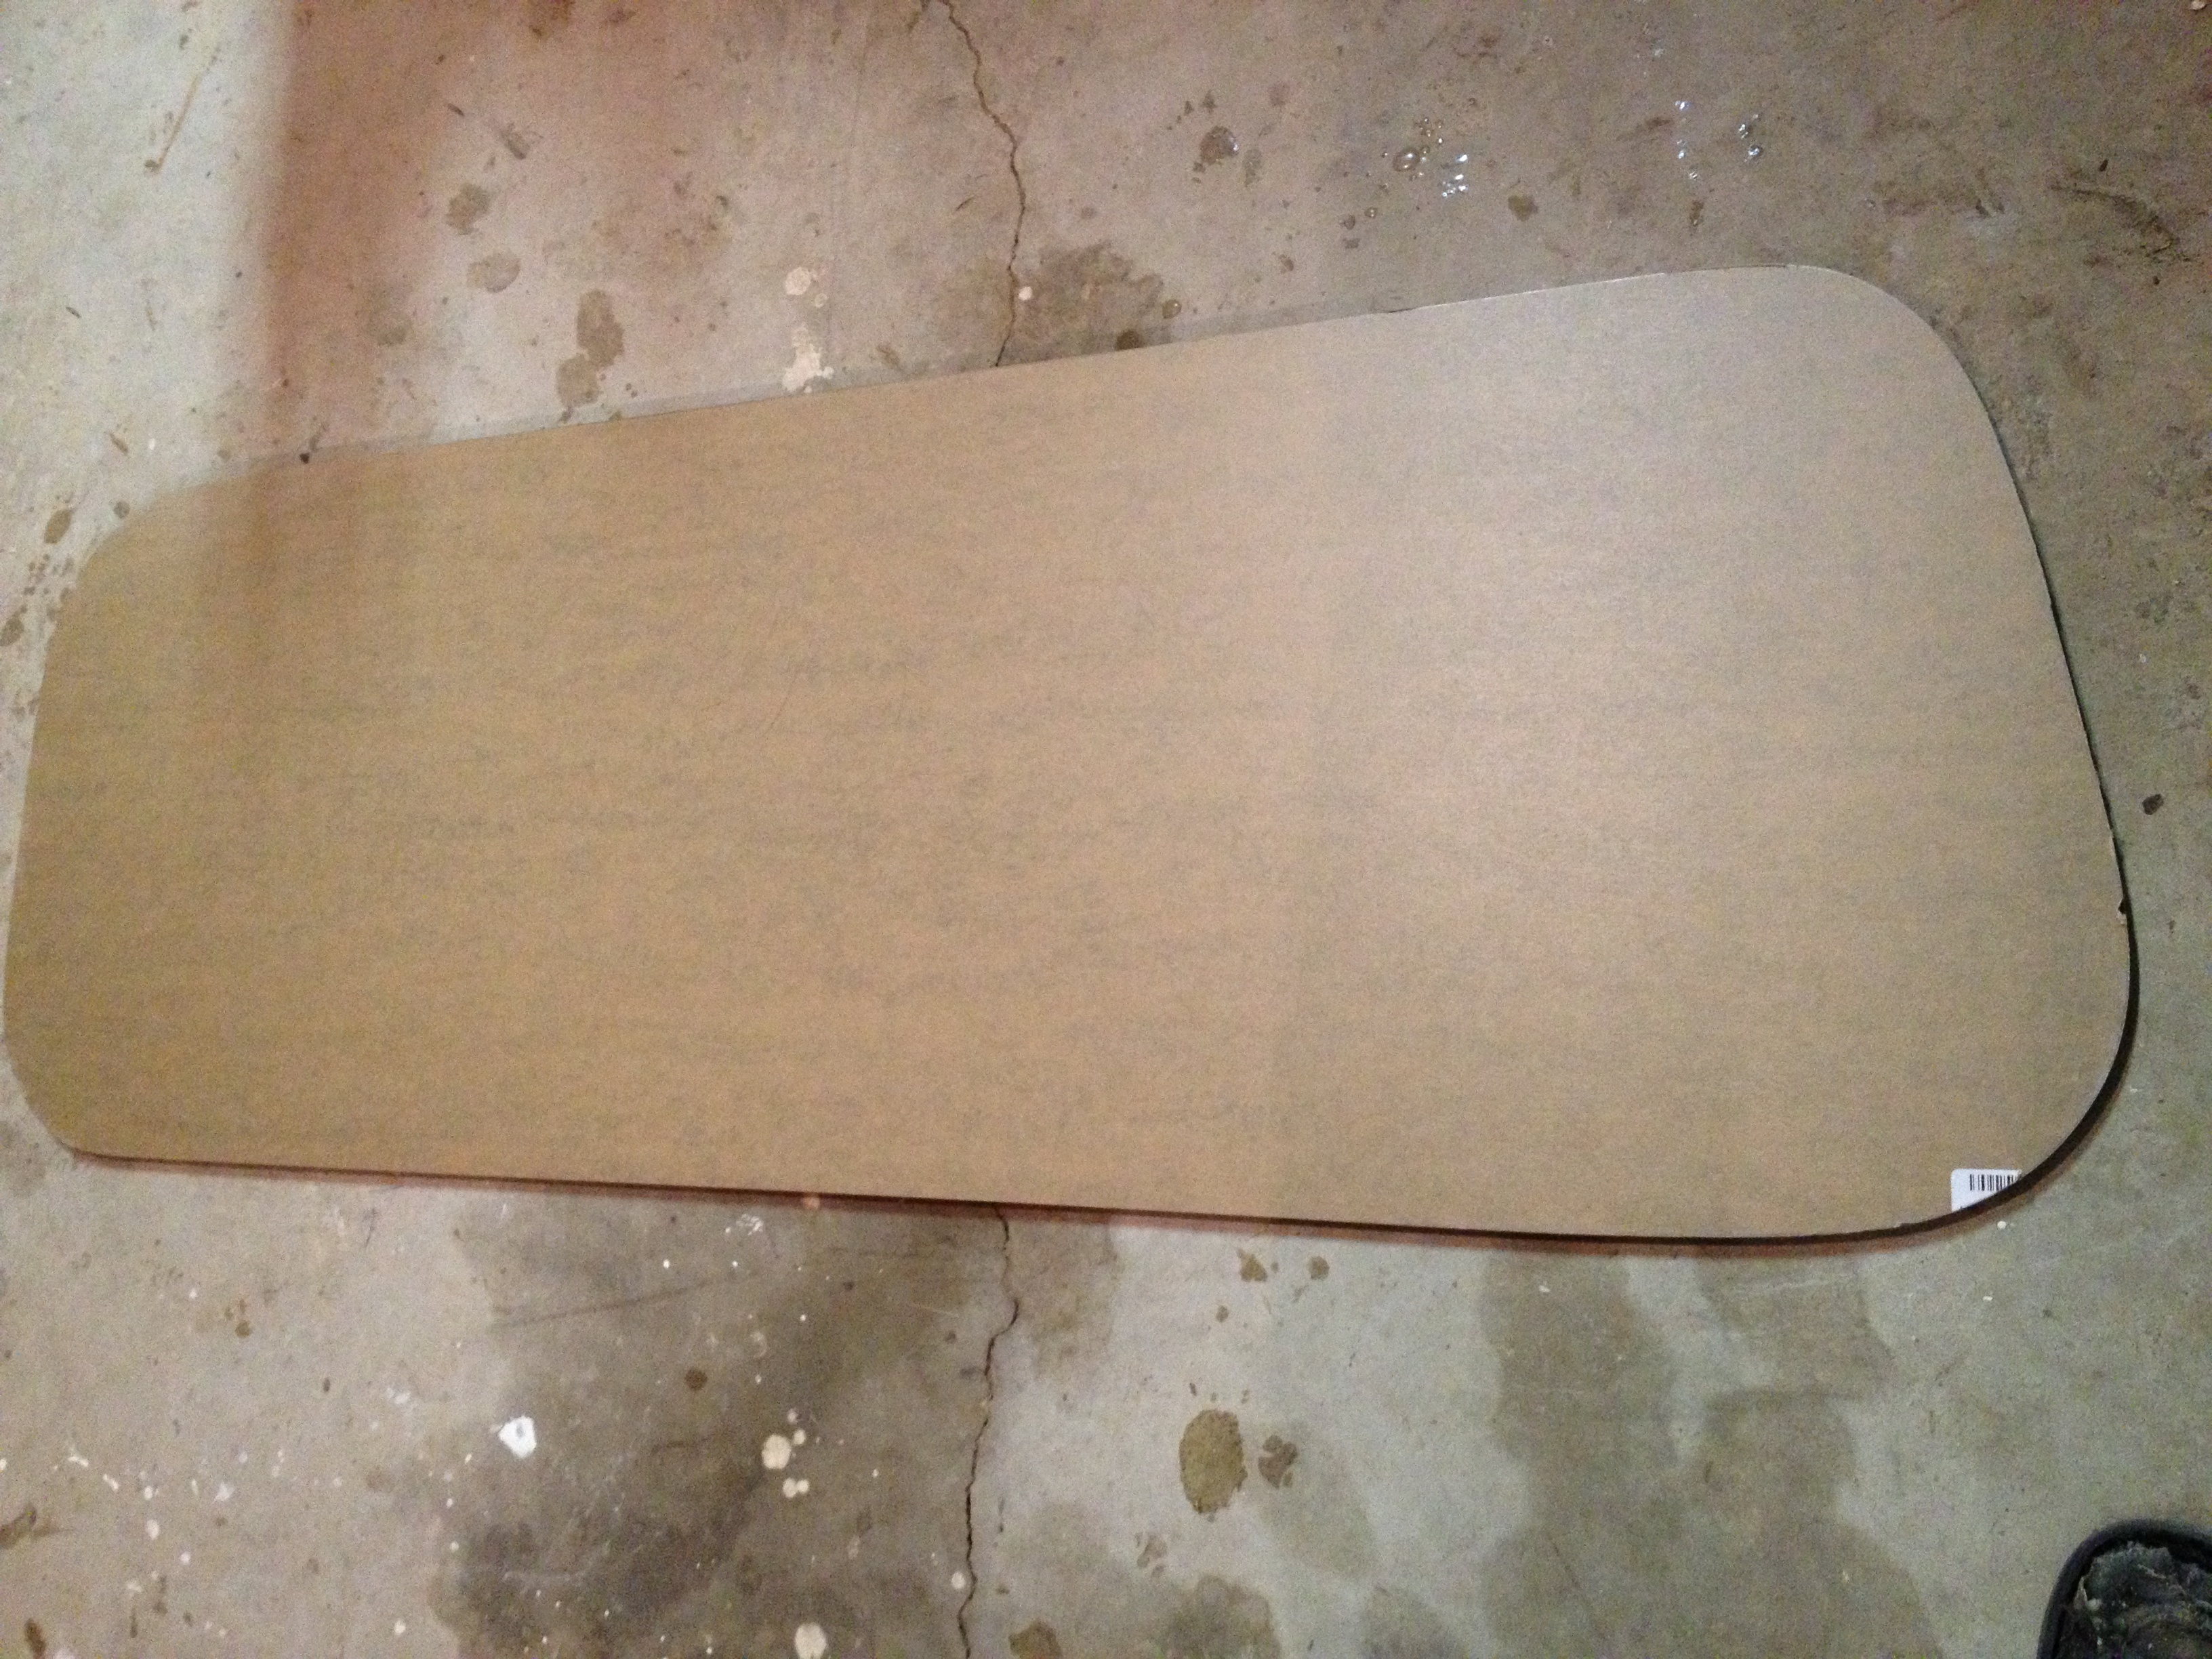
- Finished window cut out
-
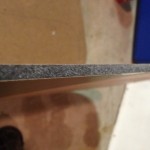
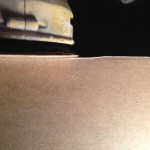
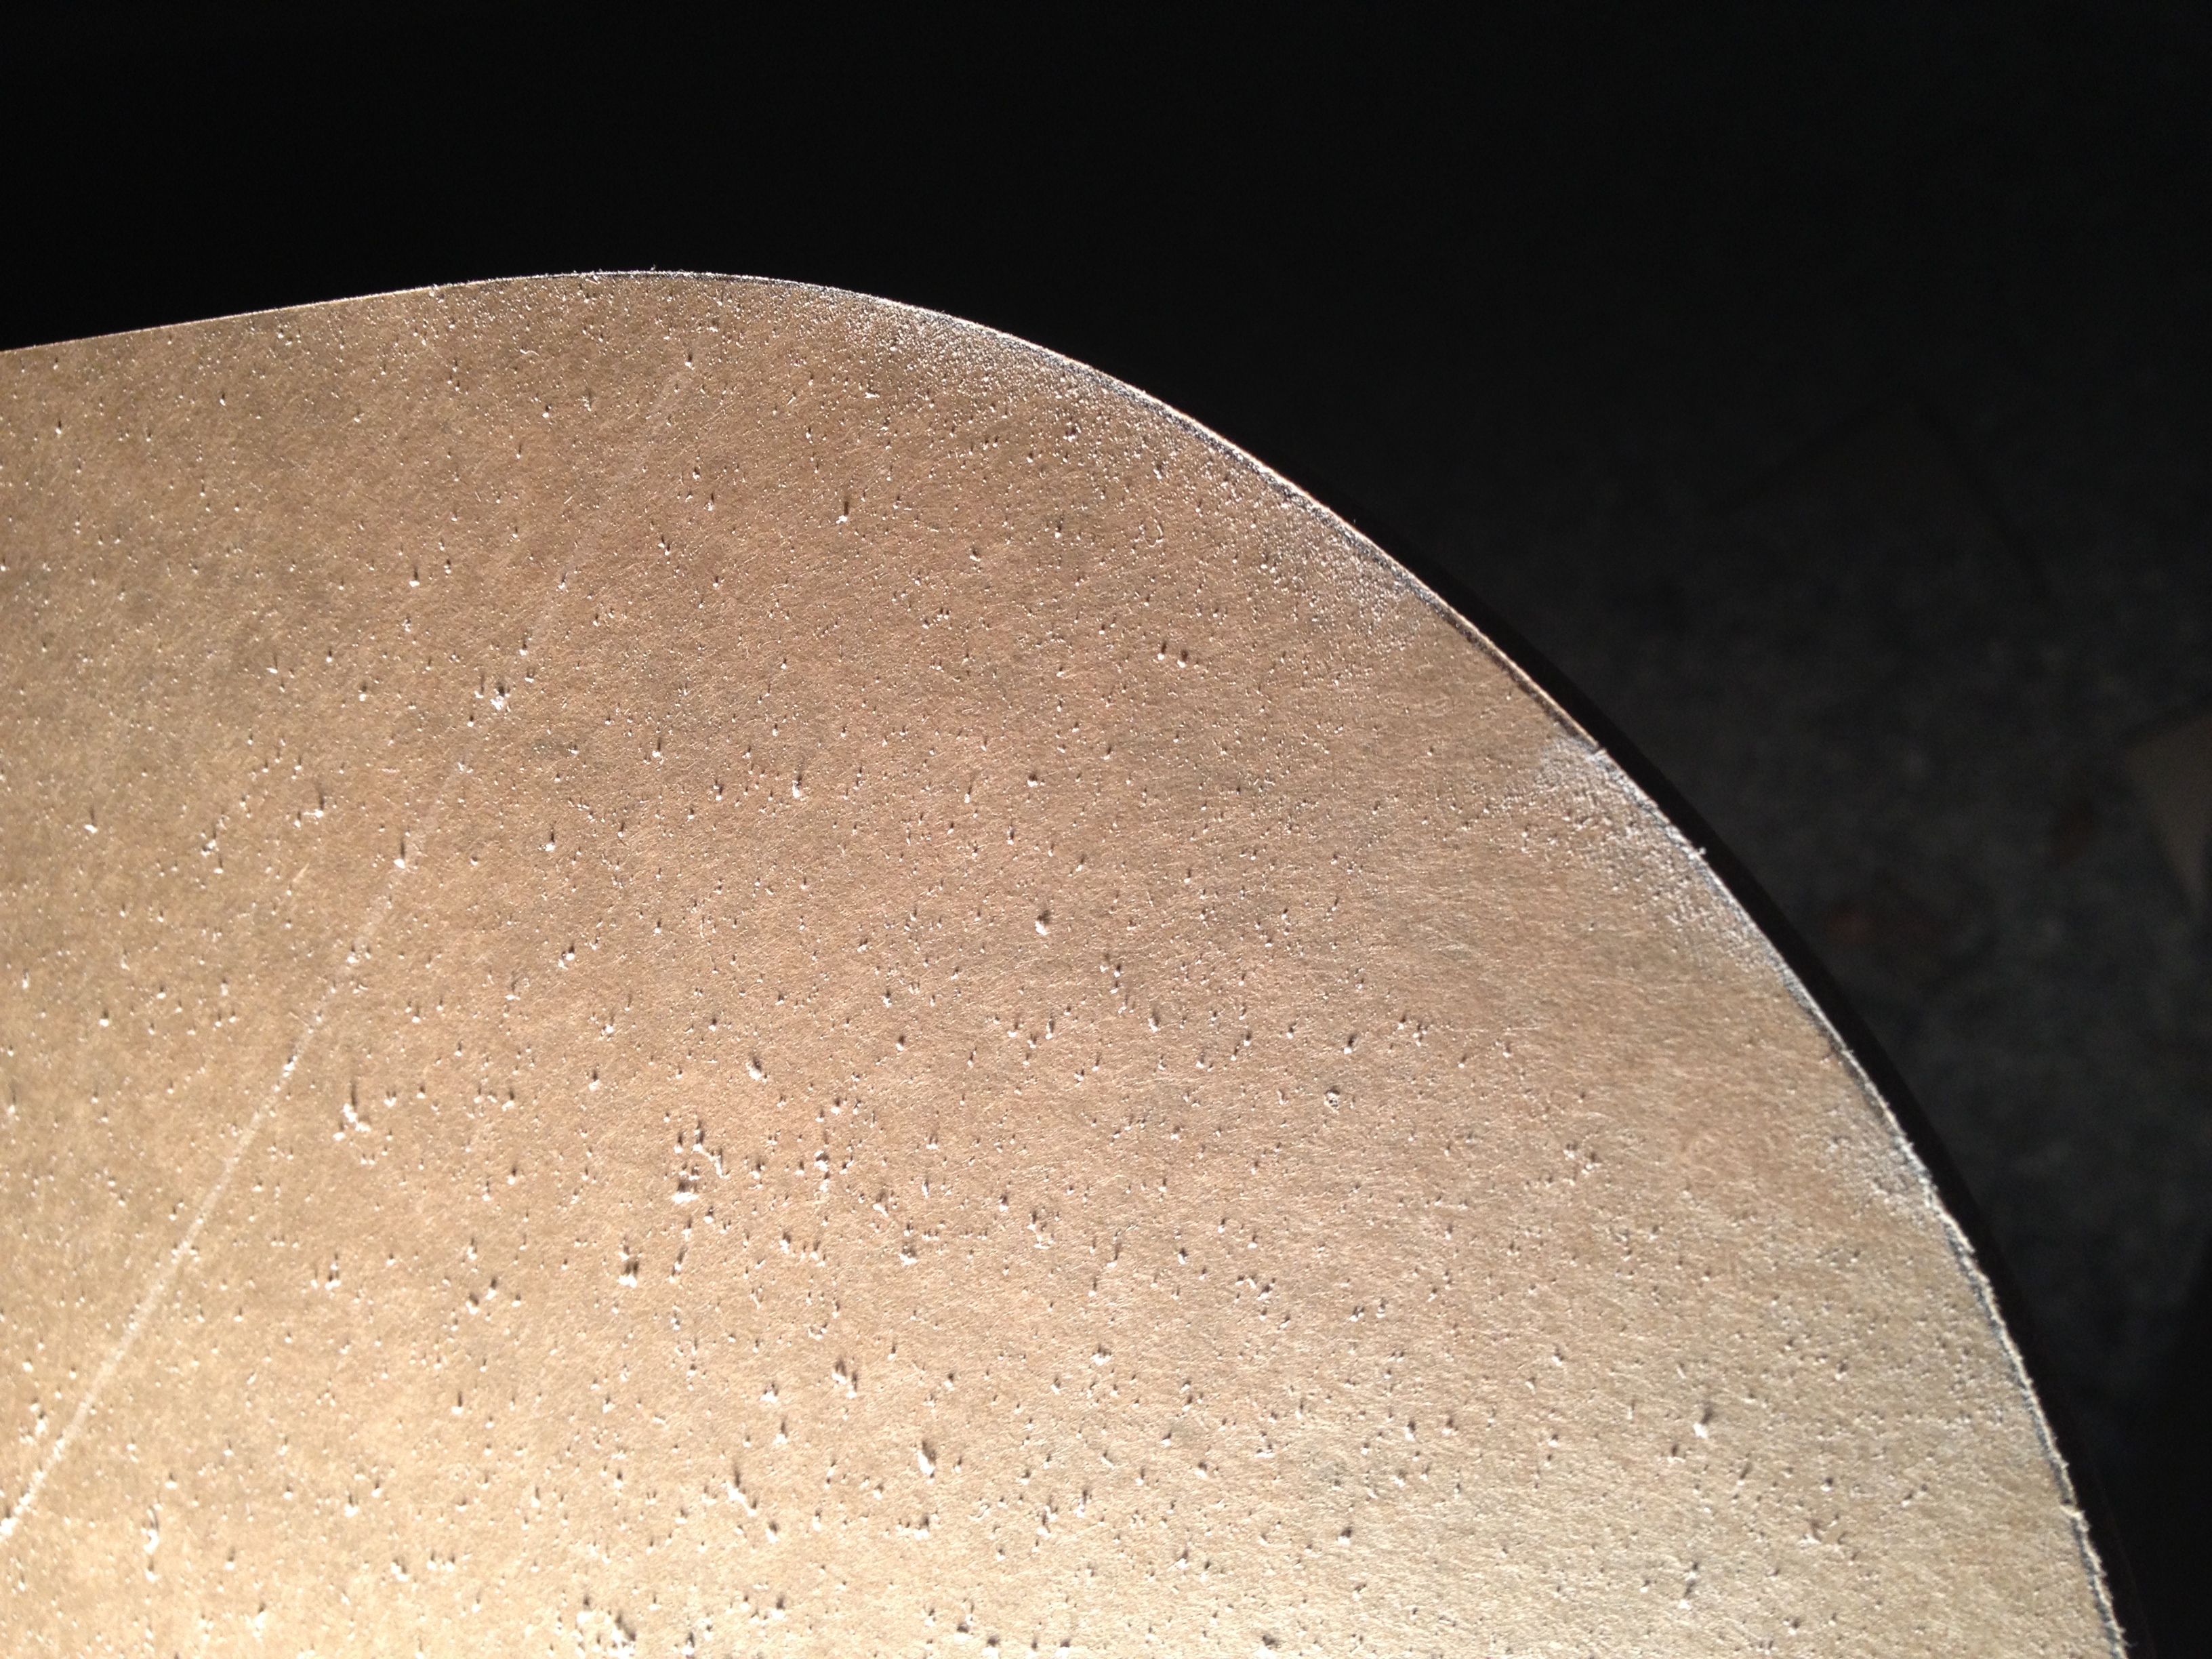
- Clean window edge after sanding. I eventually used a block to sand the edges down even cleaner with 150 grit.
-
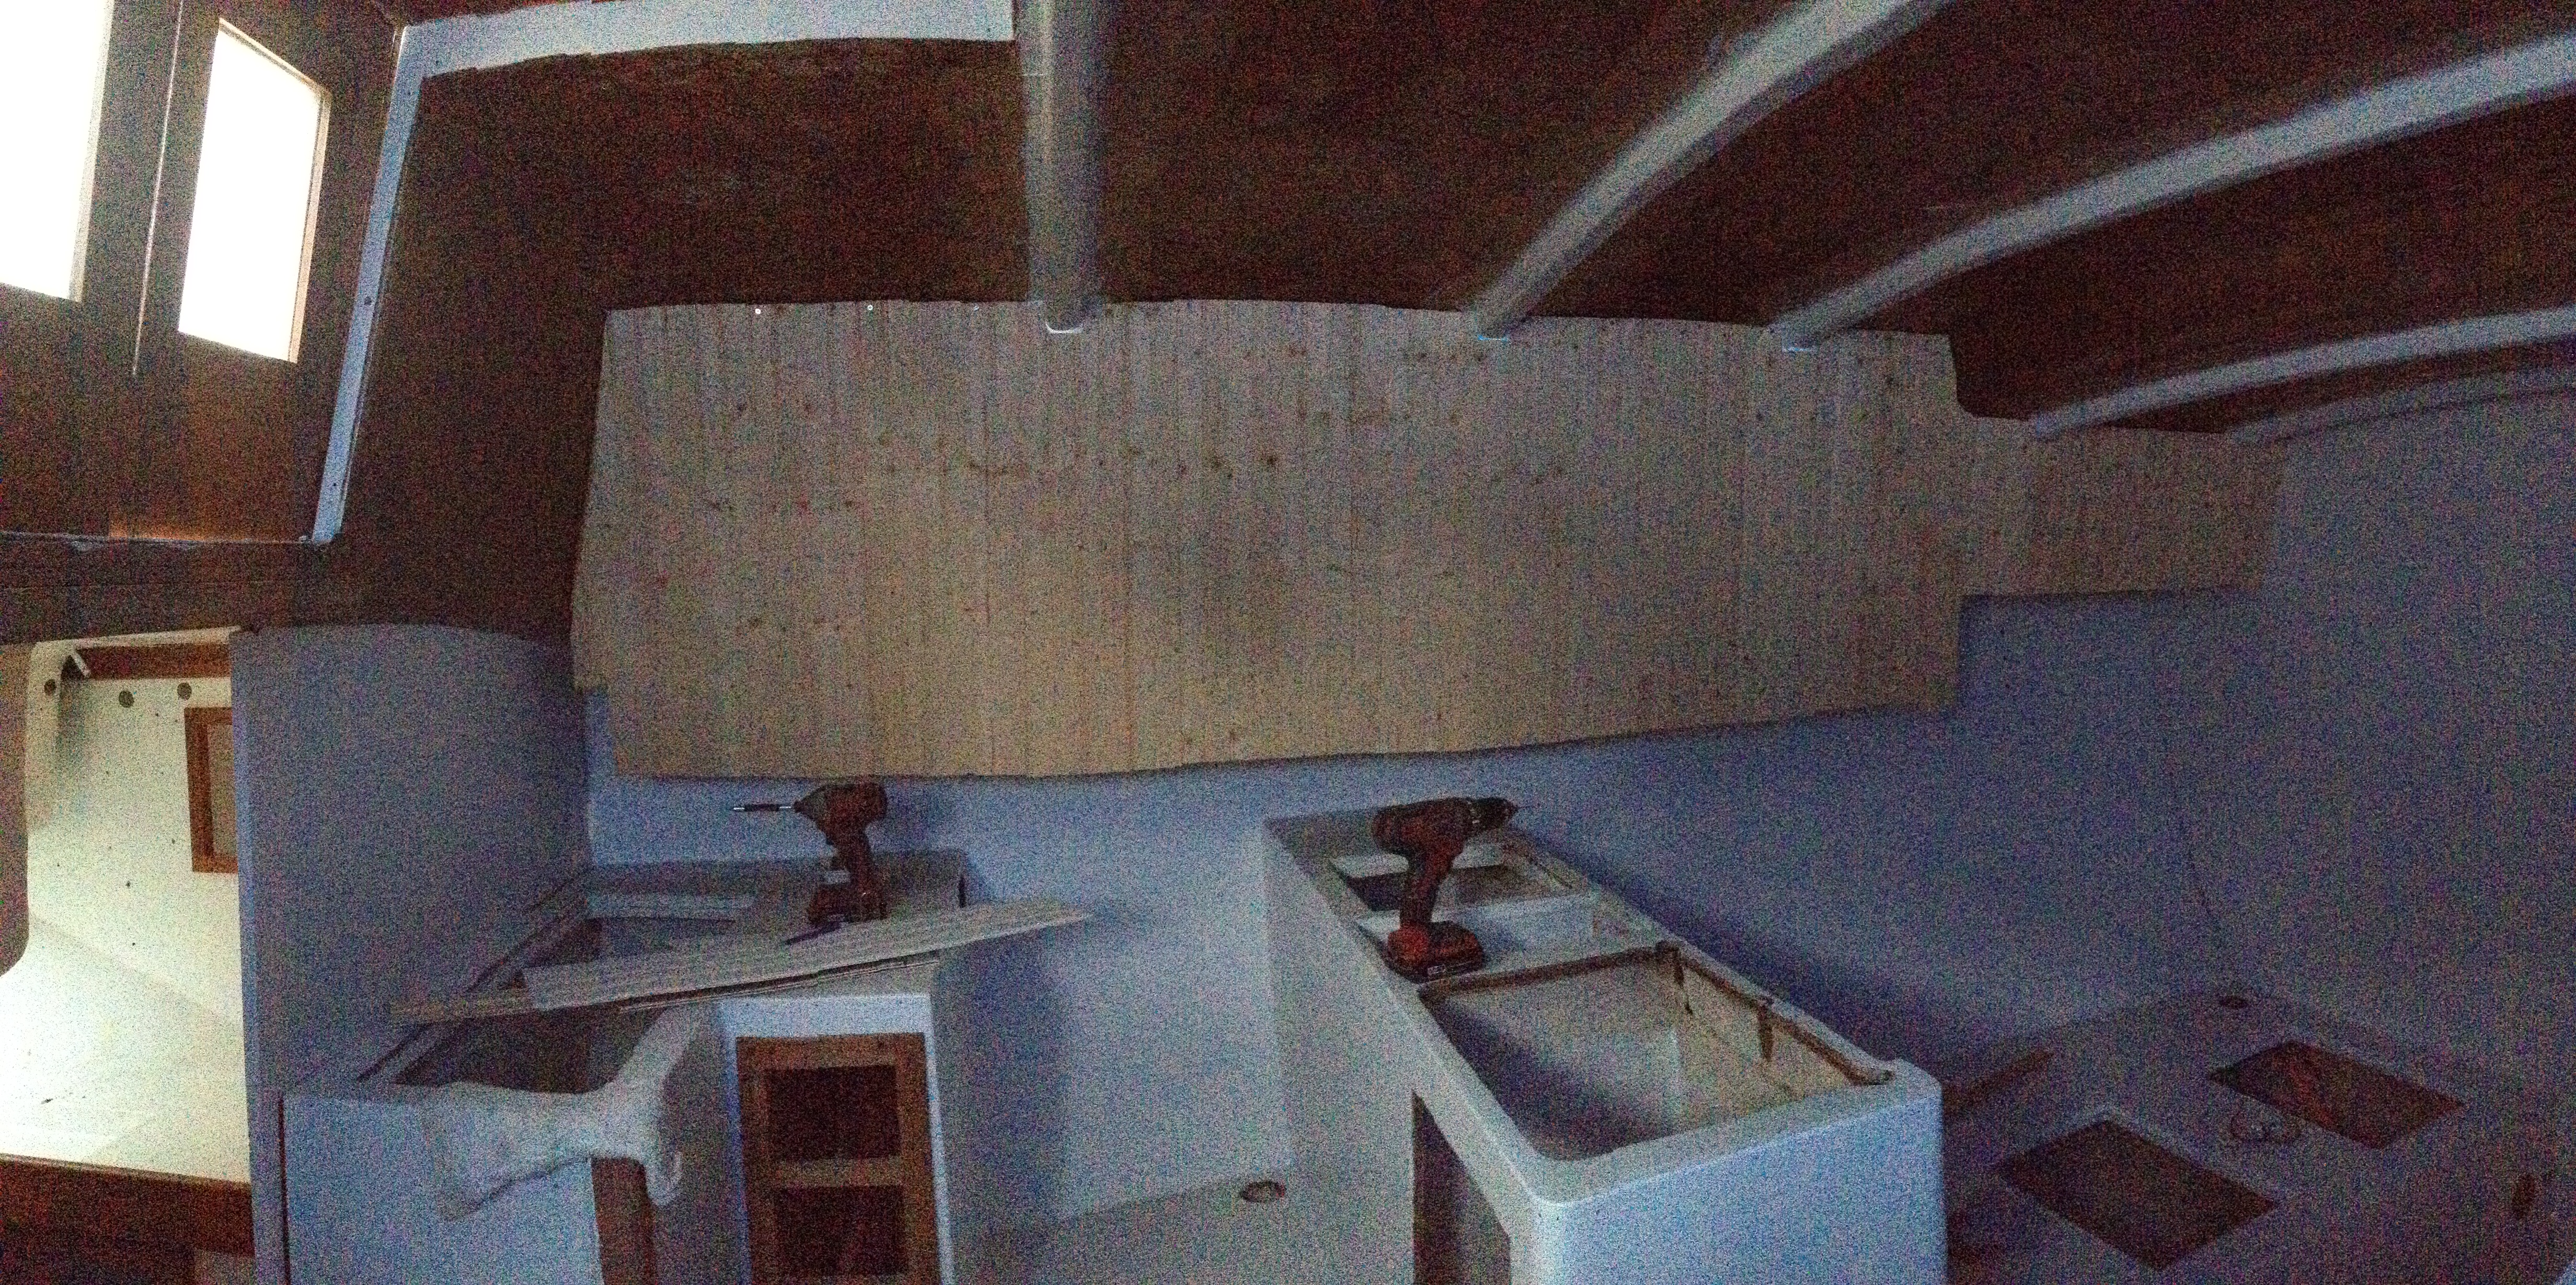
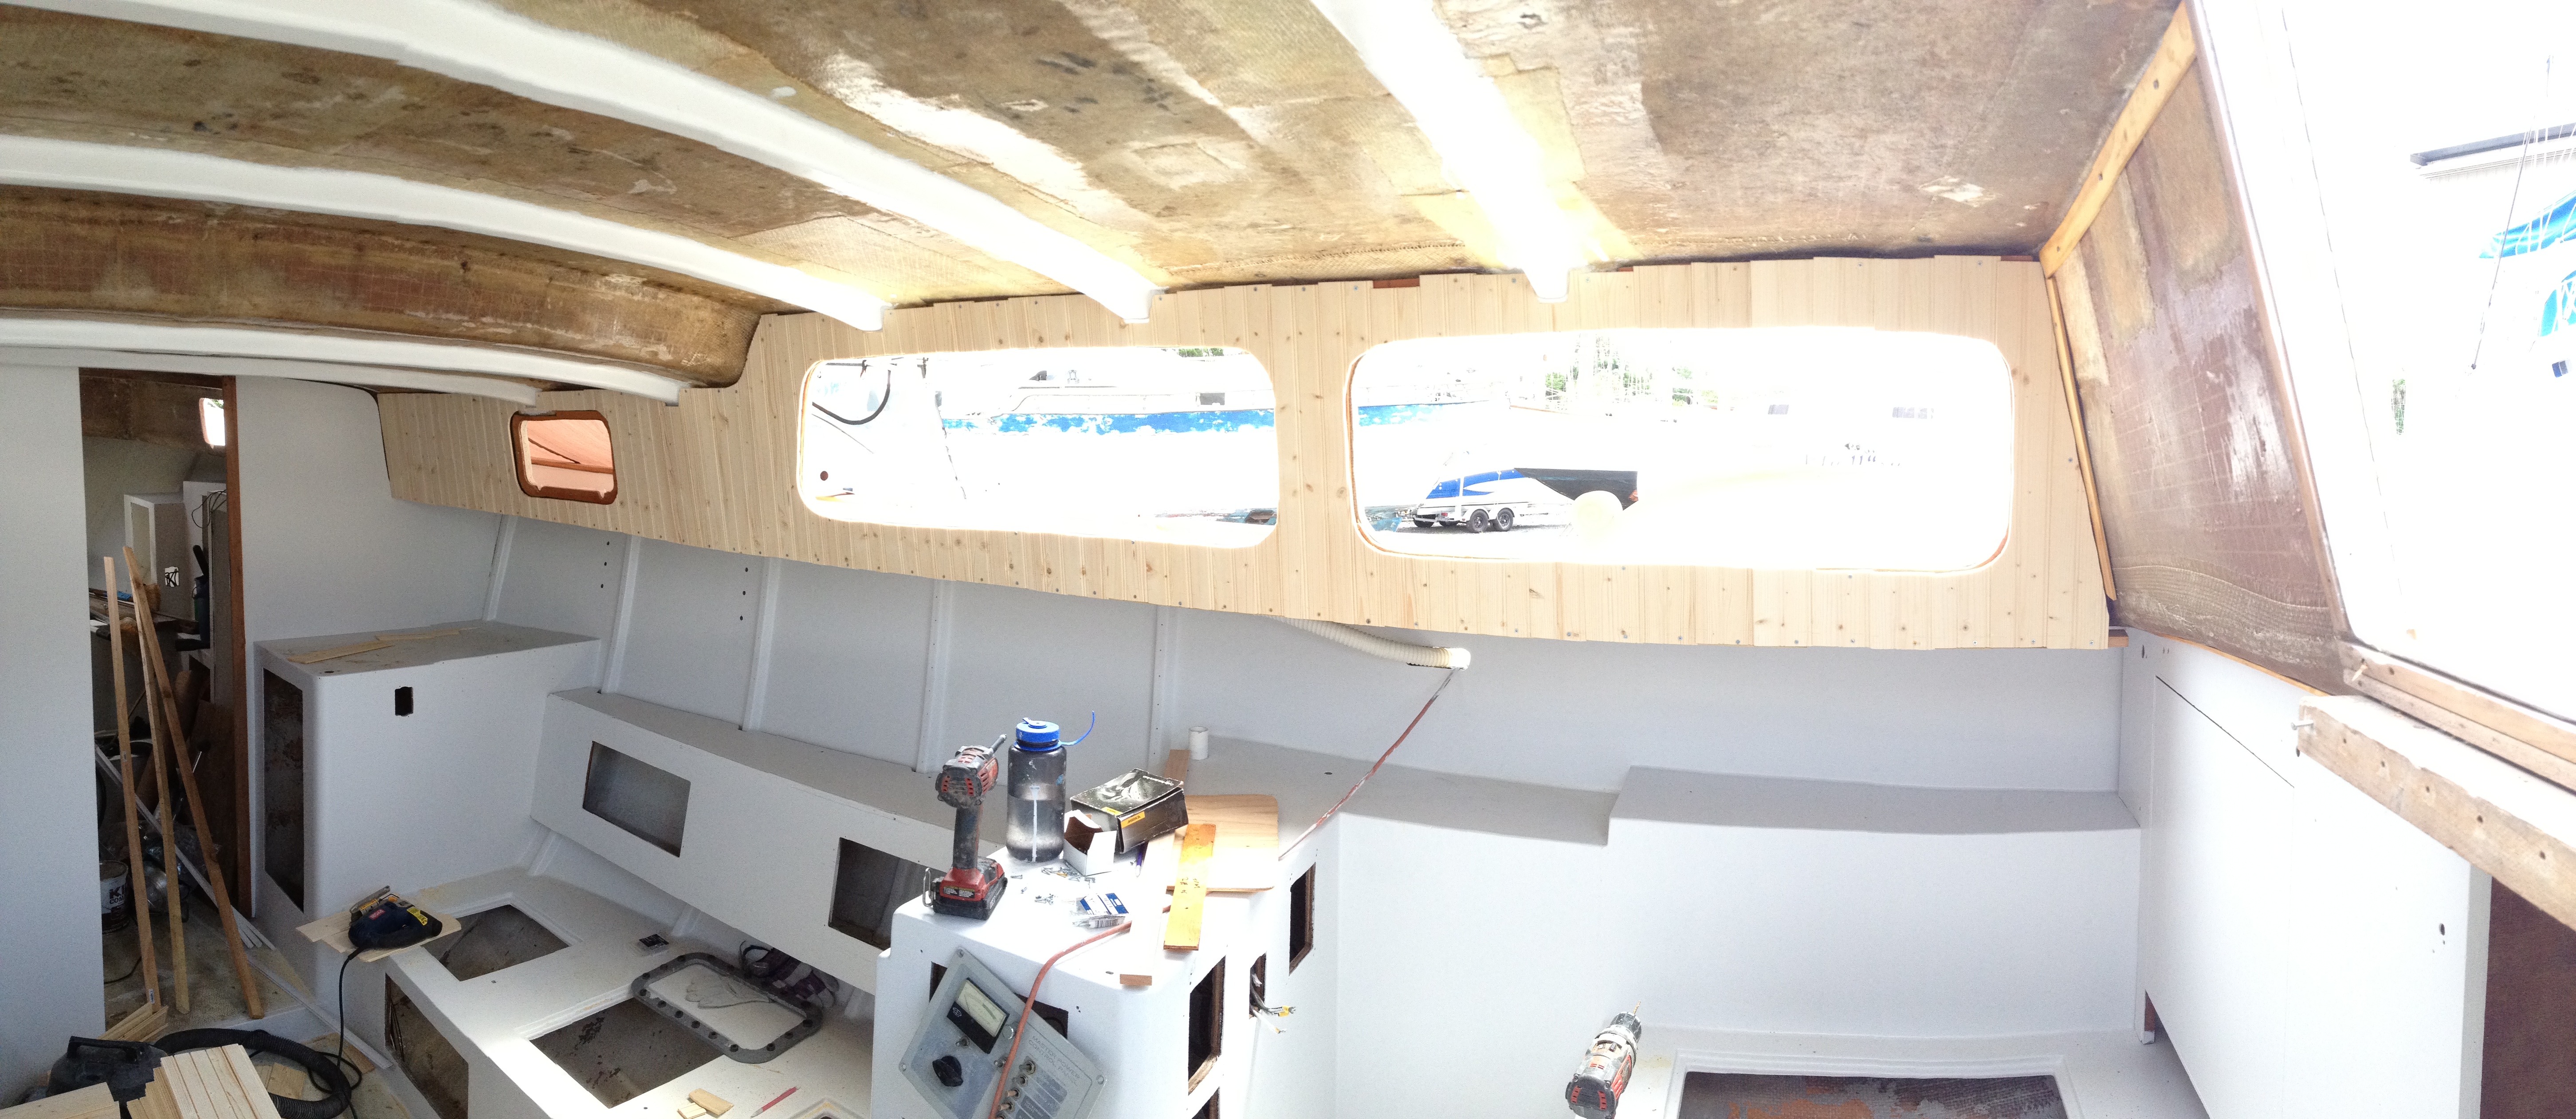
- Before windows can be installed, I needed to dry-fit my headliner replacement. I am using tongue and groove bead-board to replace the liner with hard panels that can be removed as needed. Here is a dry fit before cutting out windows.
-
- Paneling in place with windows cut out. Would have been very hard to trace out those windows if they were in place!
-
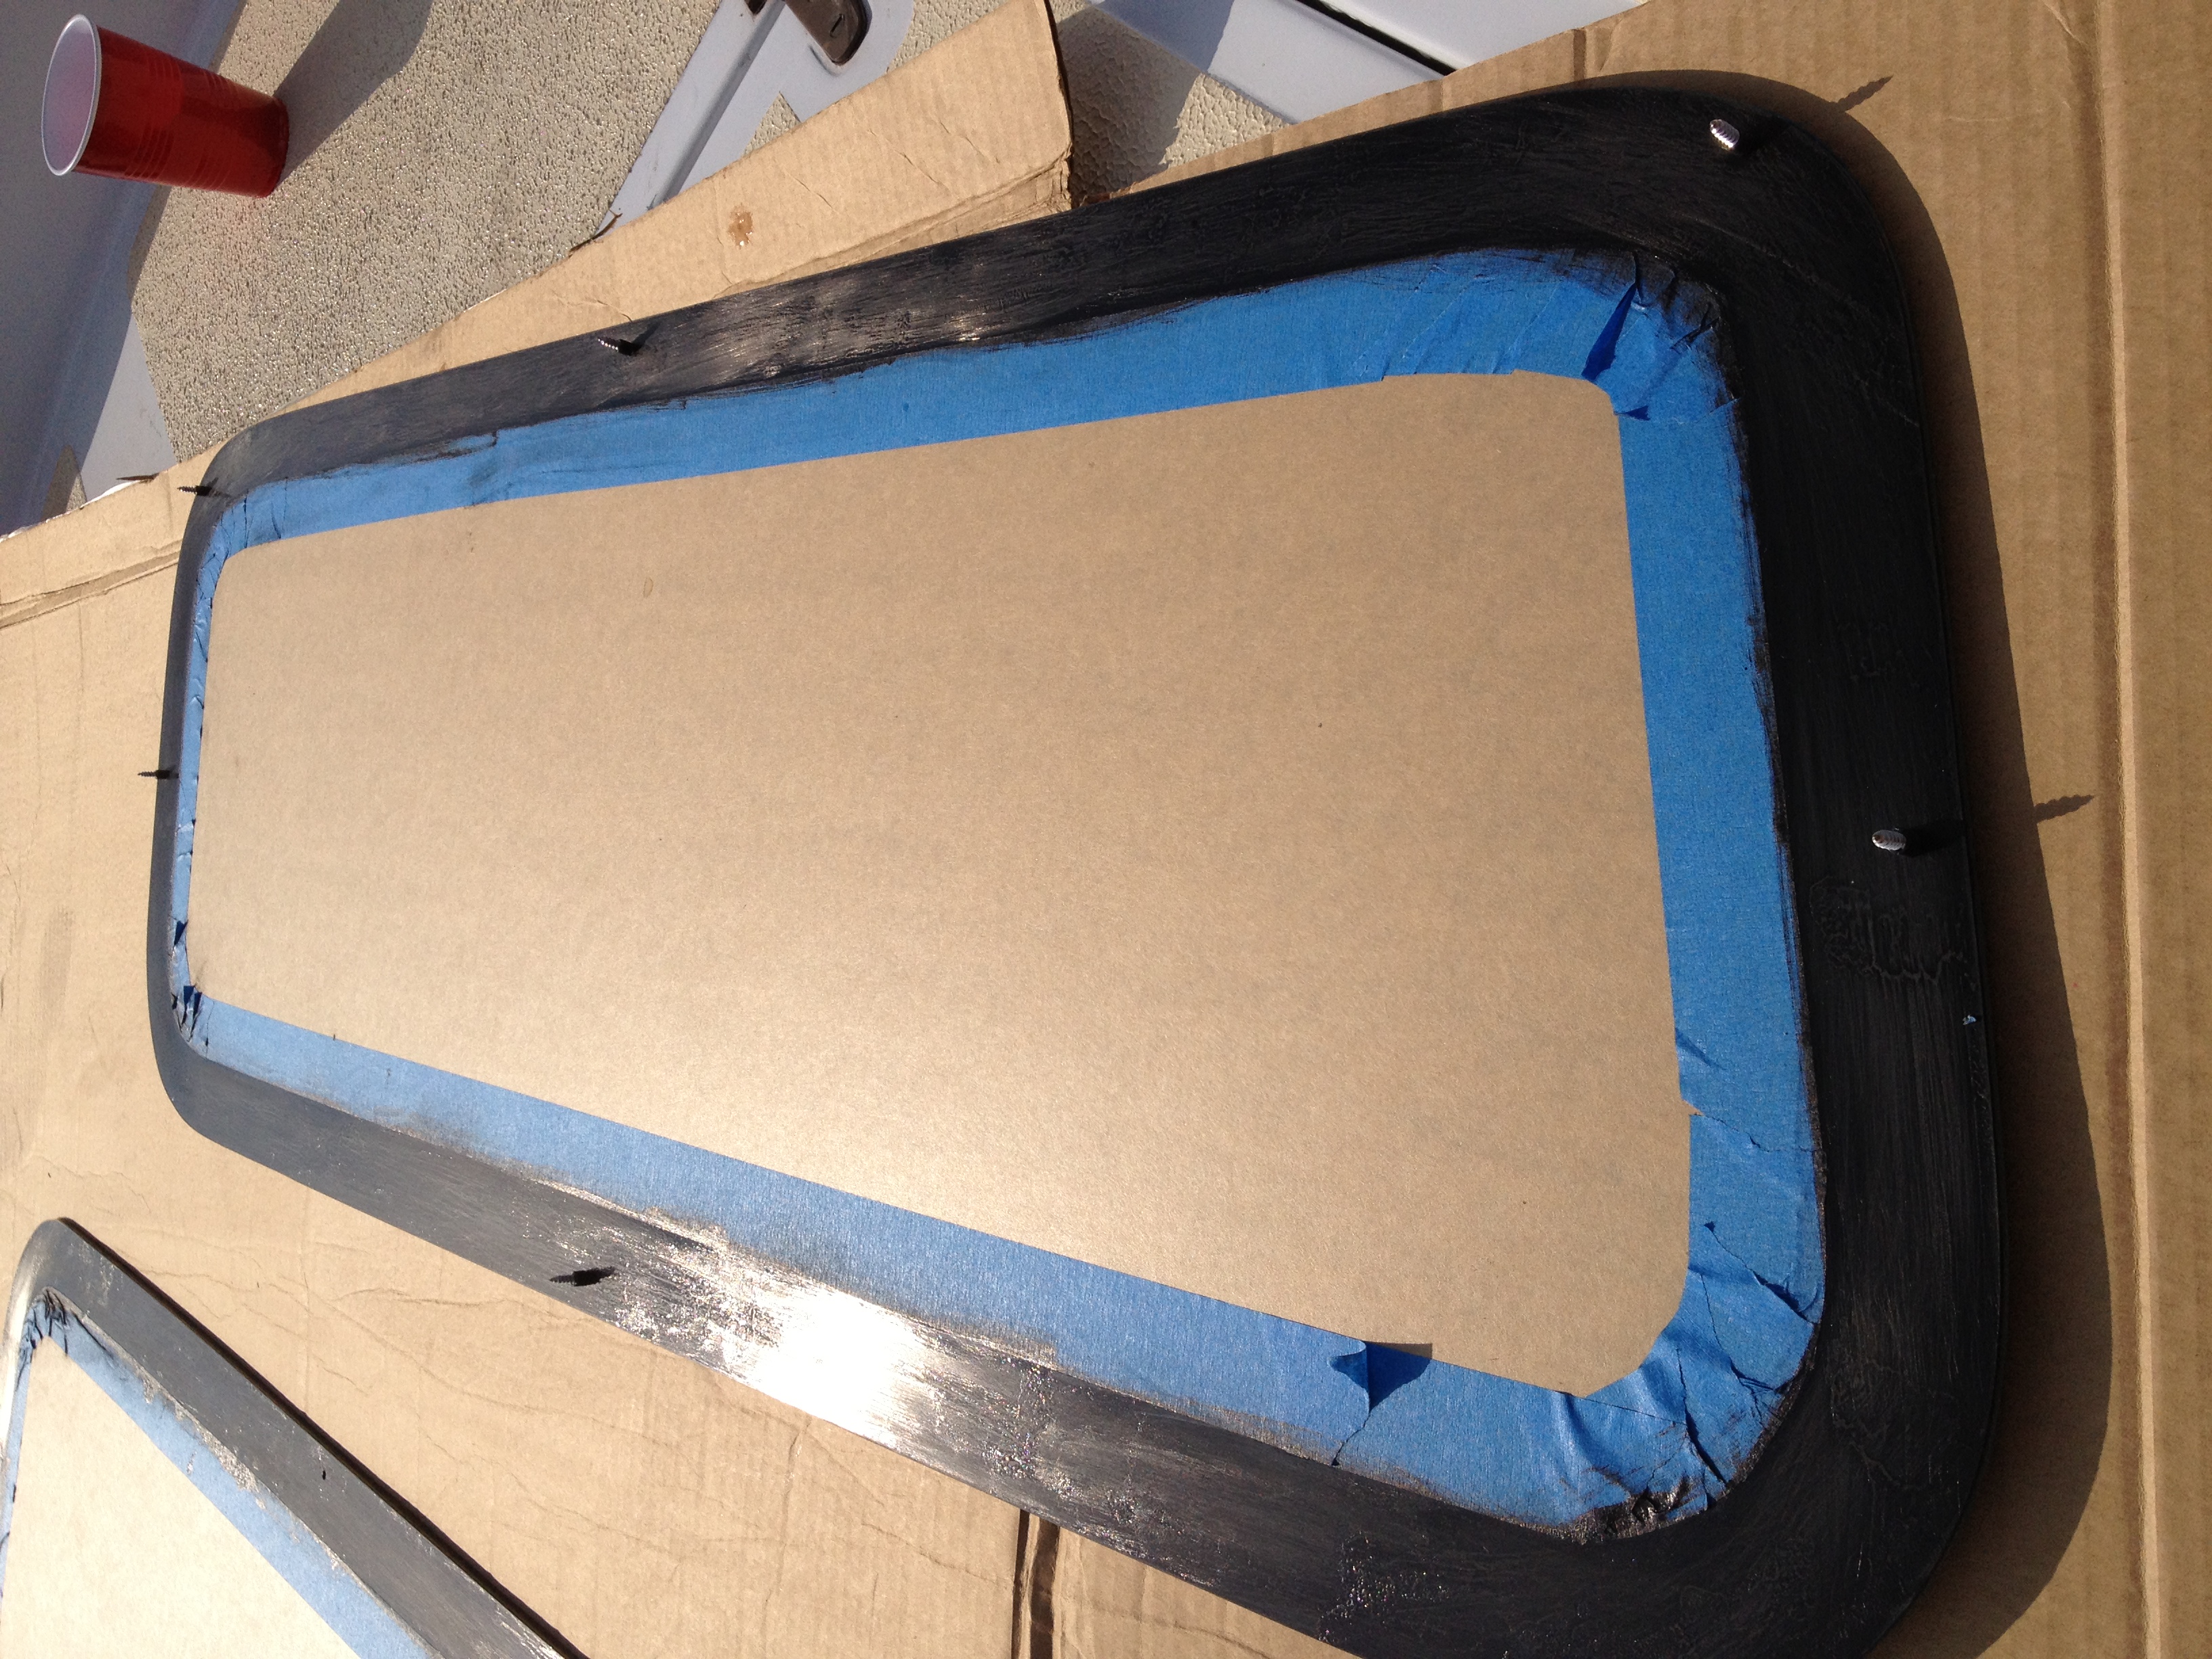
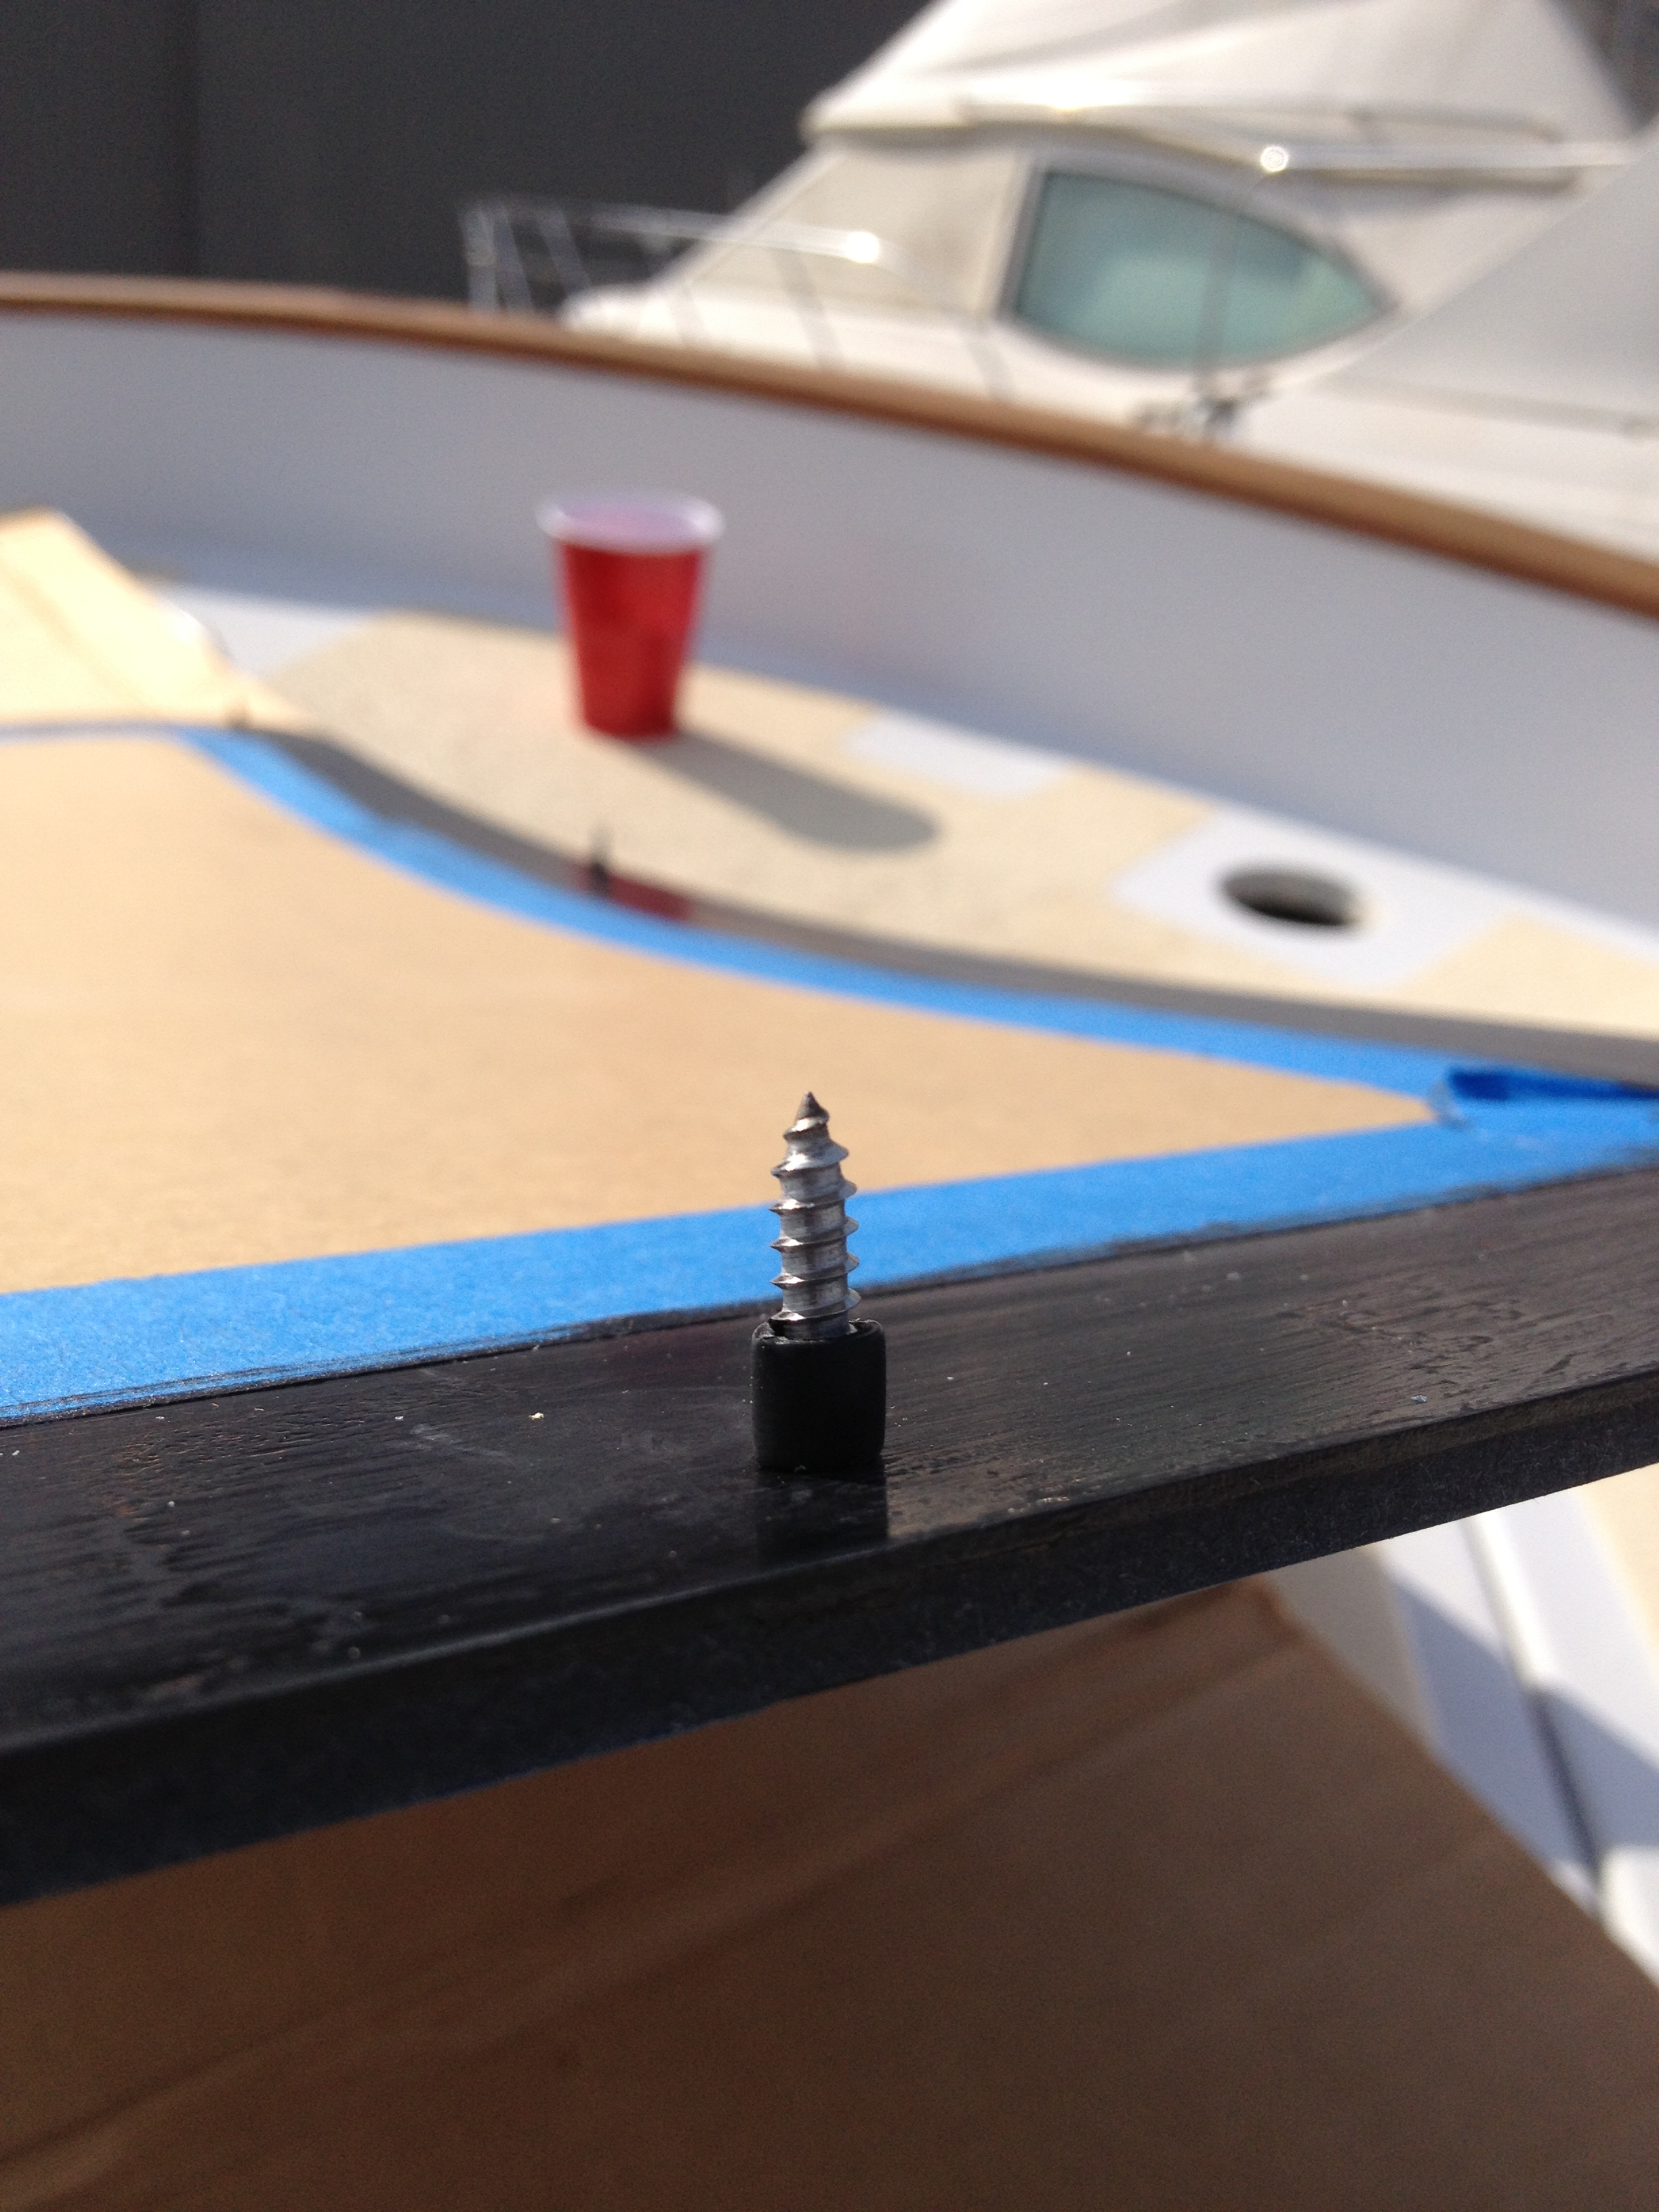
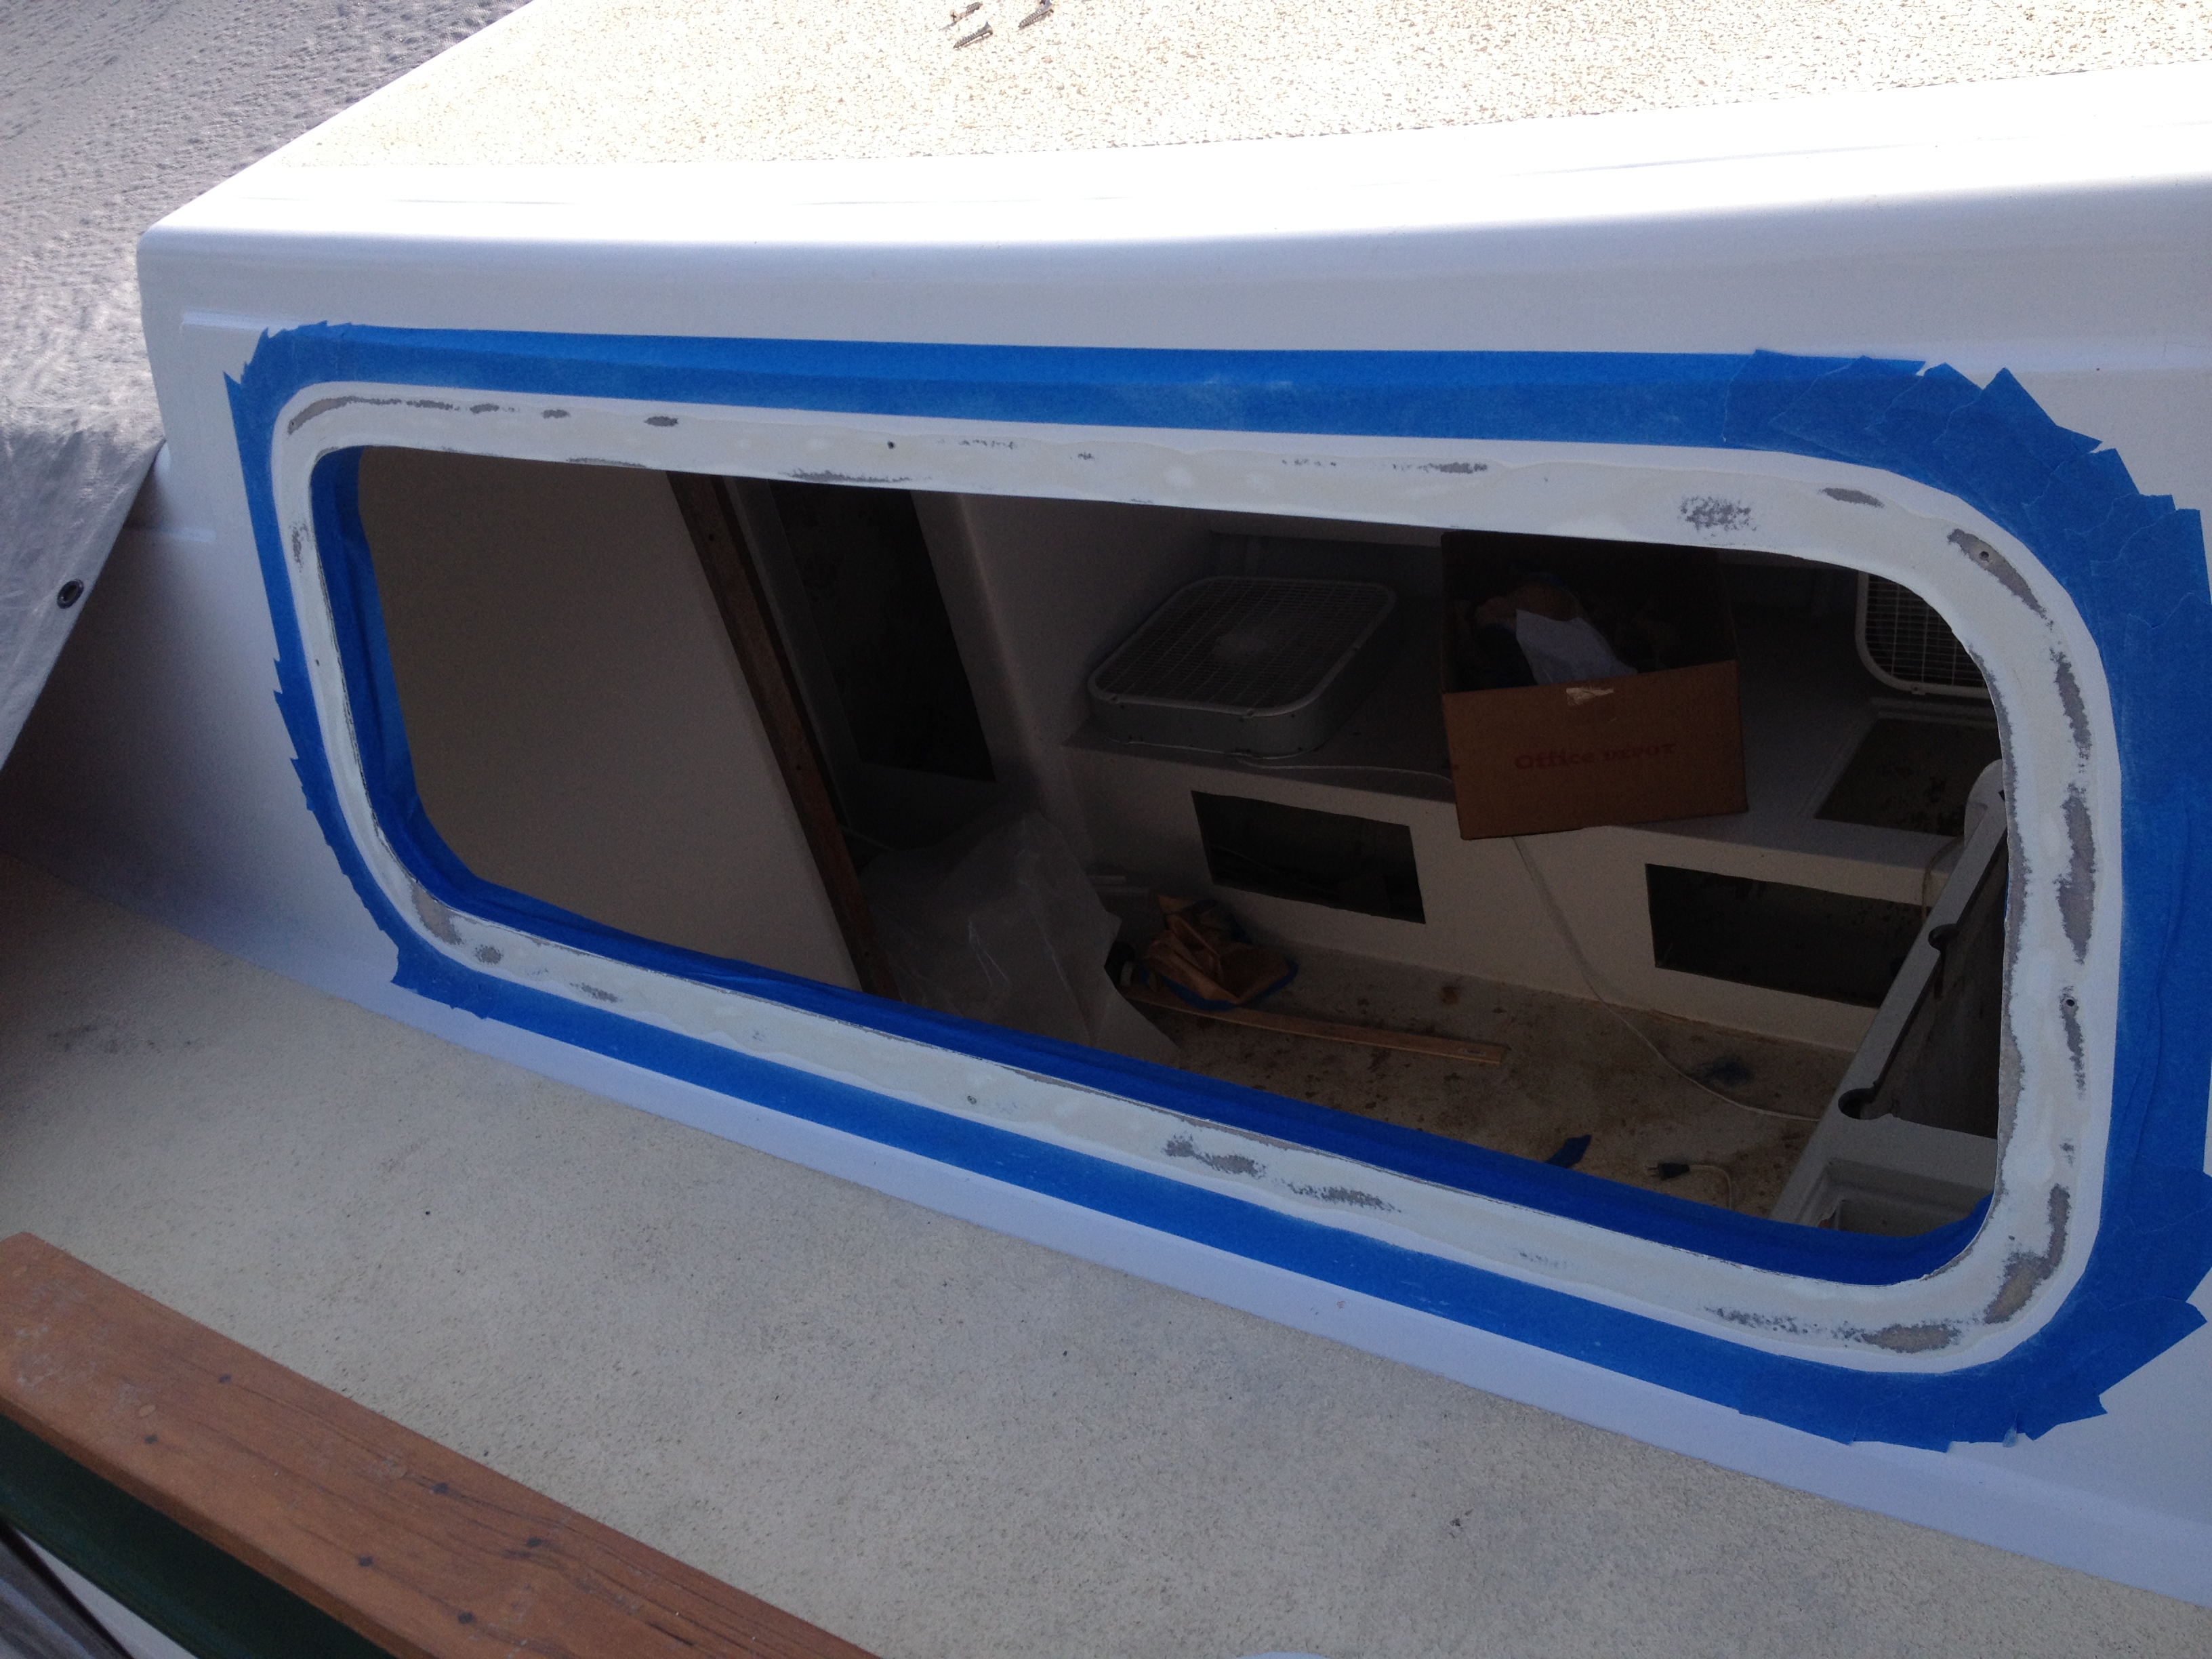
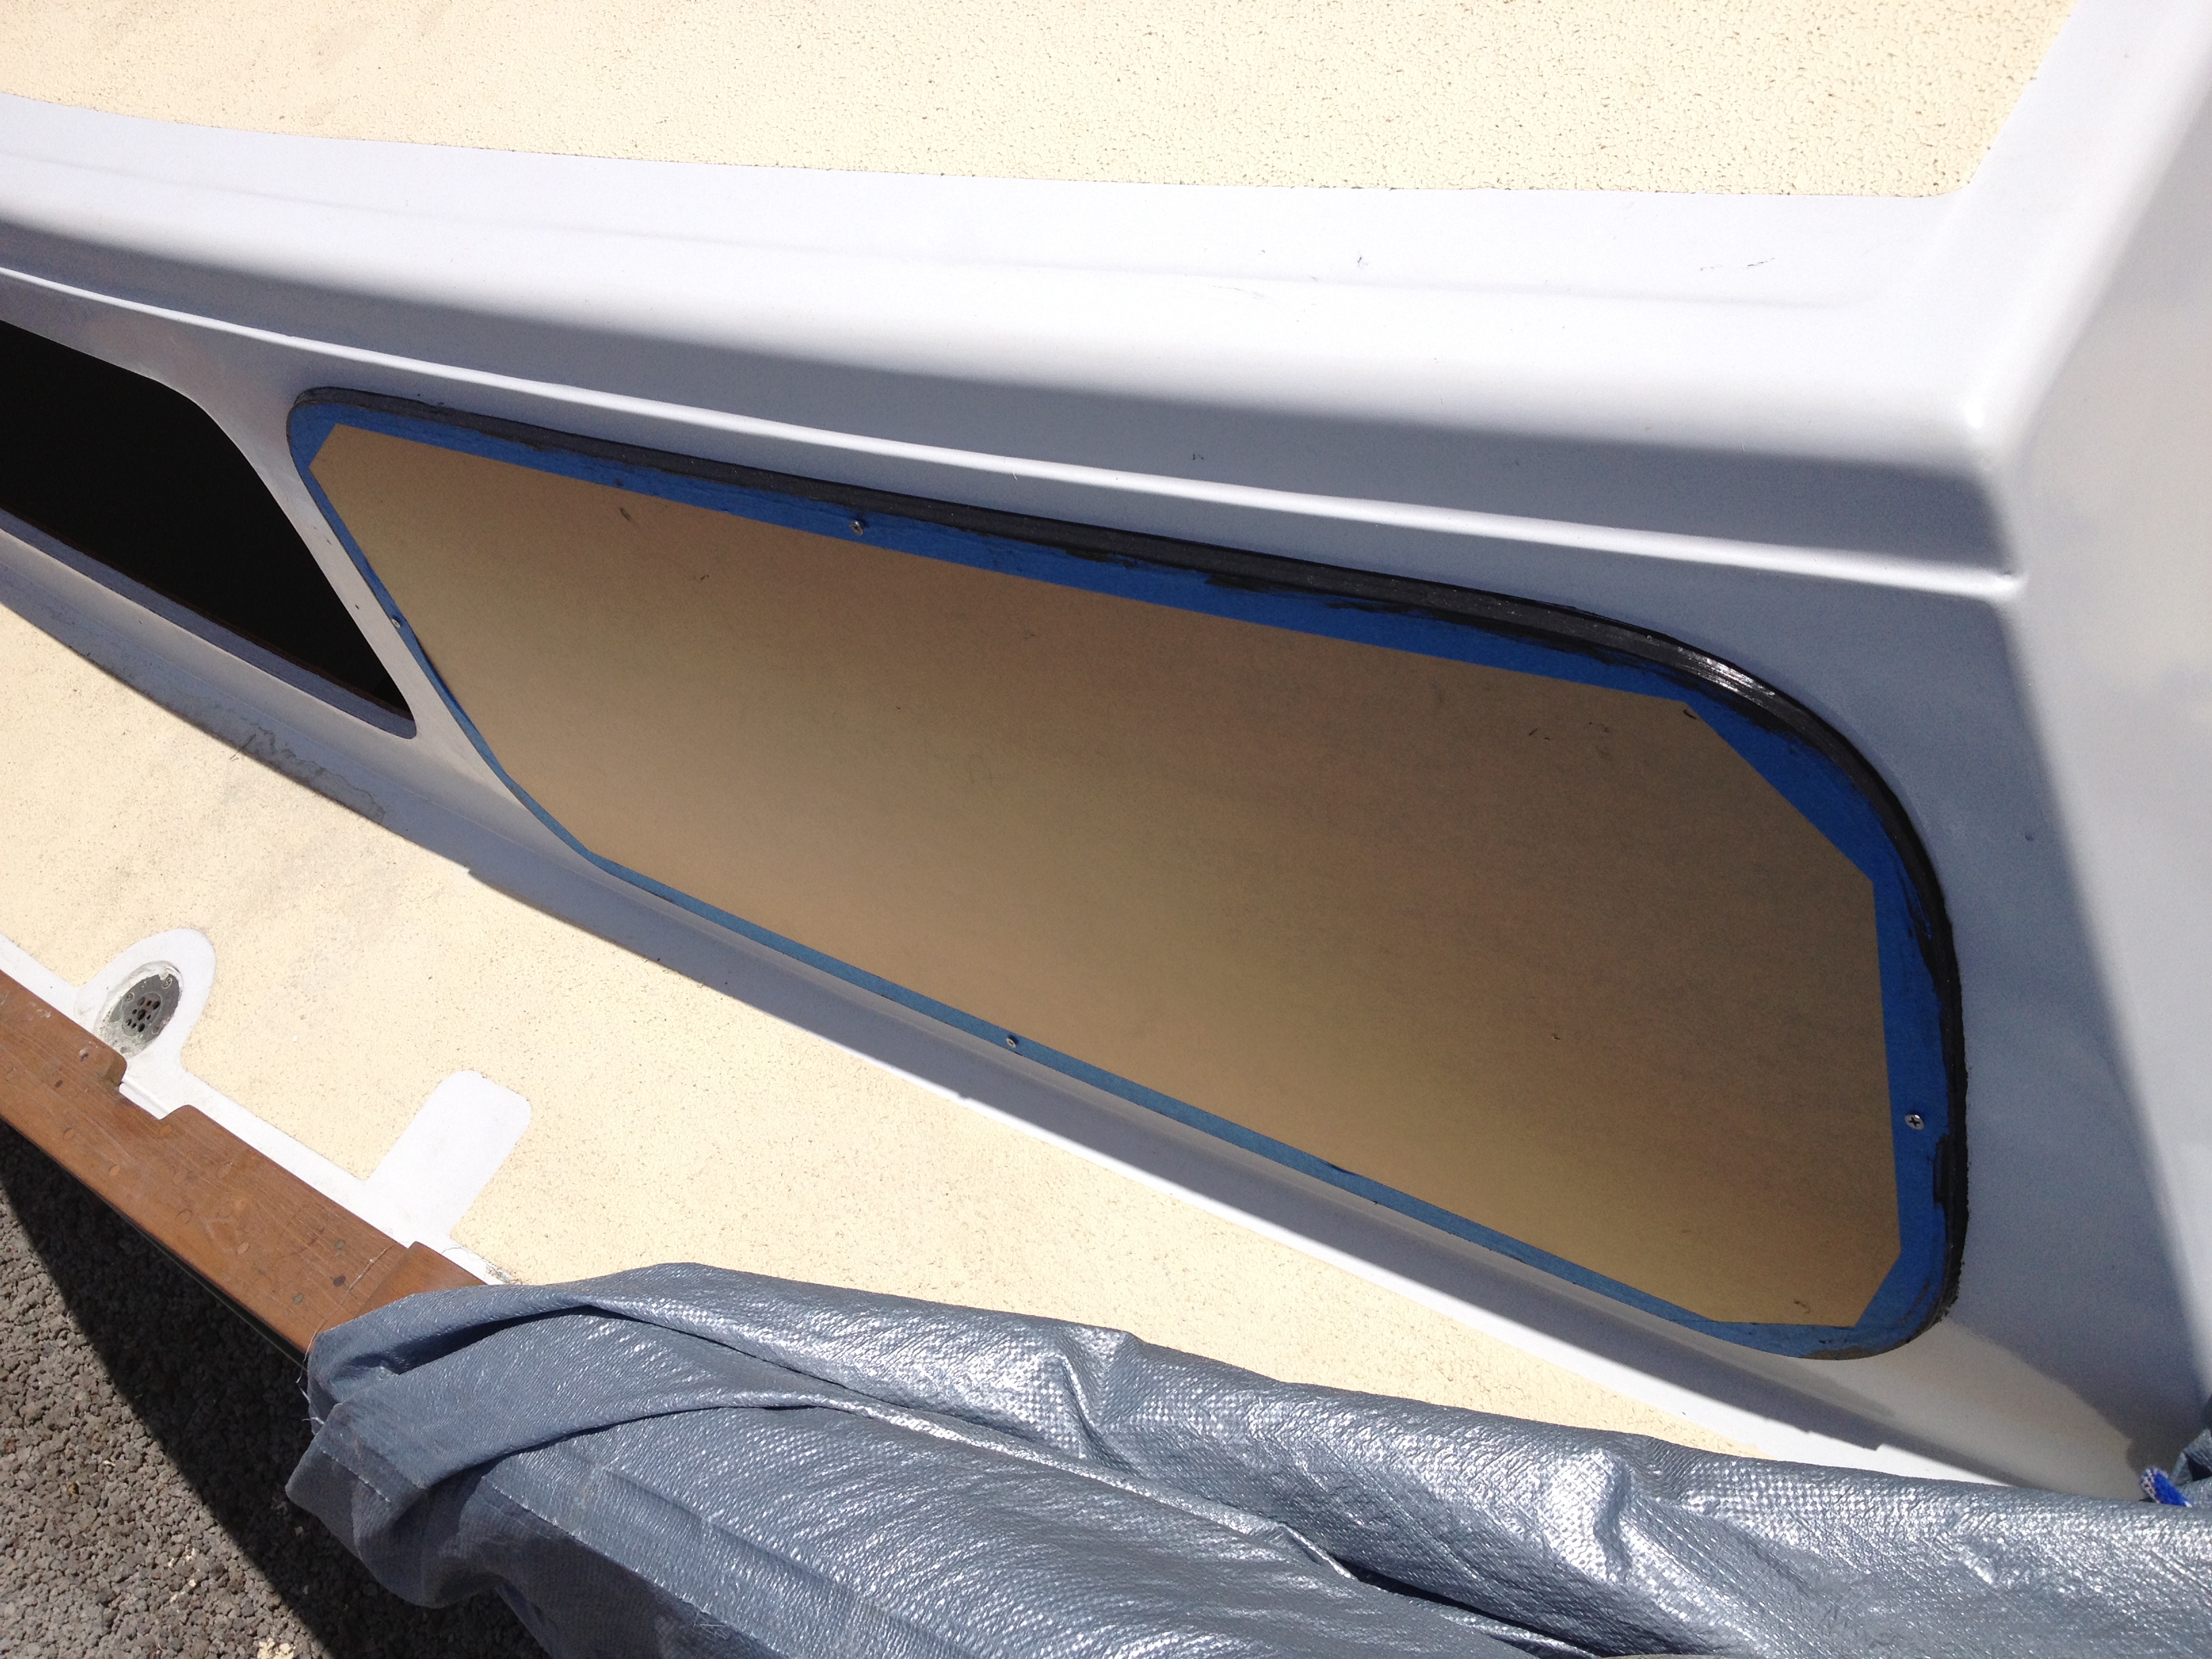
- Window all masked off ready to be installed. Notice the set screws that will be used to hold the window in place while the 795 cures.
-

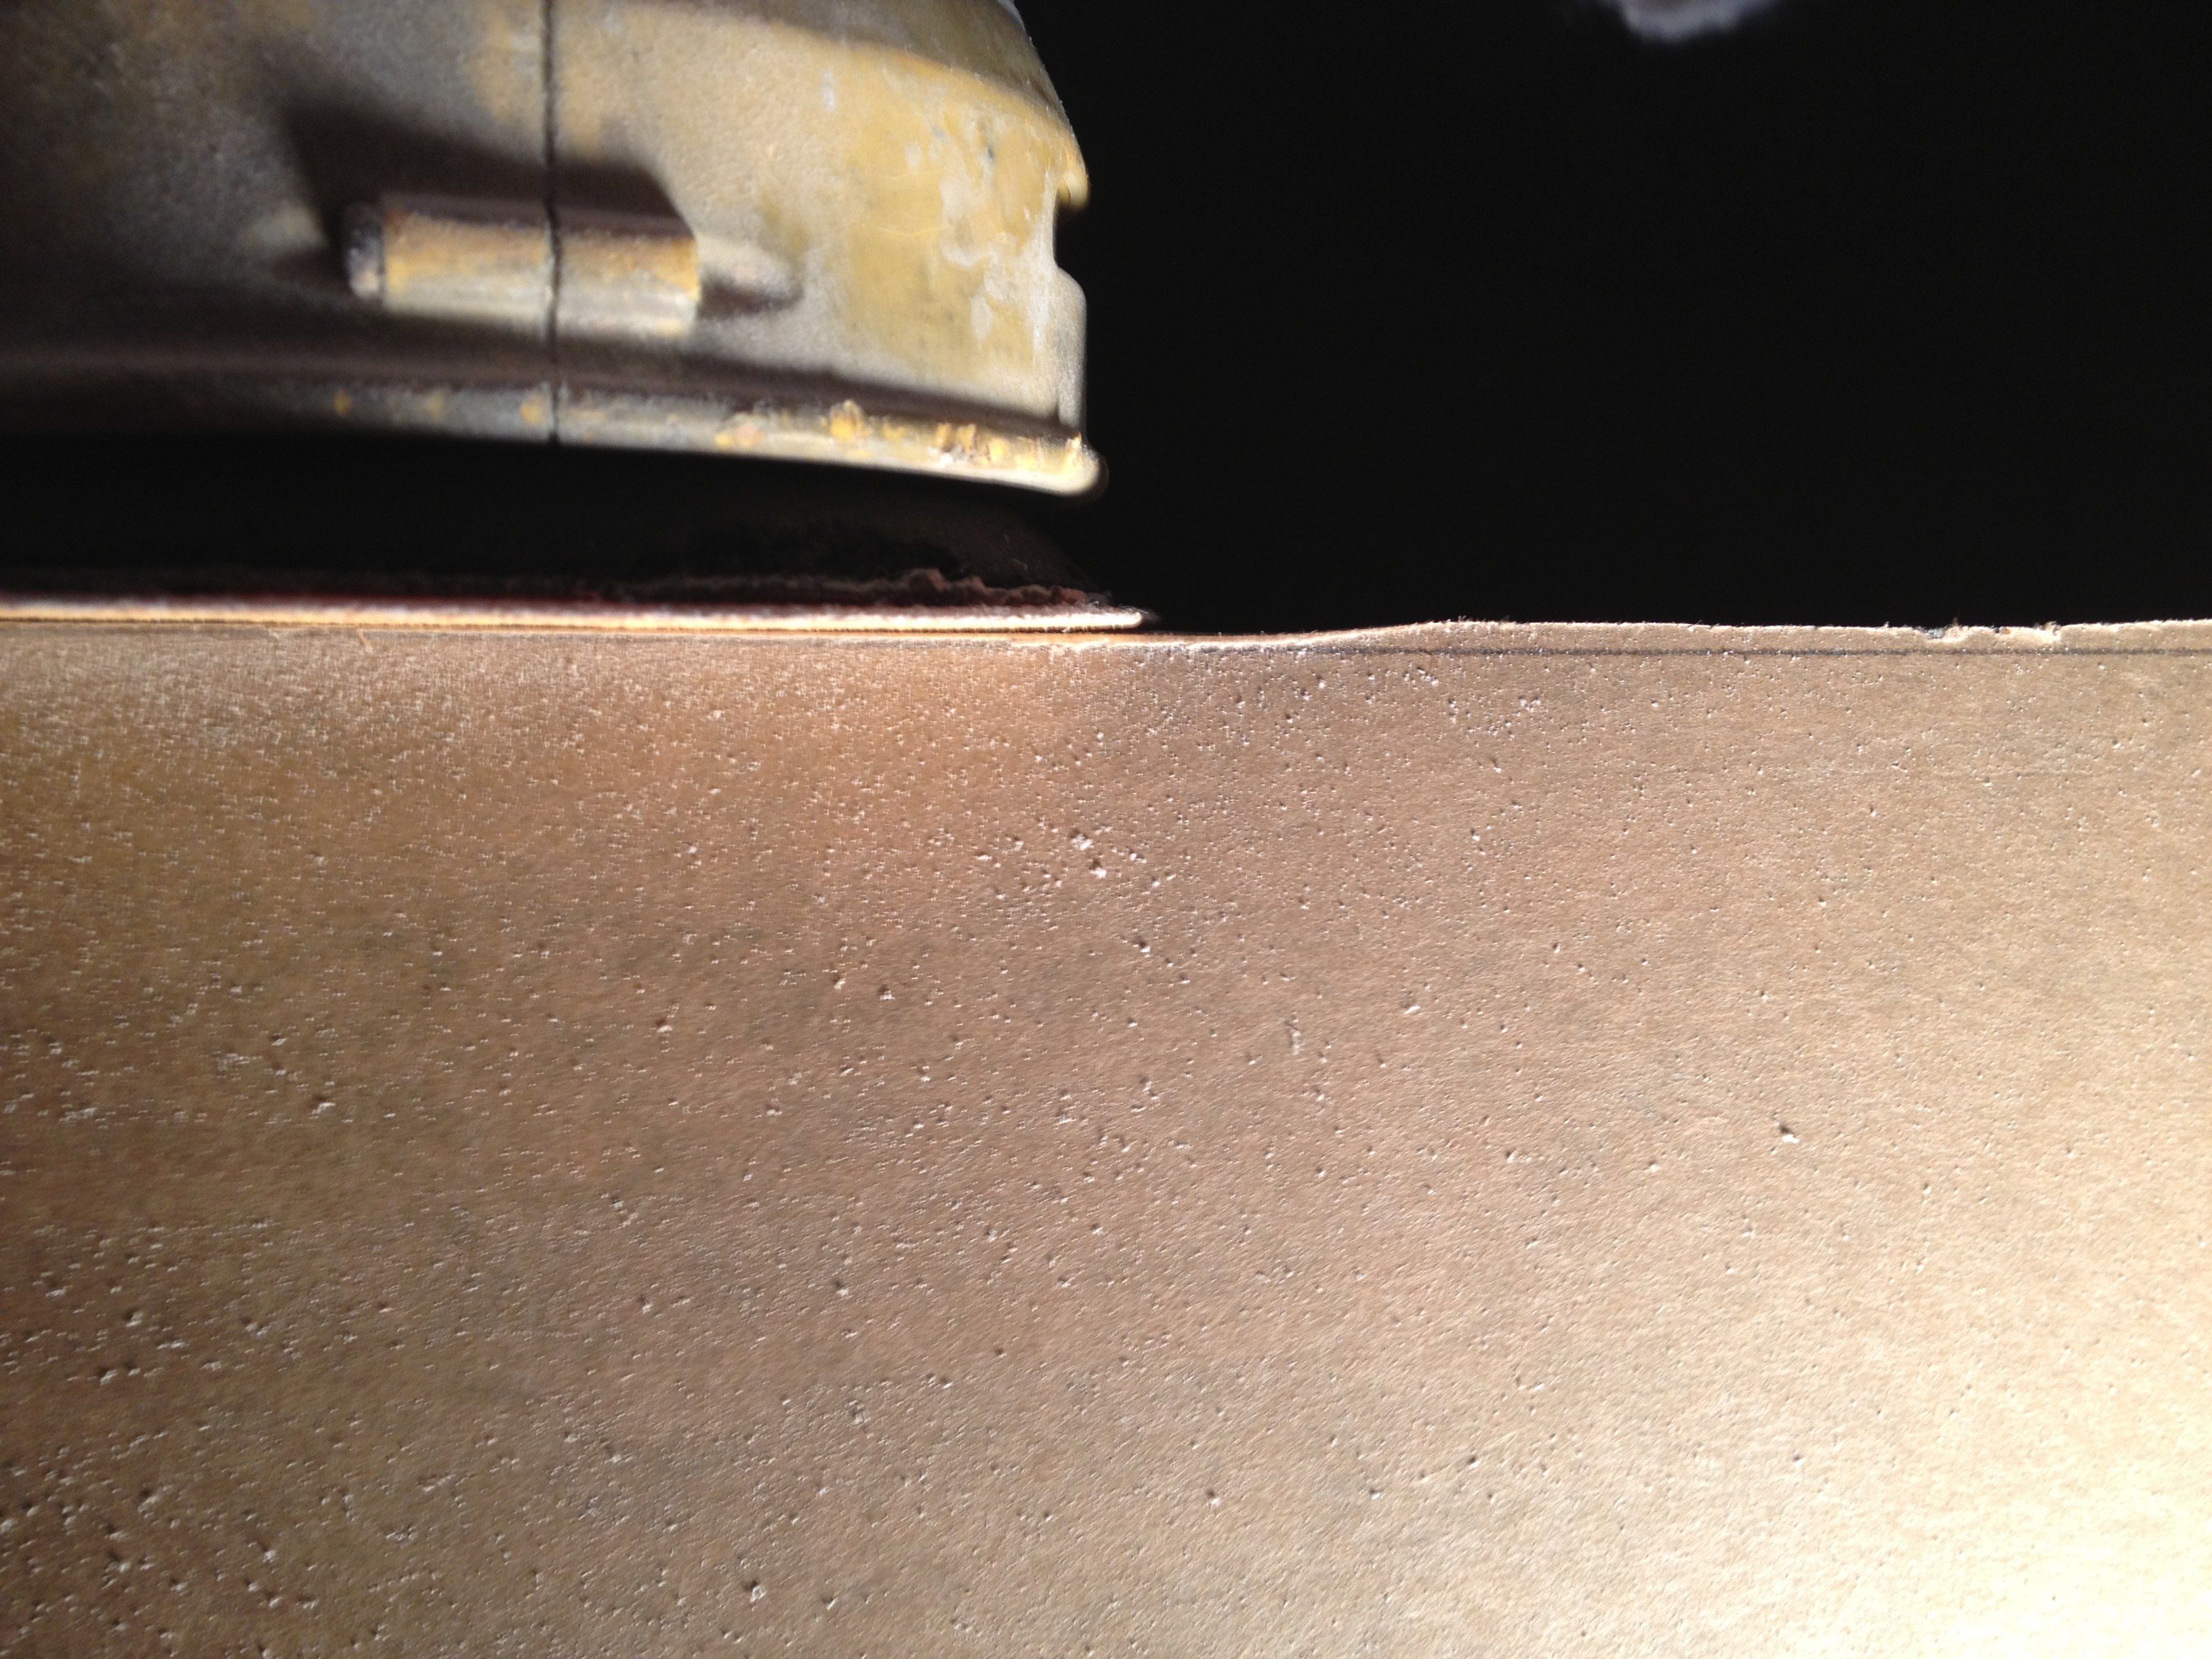
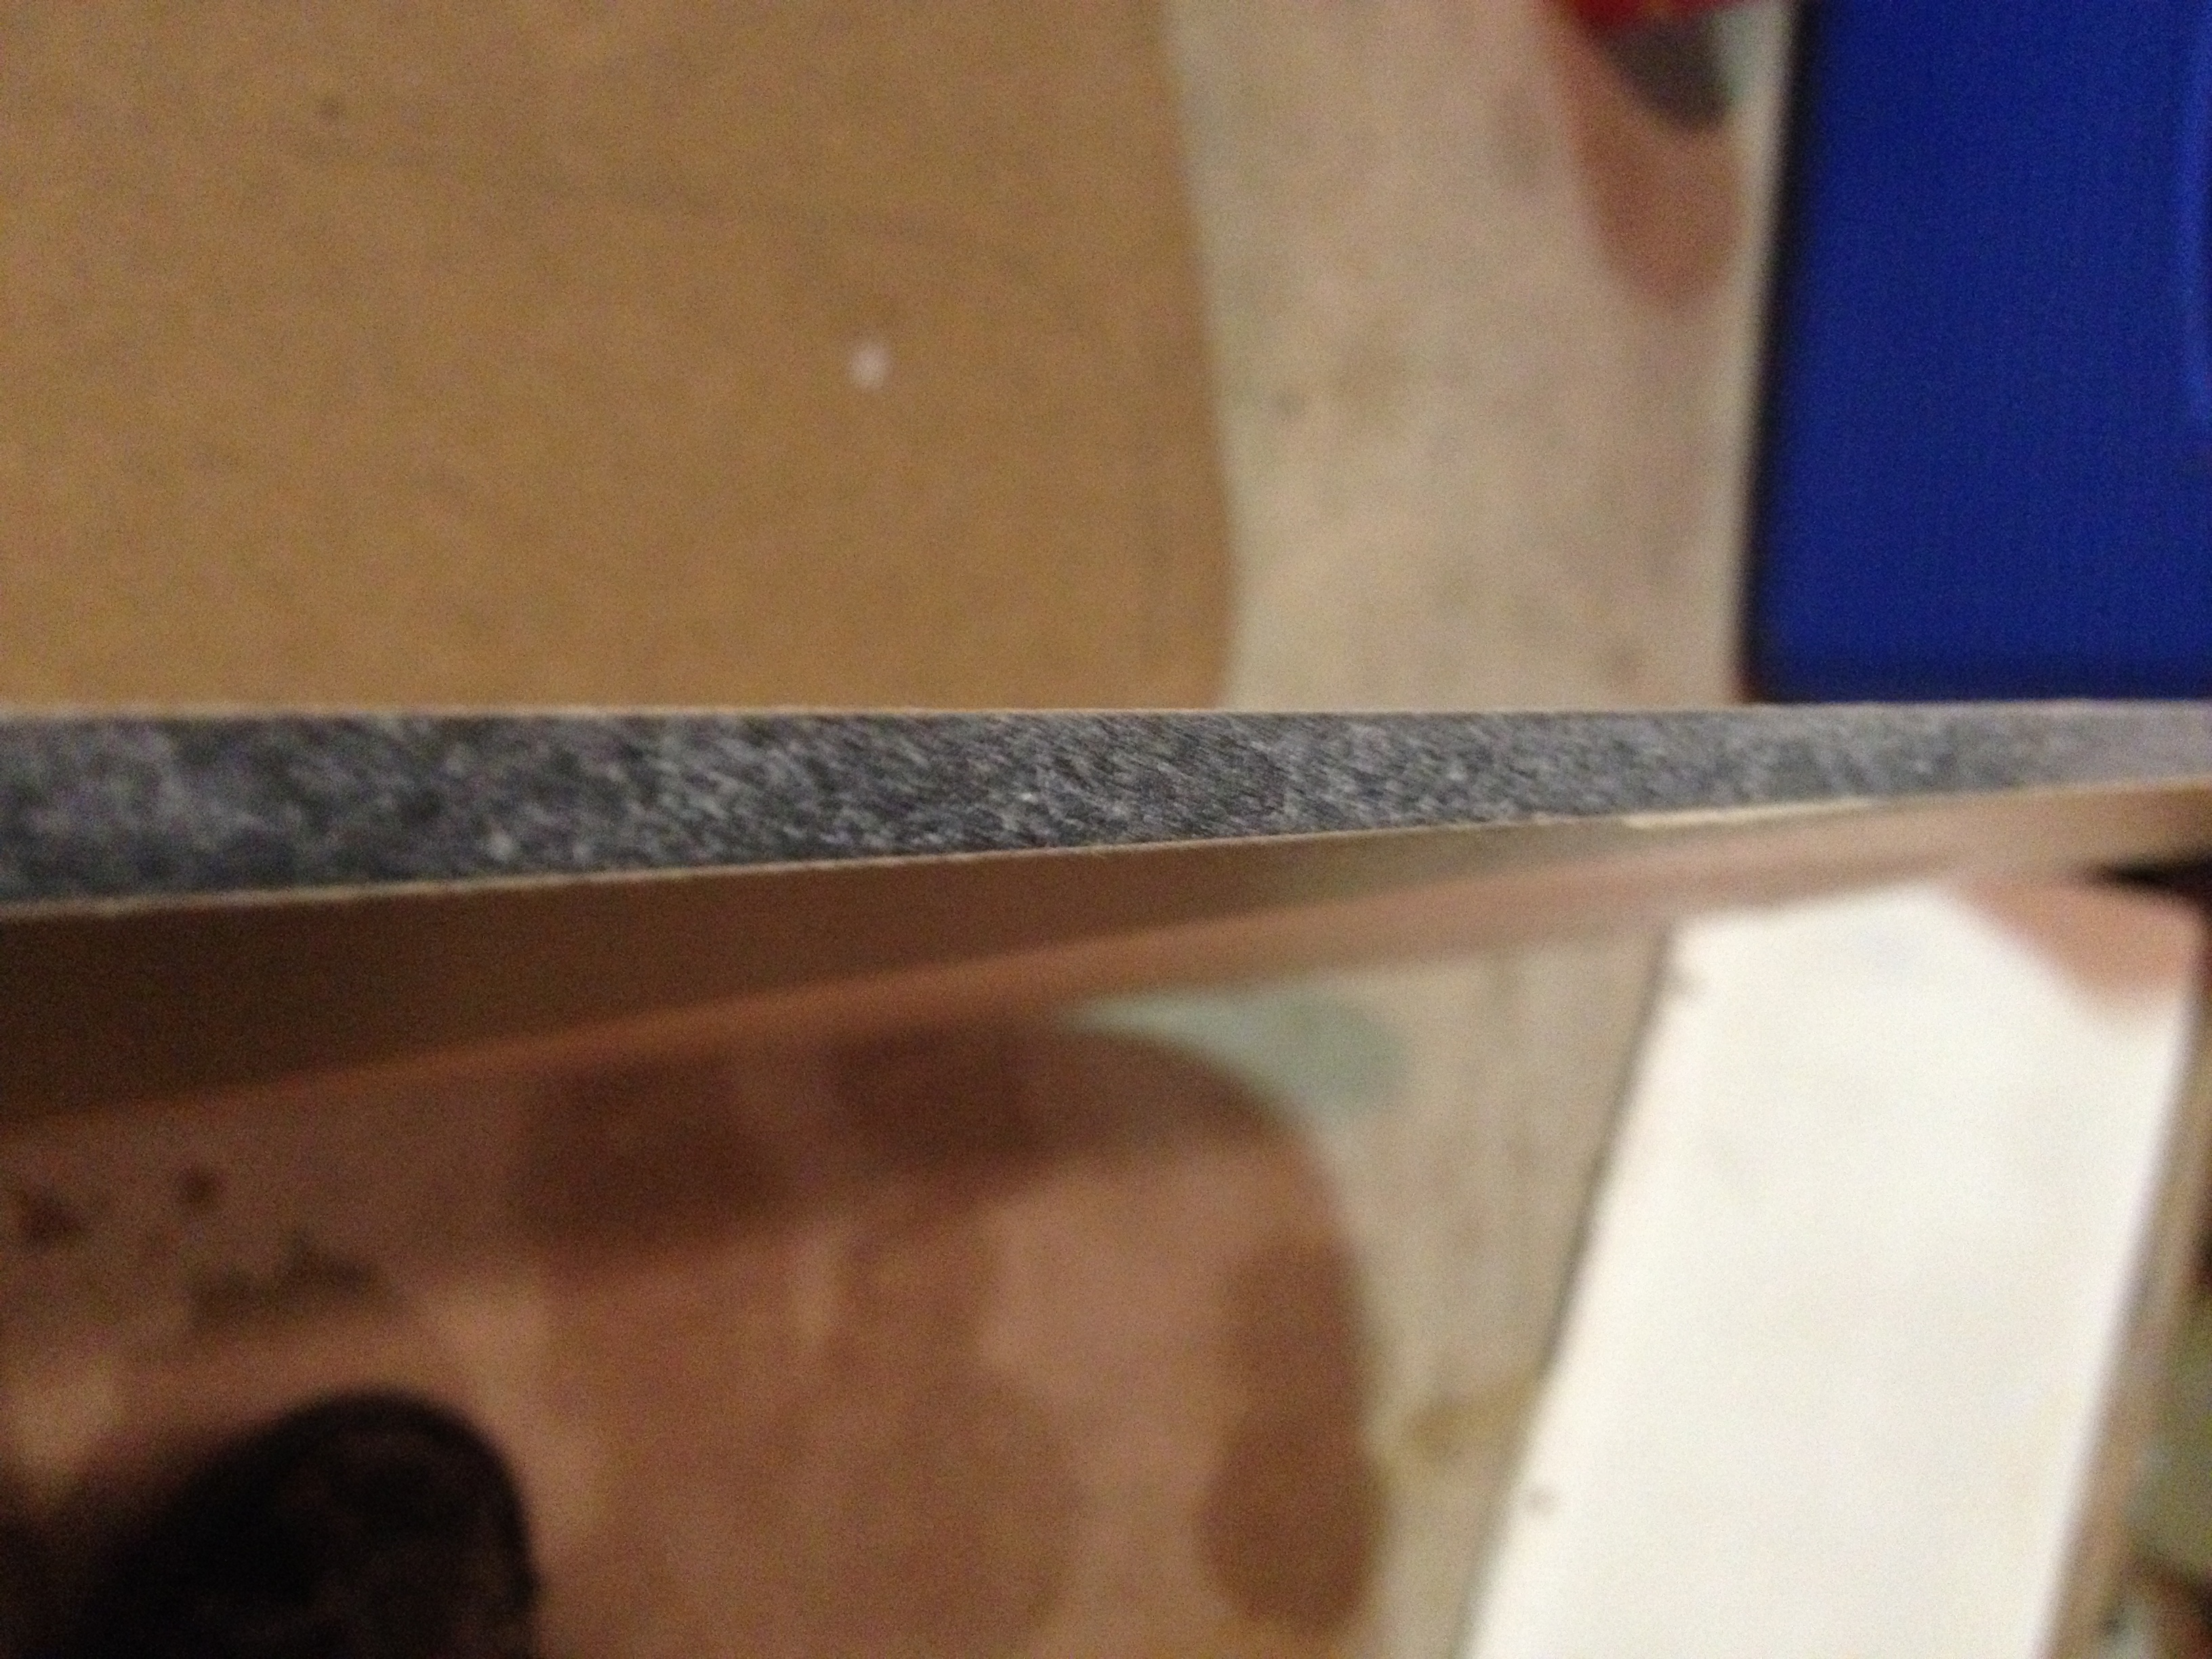
- I used a cut of small hose as the 1/4″ spacers. As mentioned in the articles I posted above, windows this big need a gap and large sealant bed as they will expand/contract with heat. If the gap is too thin, it will shear off the window or cabin.
-

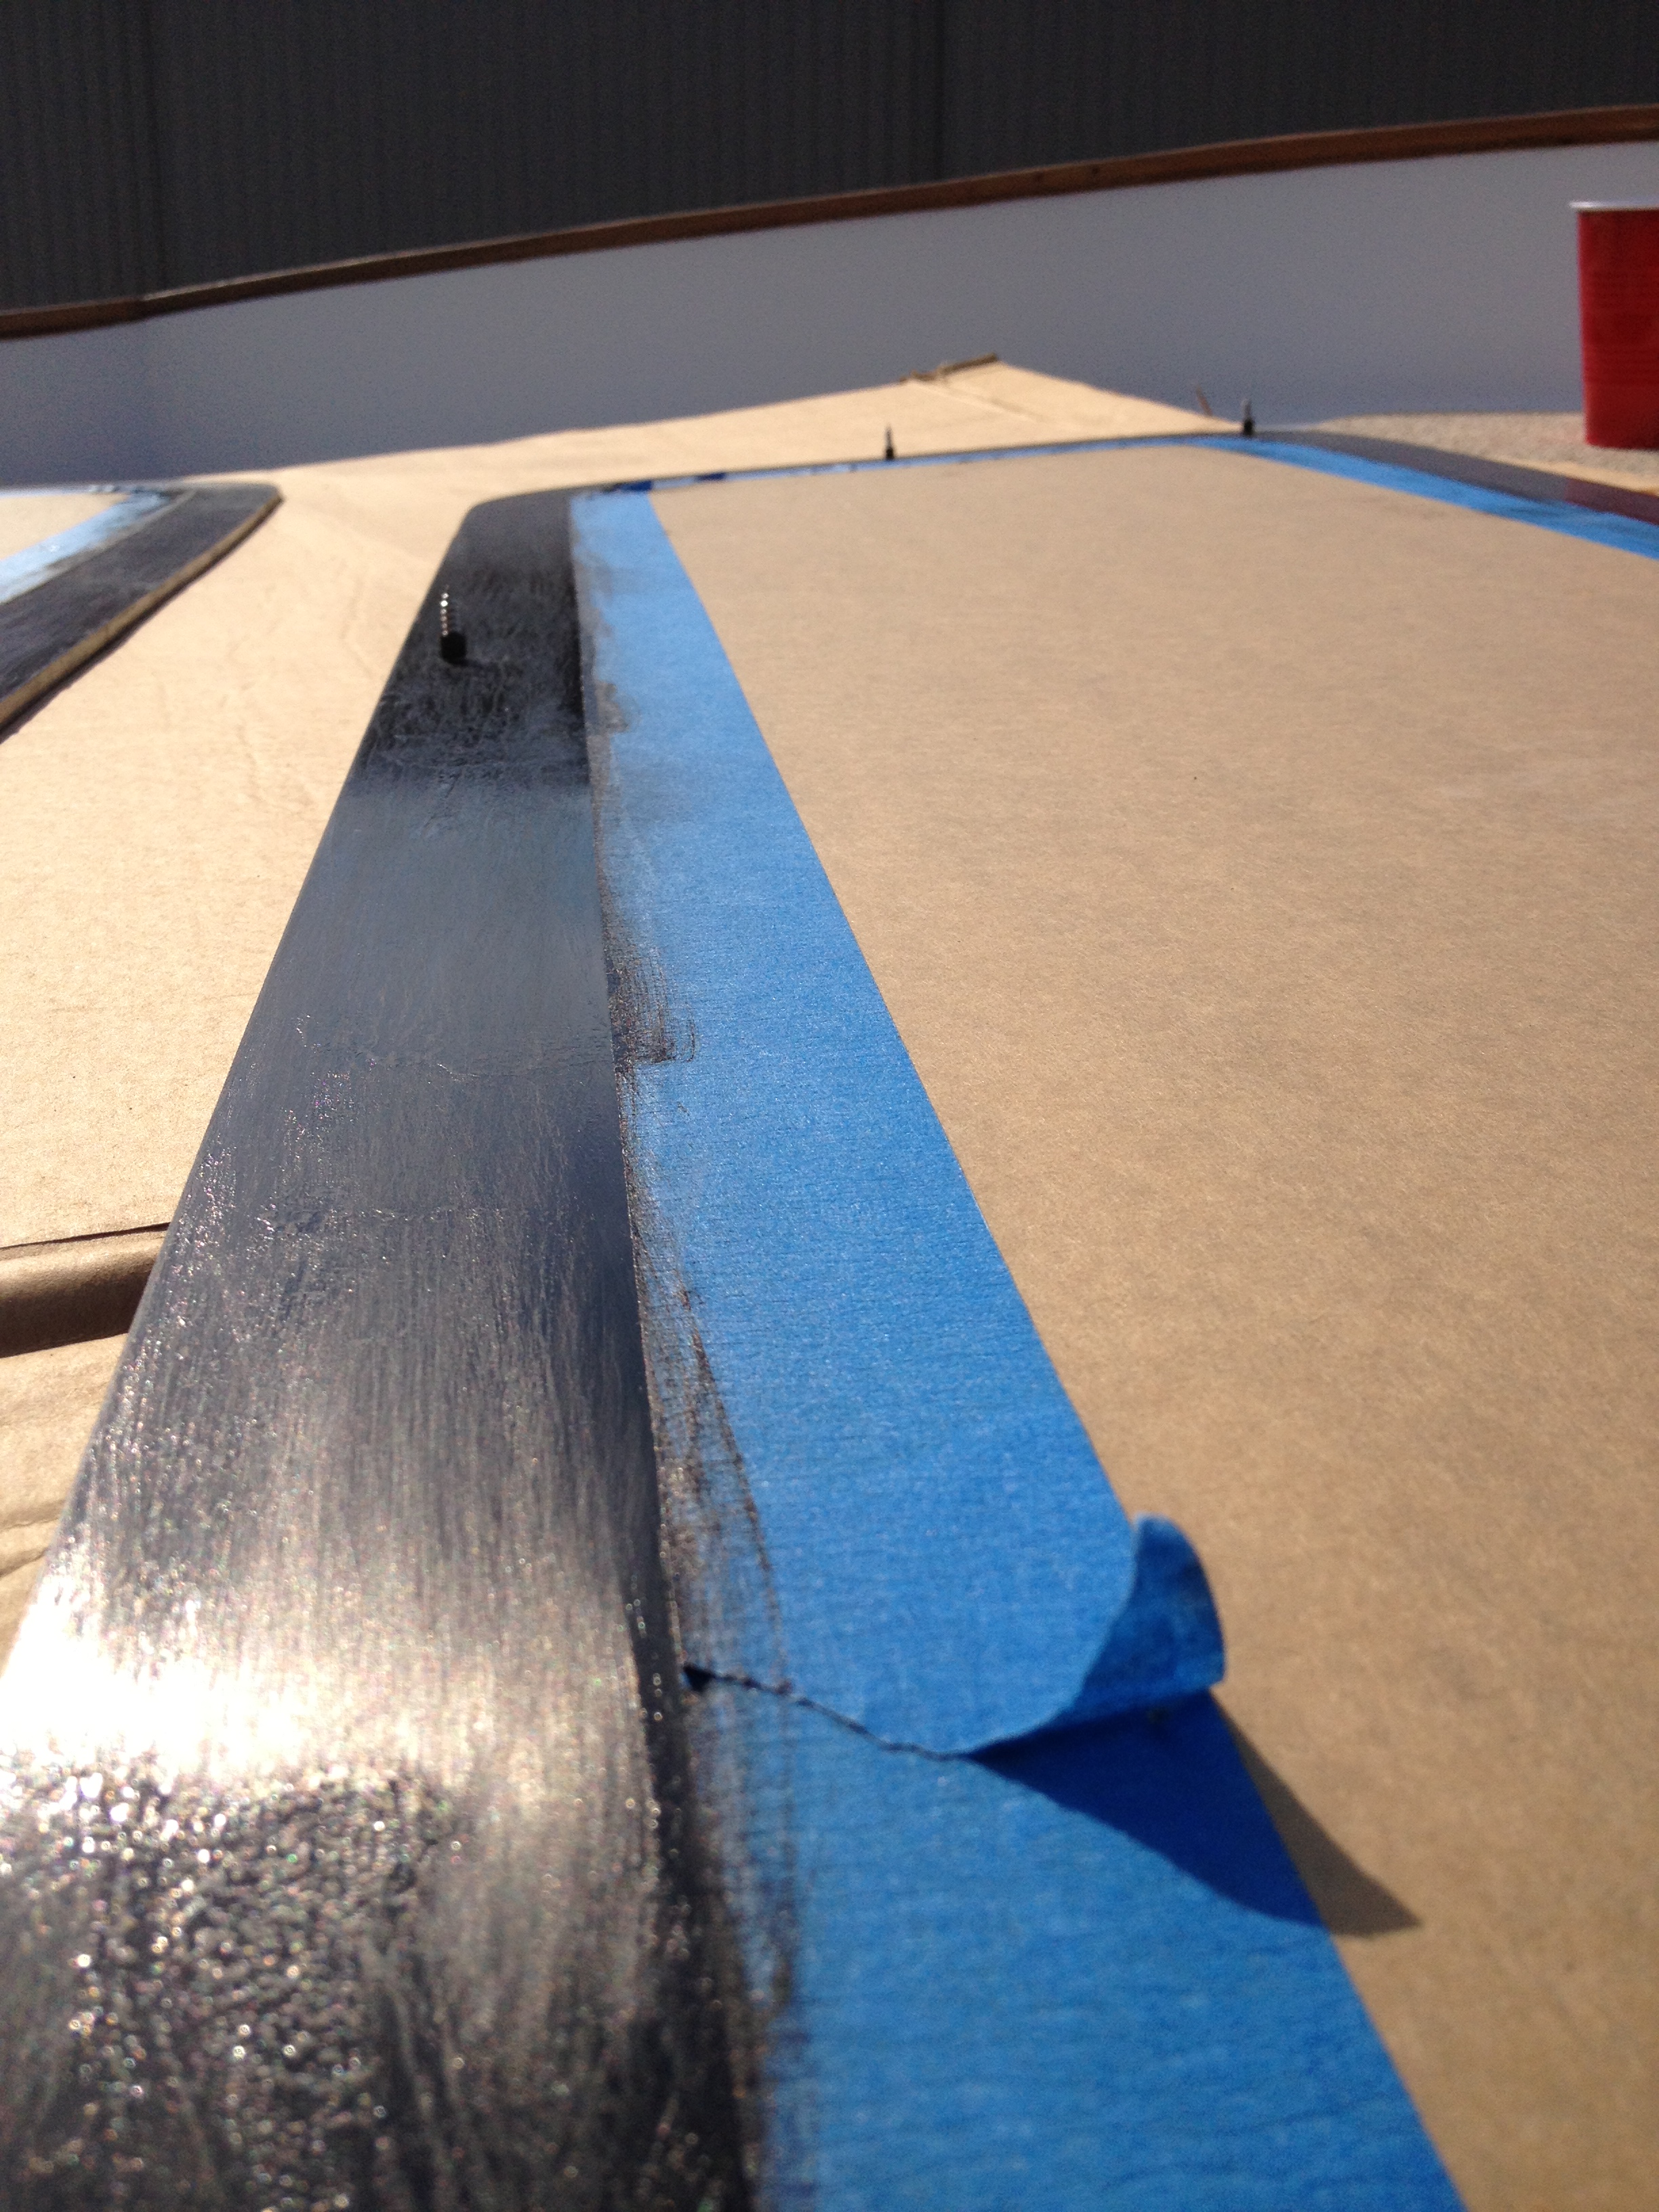
- While I ended up using Dow Corning 795 as my sealant, I had originally purchased a bunch of Sikaflex 295 UV and primer to use for the windows. After more research, the Dow 795 was the dominant recommended product, plus it was about 1/3 of the cost of the Sika 295. I returned all of my Sika for a big refund, but I had already opened the $75 can of primer to use on the hatches. The articles above recommend that you paint the acrylic on the edges that will overlap so to create a uniform, black coating. The biggest weakness I found in this fastener-less method was that the bond is only as good as the paint on the hull or the acrylic. To overcome this, I used the Sika primer on the acrylic because it etches on chemically and creates a very permanent bond better than any paint. I let the primer dry completely, then gave it a very good sanding to ensure good adhesion with the Dow 795. I think this stuff will be much, much stronger than any paint I could use.
-
- Dry fit of windows.

-
- Masked outside of window

-
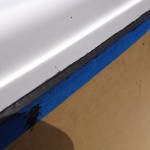
- As previously mentioned, the weakest part of this installation method is that the bond is only as good as the paint on the hull. In order to get around this weakness, I sanded off all paint so the bond is directly to the gel-coat.
-
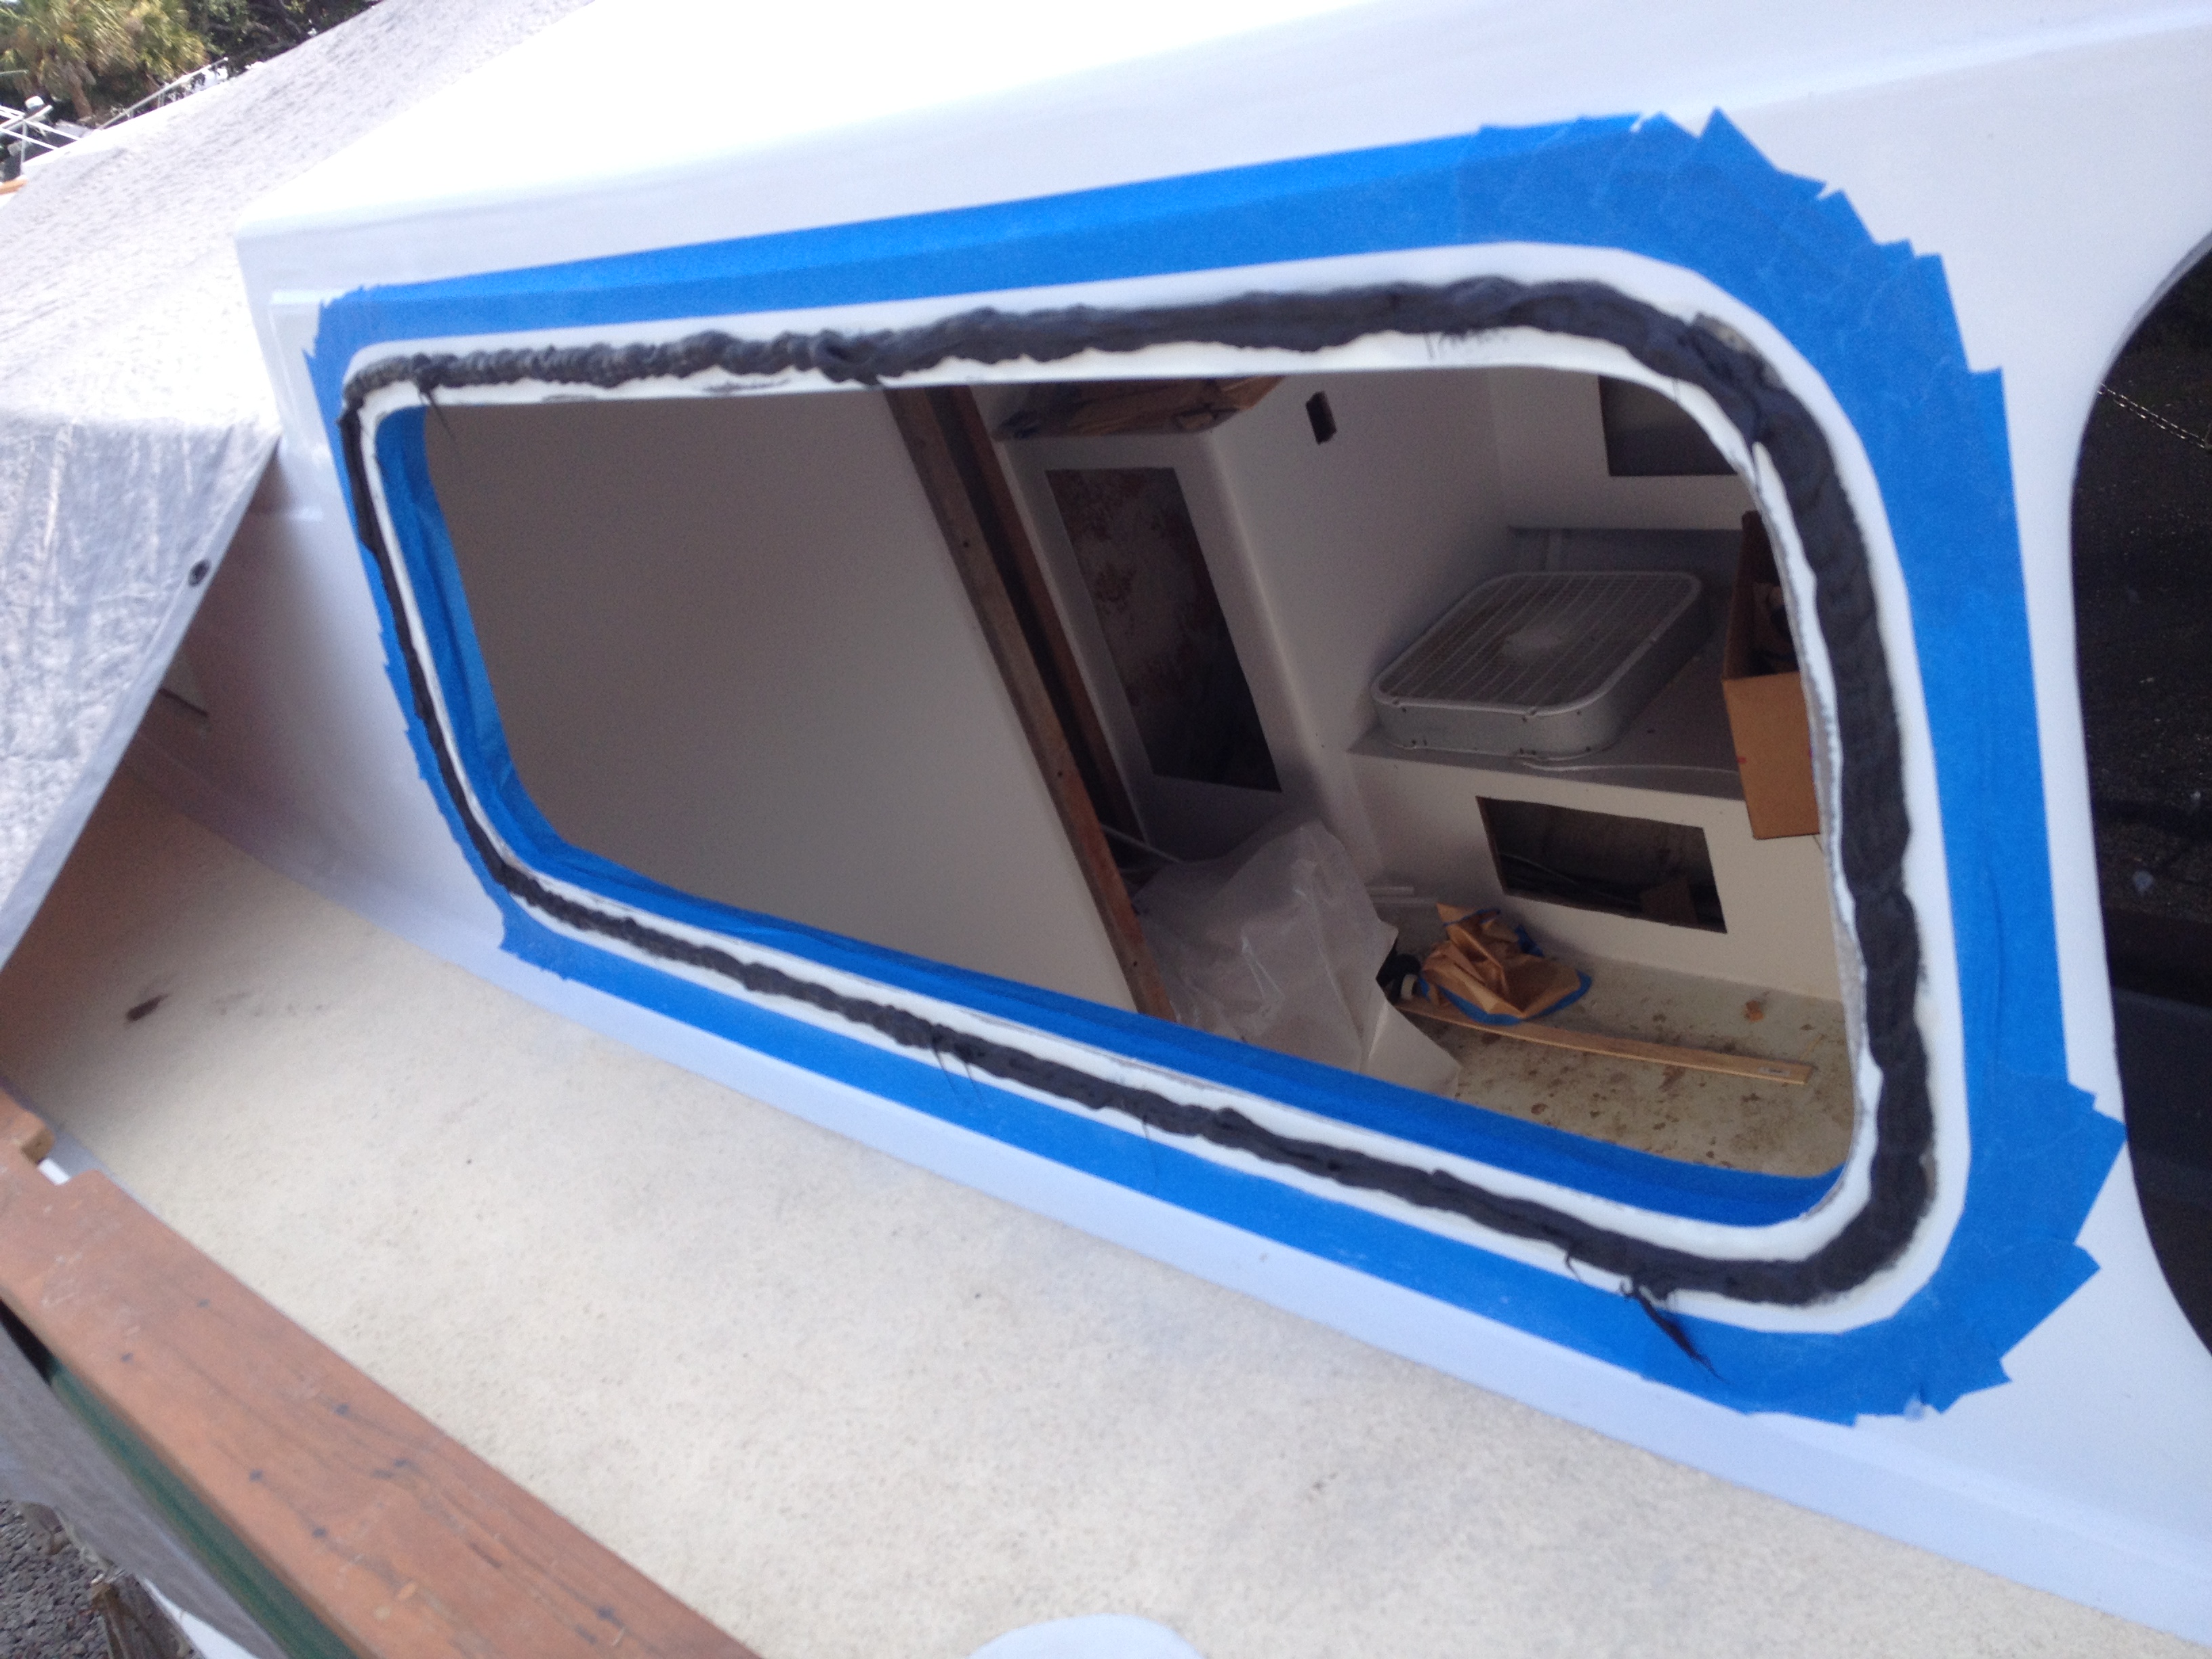
- Massive bead of Dow 795 all around the window
-
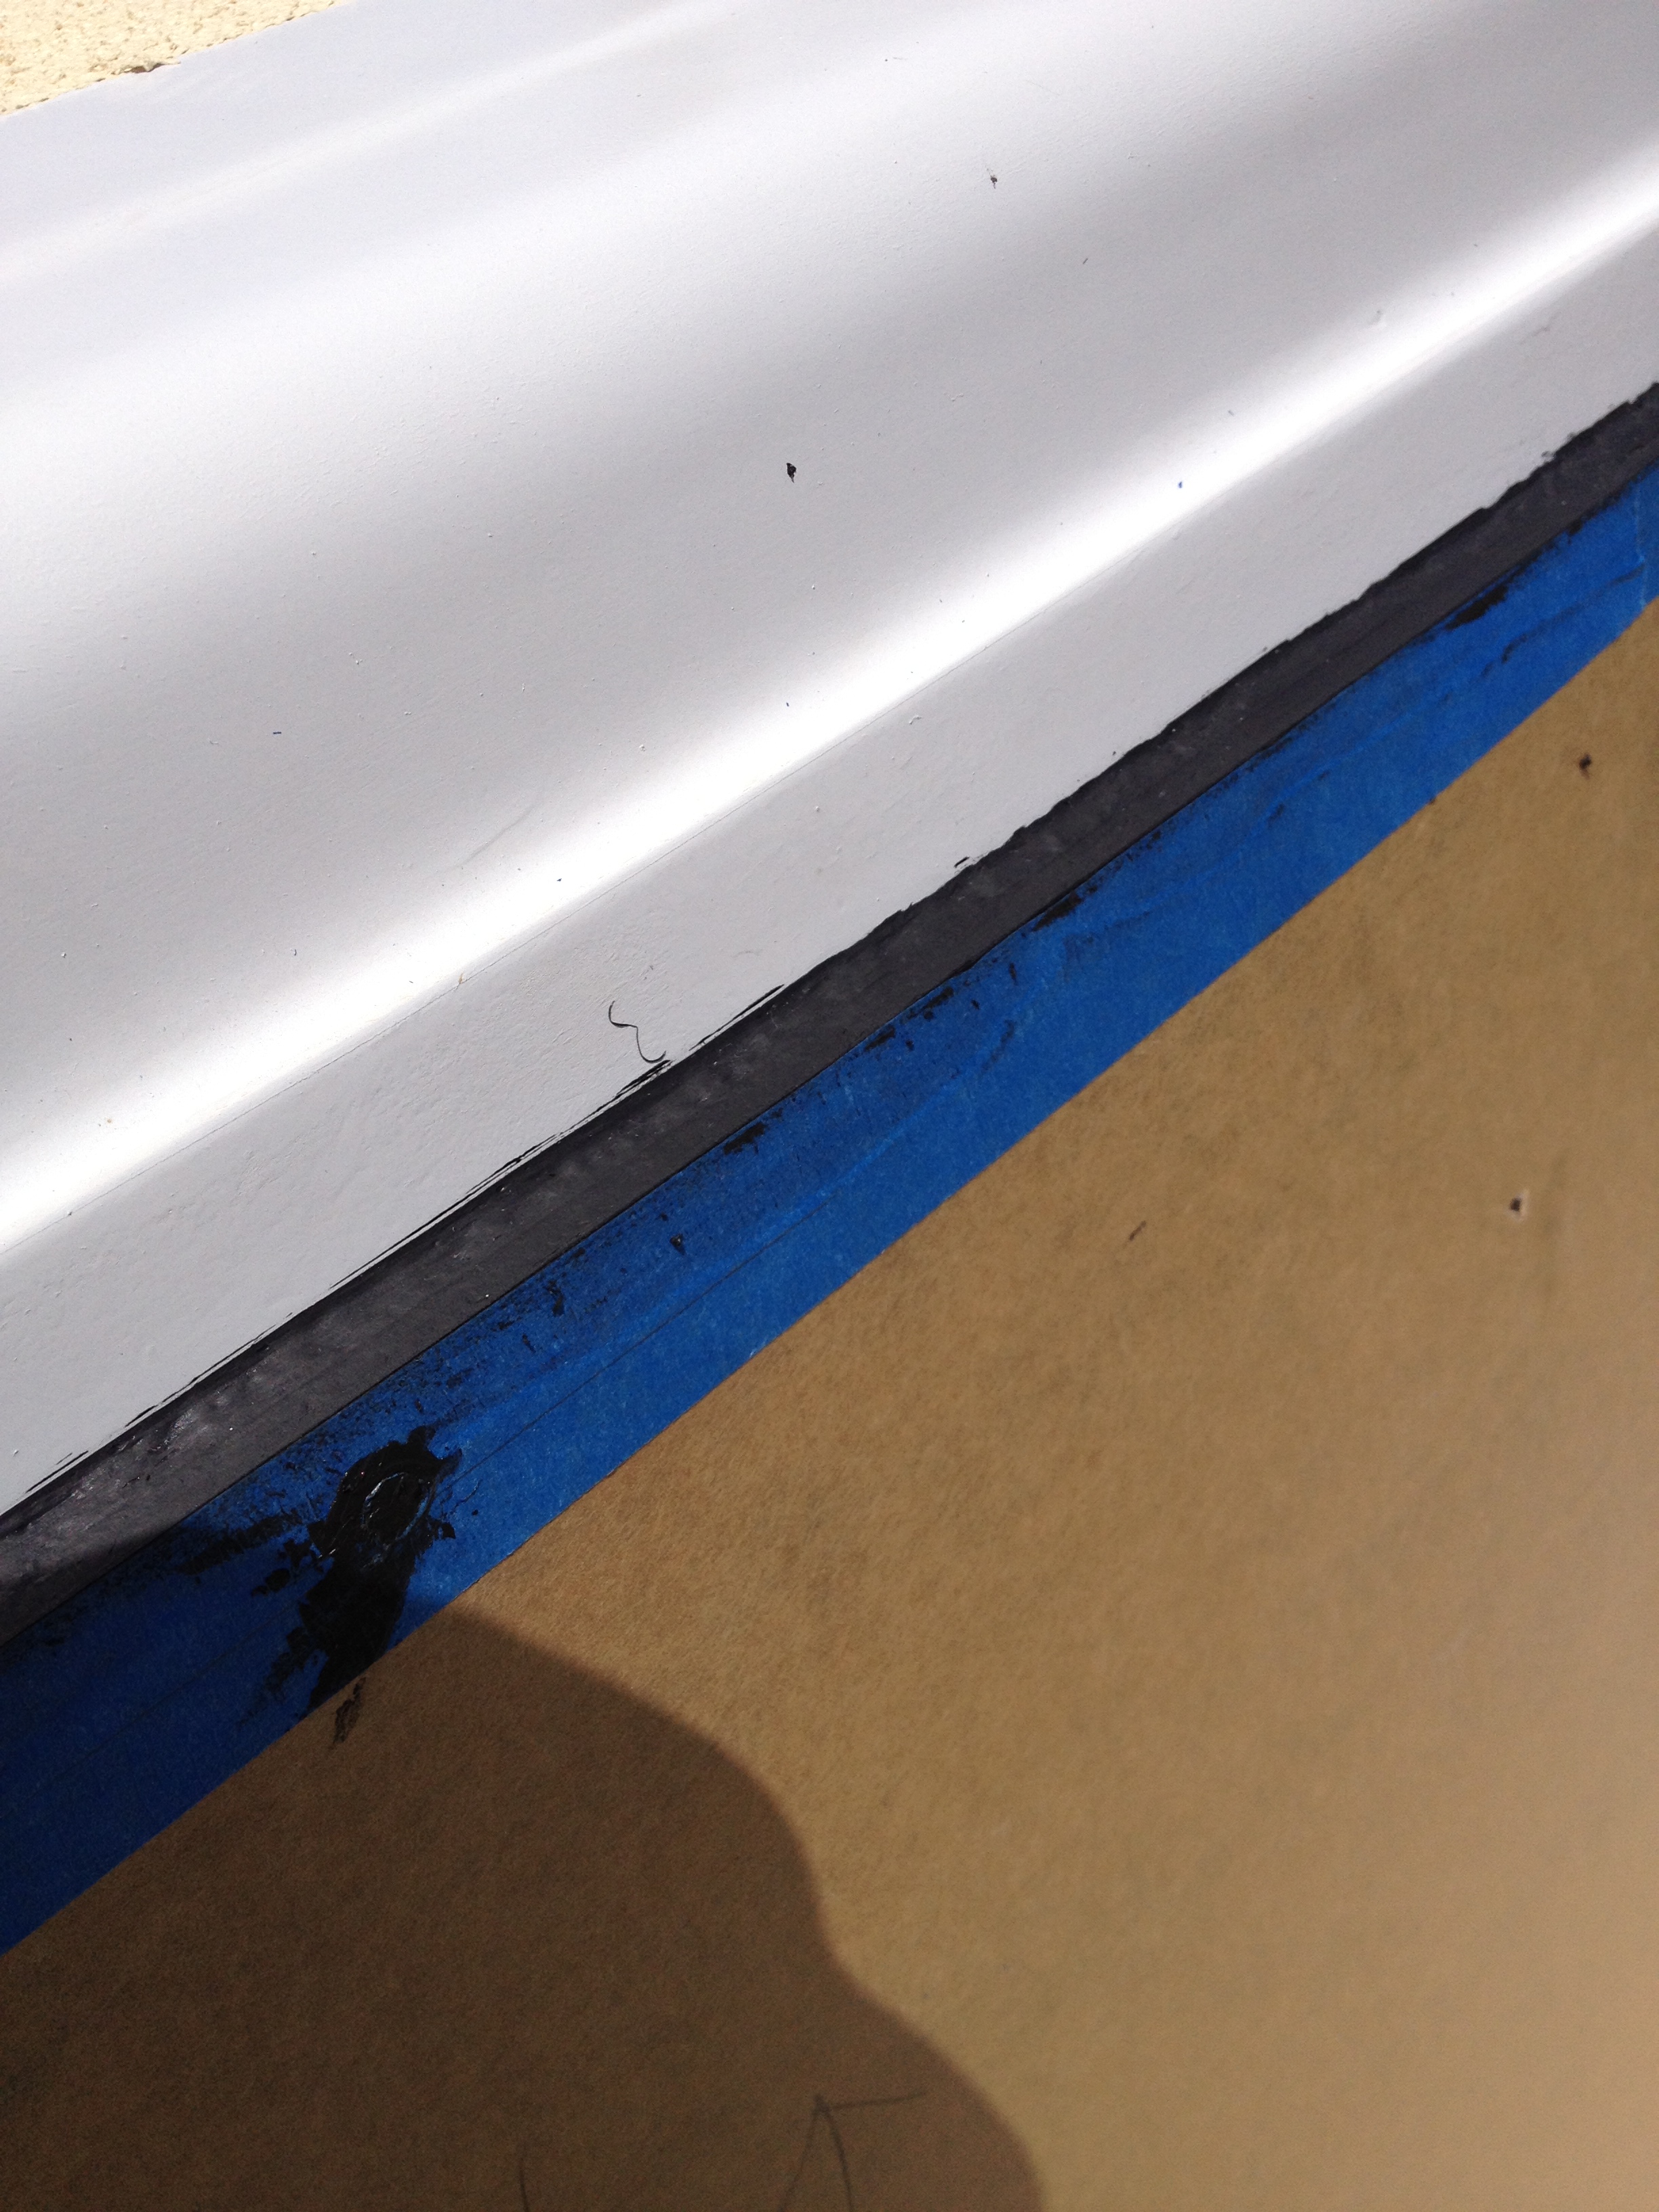
- Window screwed in, with finish bead around outside of the edges. After screwing in, I had to do some touch-up filling of sealant where it didn’t squirt out the sides. I also added a thick bead outside the edges to shape into a rounded off edge. The edges were difficult and they didn’t come out perfect, but definitely good enough for my first try at this.
-
- After a day’s cure, I removed the screws and filled up the holes with sealant.
-
- Screws out, holes filled, making ready to be removed.

-
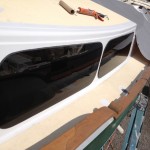
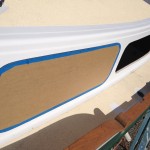
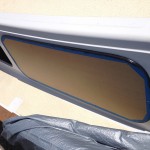
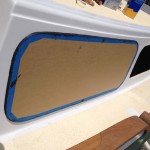
- Finished! I was ecstatic seeing them for the first time. More beautiful than I had imagined they would be. You can barely see the screw holes.

-
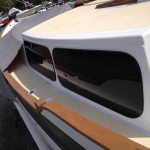
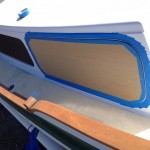
- Port side finished windows

-
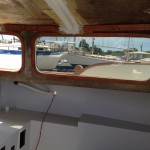
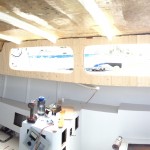
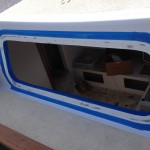
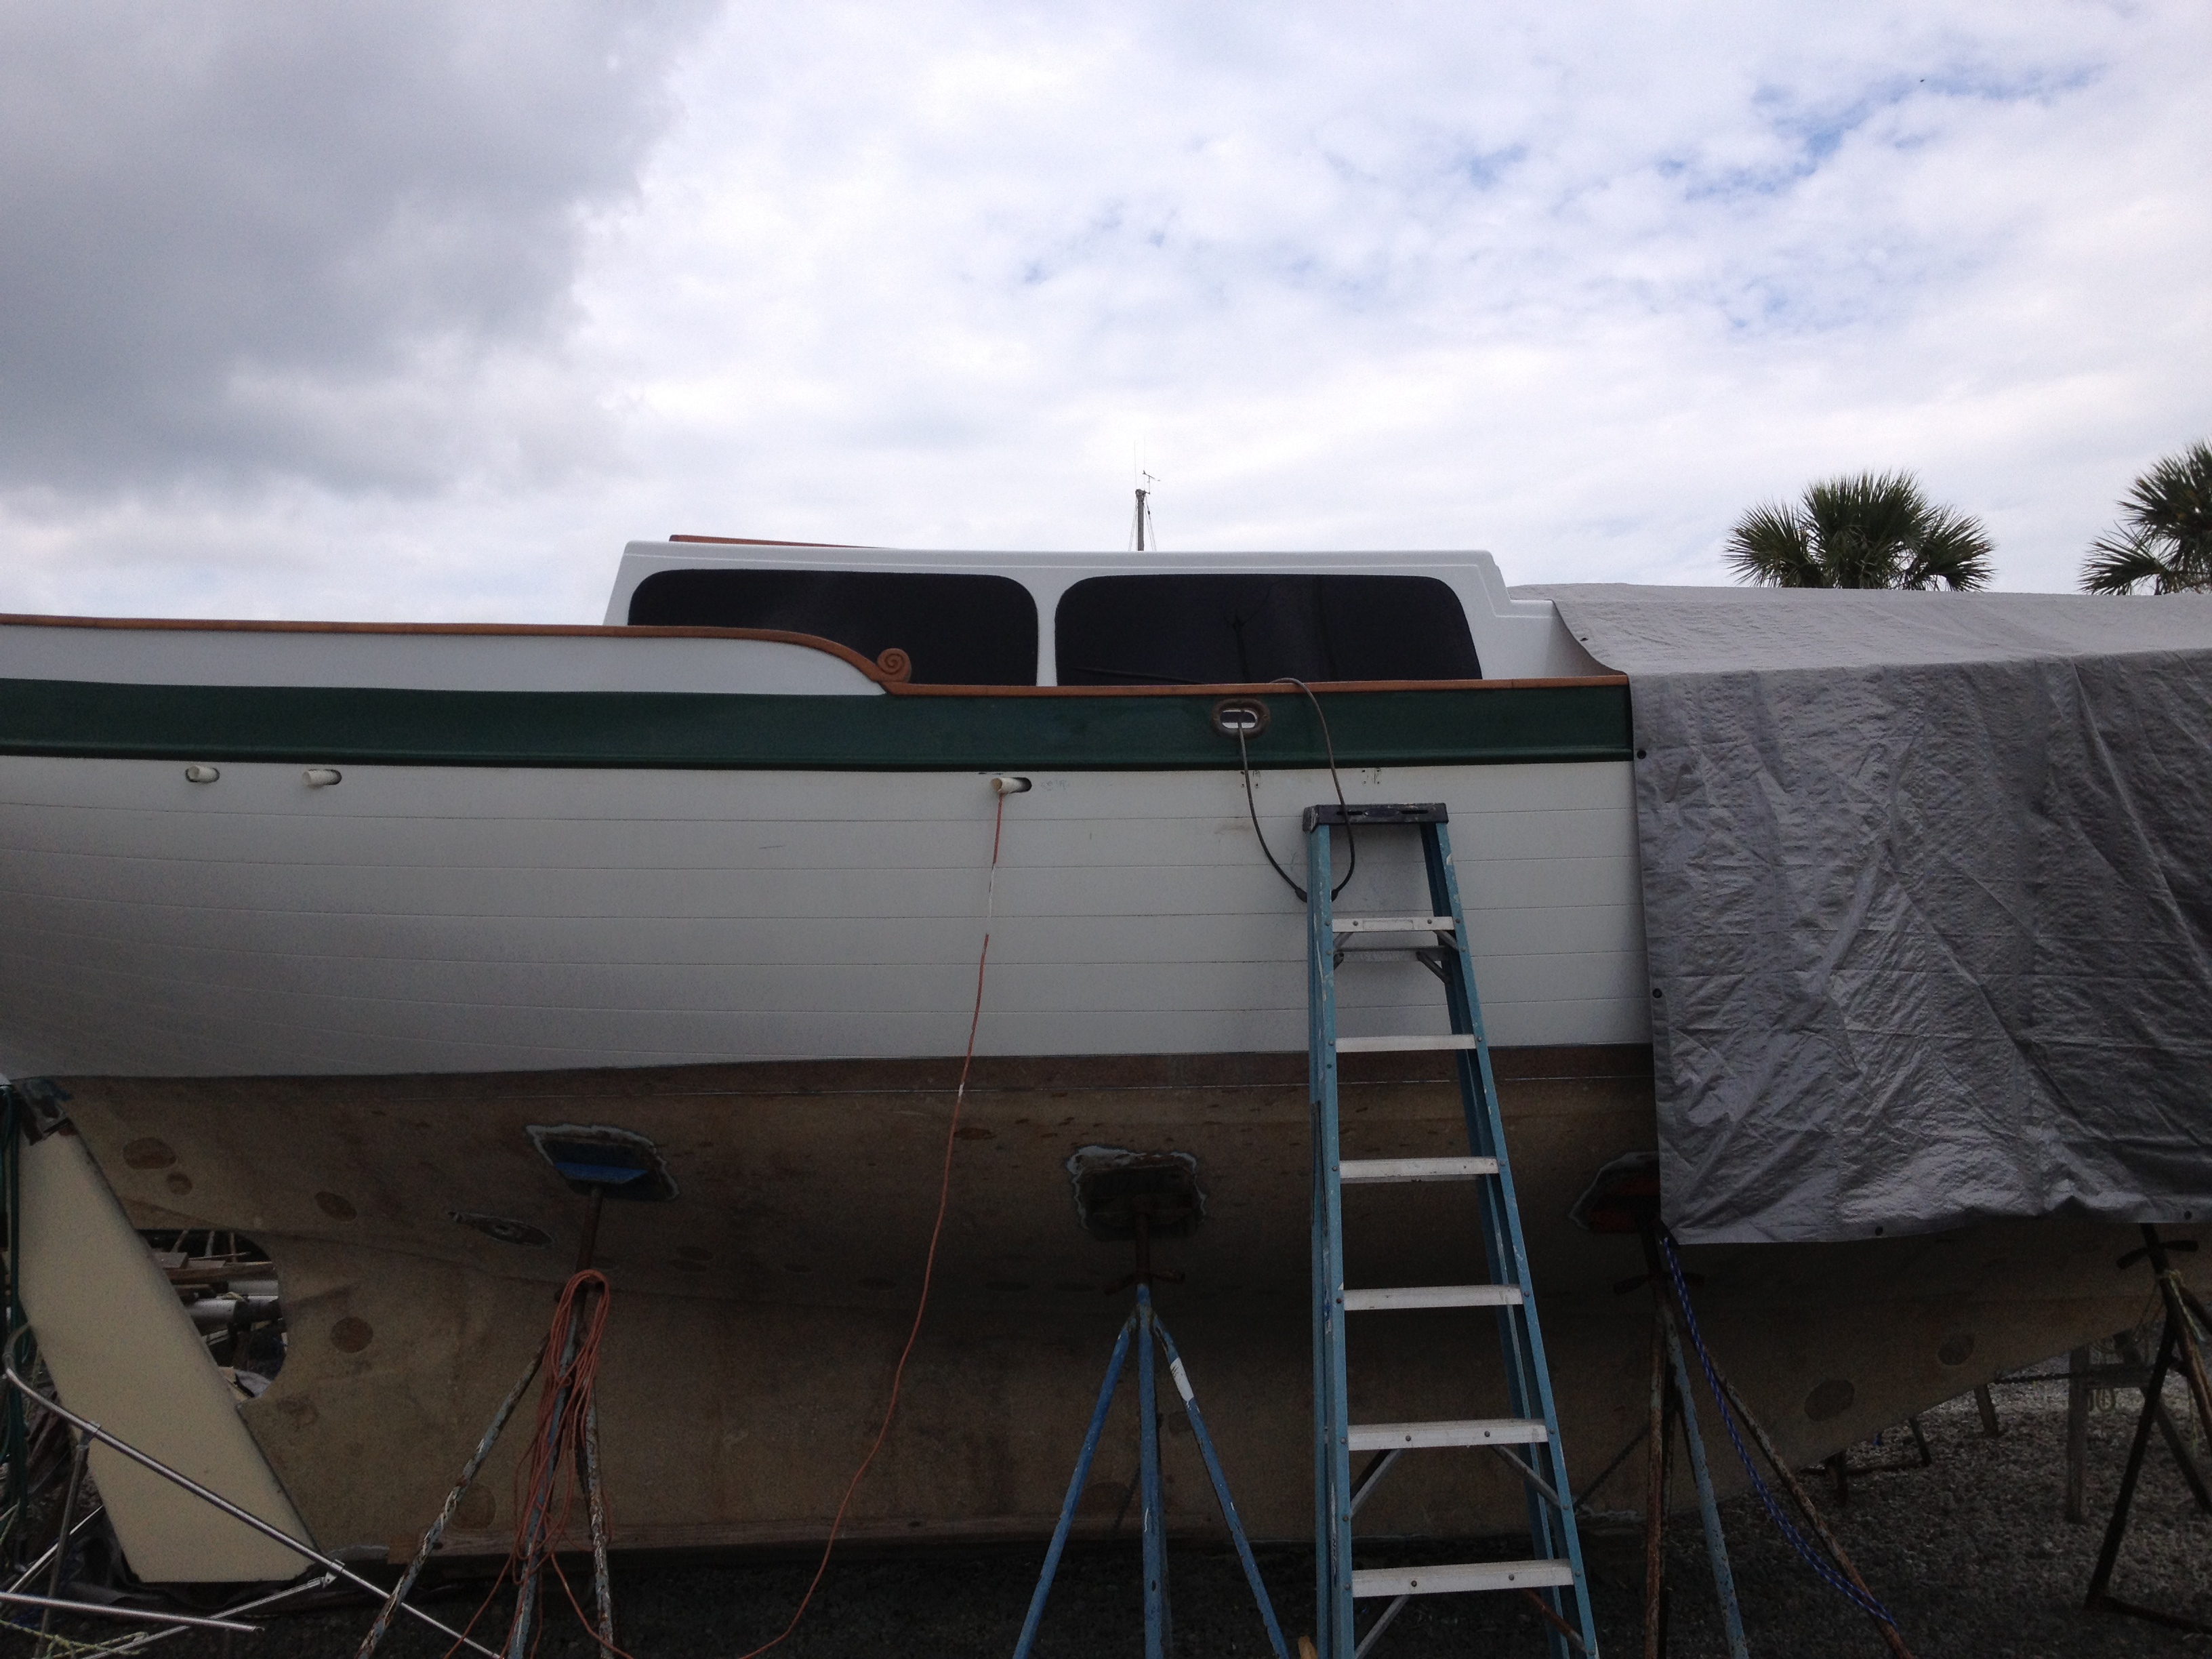
- Super dark on the outside, plenty of good view from the inside. Window here on the right, no window on the left.

-

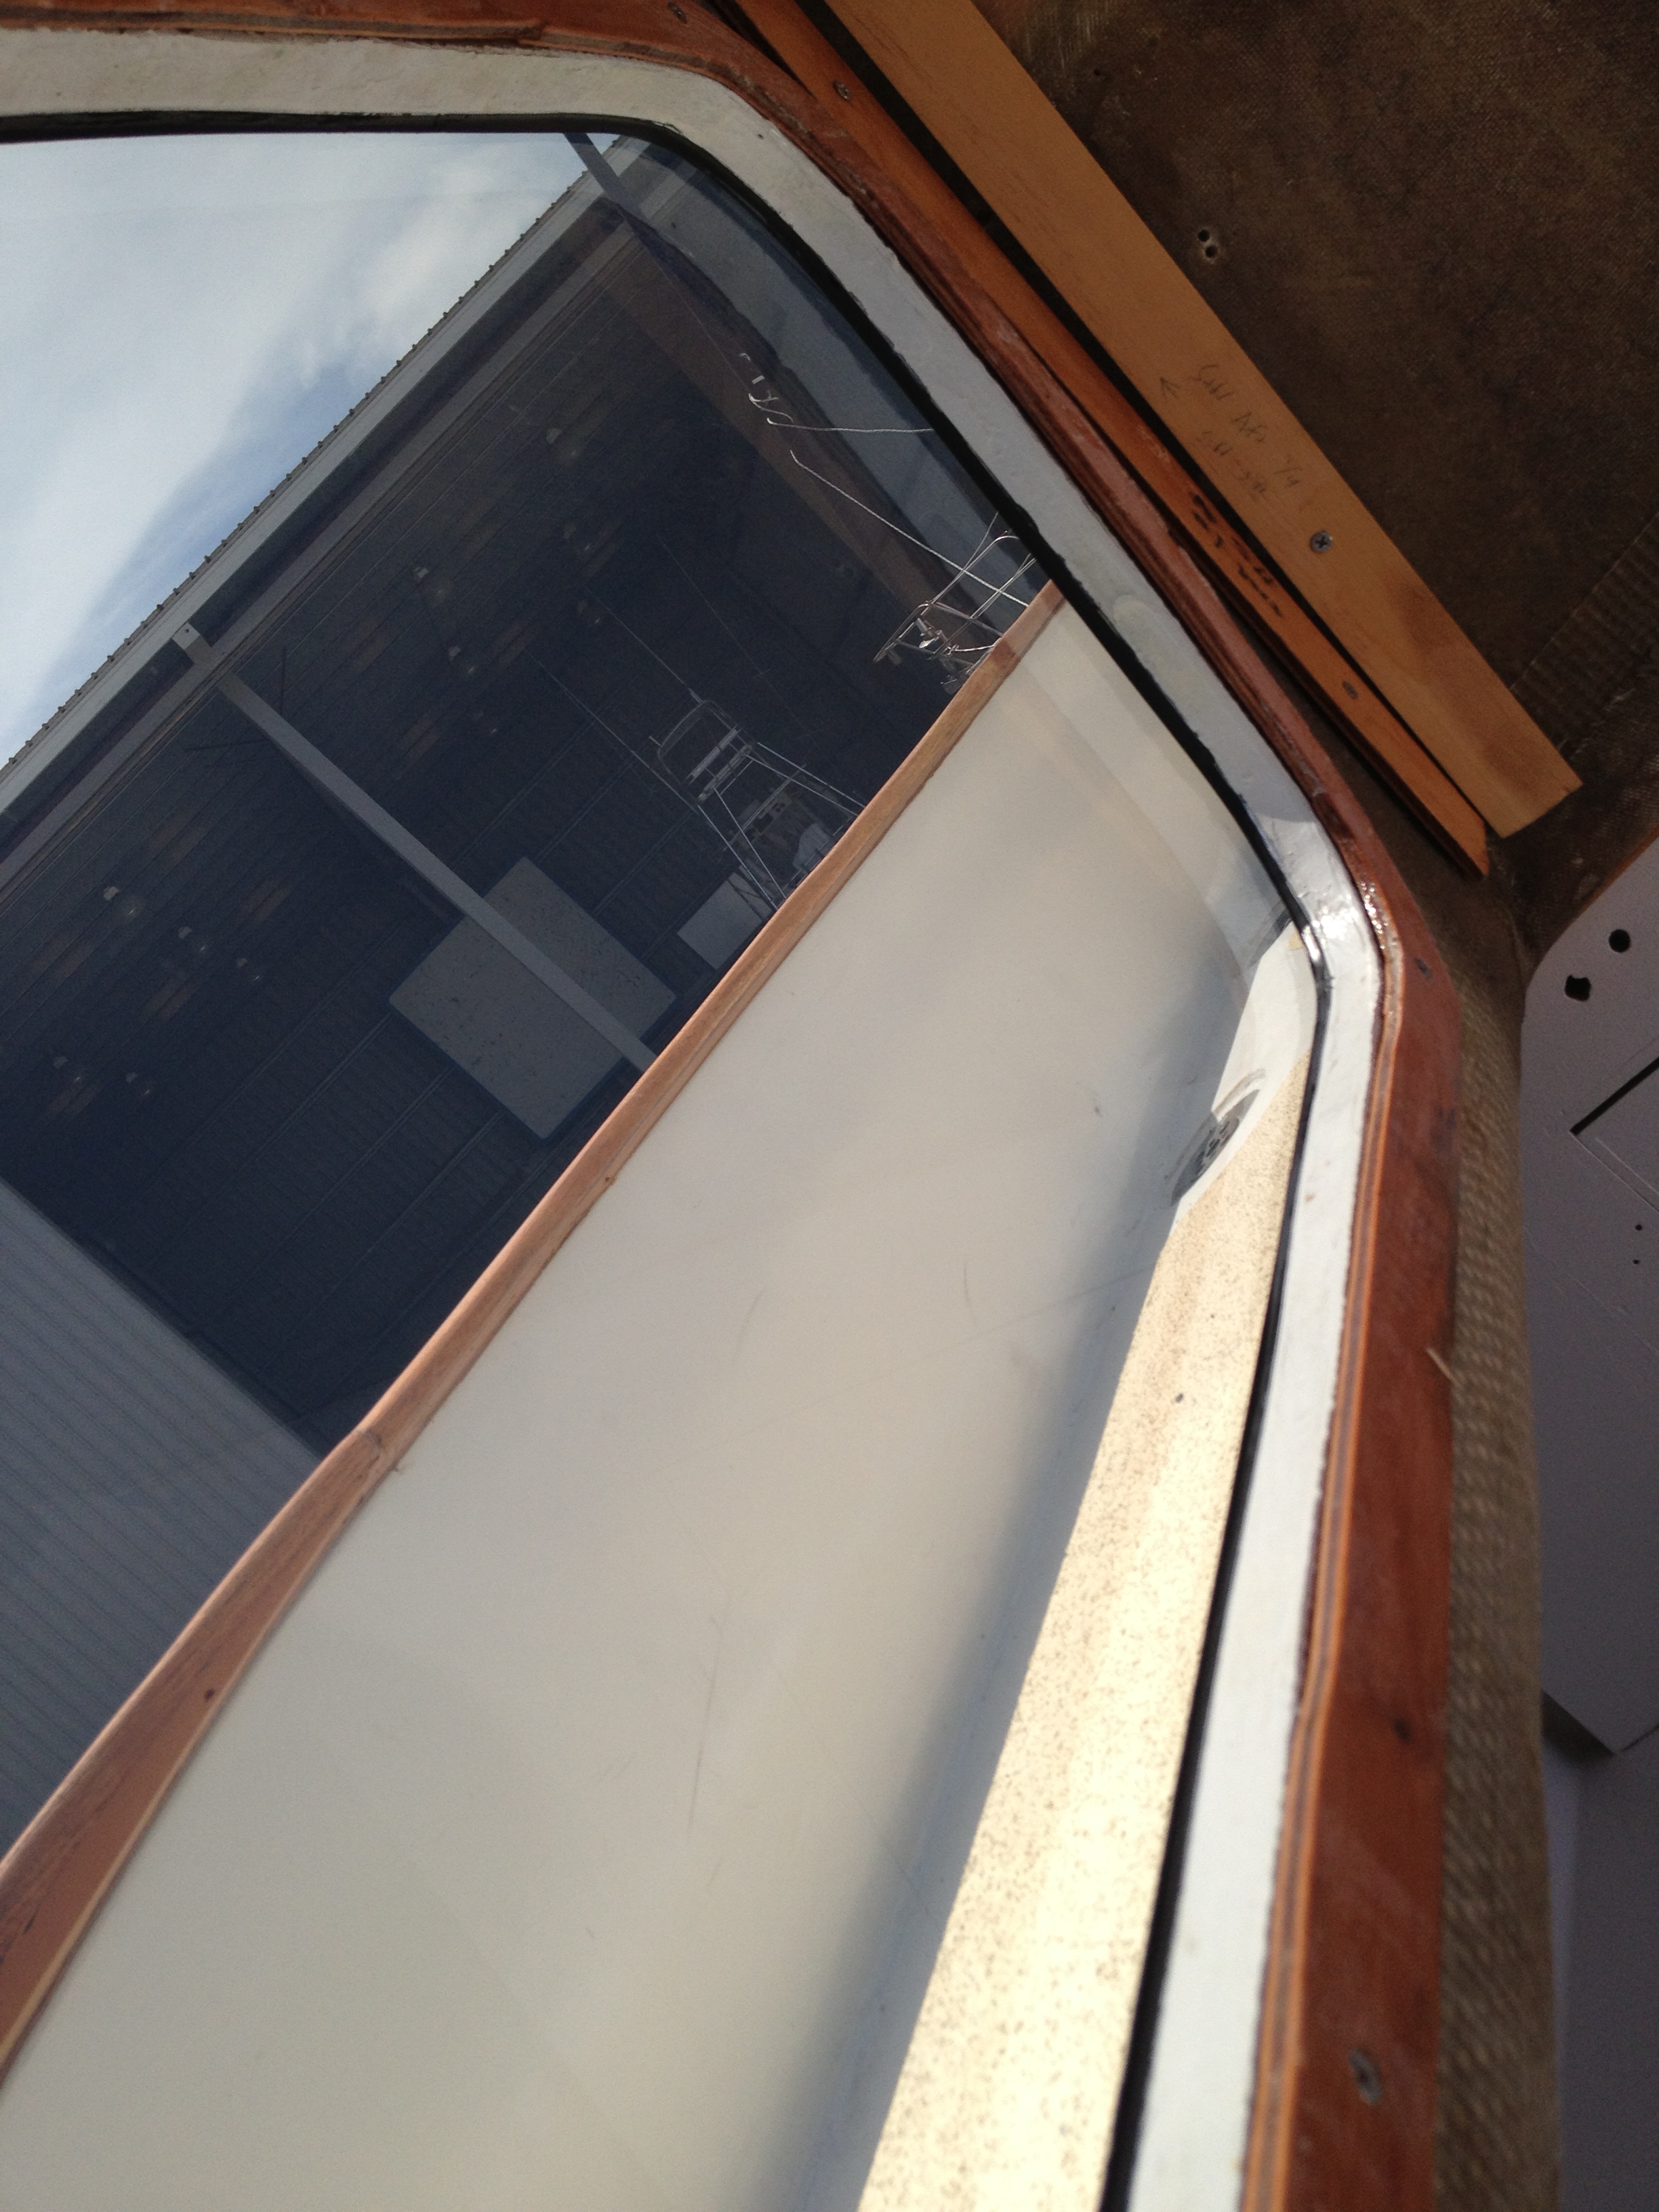
- Clean bead of sealant on the inside.
-
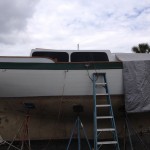
- View from the ground
-
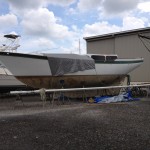
- Finally, no more tarp on half of the boat!

To see more of Eric and Windsong visit http://www.thequestforwindandwaves.com

Recent Comments