Boat Model Downeast 38
Boat Name Libertad
Location Lake Superior
Date March 2003
Author Carl Wood
This saga begins because I want to be environmentally friendly! We bought Libertad in 2002 and brought her home to Thunder Bay on the north shore of Lake Superior. Of course in the fresh water we aren’t allowed to empty our head overboard. The boat was equipped with a bladder holding tank, there was a pipe in and that was it! No drain, so I am glad that no one ever used it. The Y valve was stuck in the overboard only position. So what to do, I didn’t really want to go with a smelly old holding tank. I started my research and looked into composting heads. Many told me that they thought my head was composting if I thought I was going to put one of those smelly things in the boat. I stumbled across Sunmar, a company that has been making composting toilets for over 25 years now. I first saw them at our local Hardware store Maier Hardware; they are into all things environmentally friendly. They told me how wonderful these toilets are! I thought sure, I’m a sales guy, am I going to believe this sales pitch, NO! So I contacted Sunmar directly and asked for names of people who had a composting toilet in their boat. They only came up with two names. They also gave me six names of people who had them in cottages, camps and remote unpowered sites. After many phone calls and emails and with lots of reassurances from the folks who already had one I went and bought the toilet. Good move!
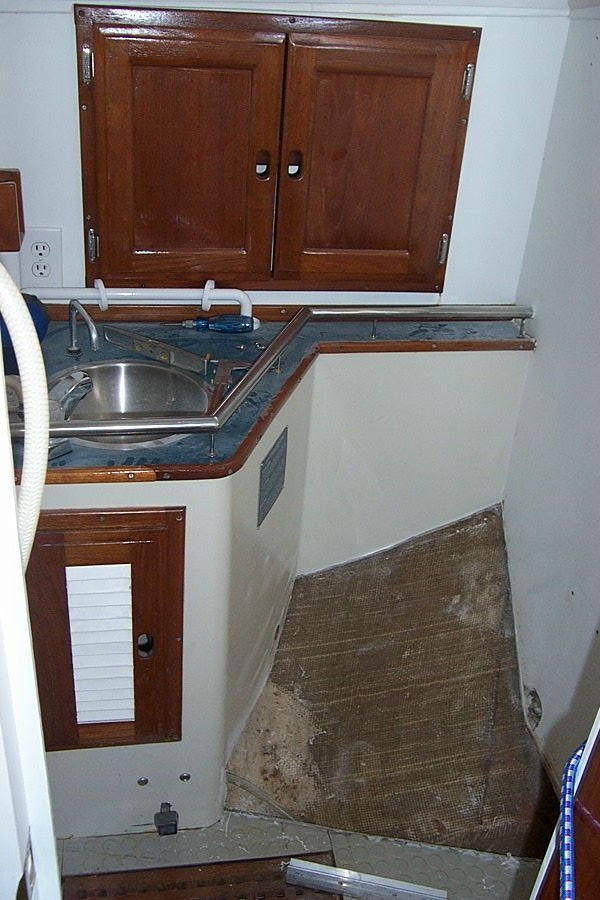
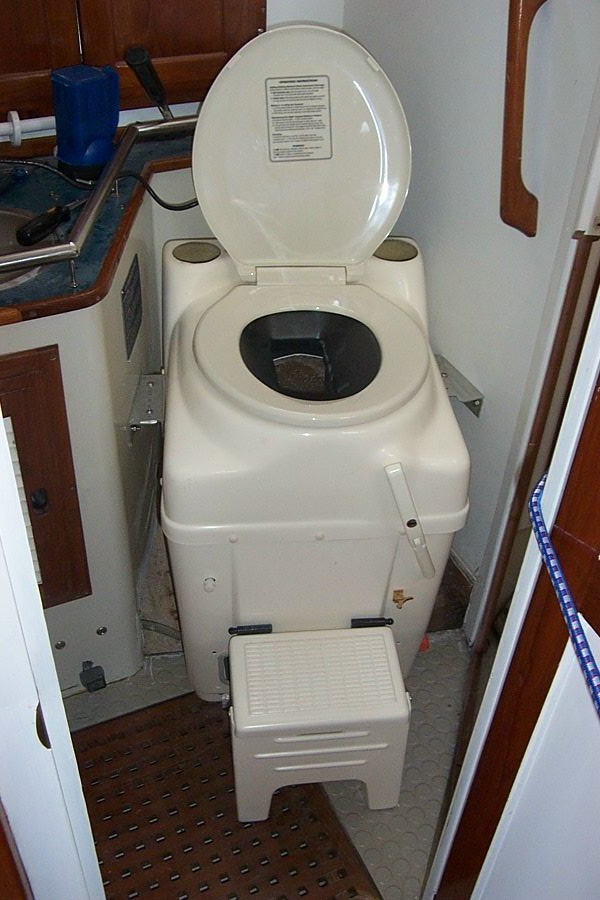
The first job was extracting enough stuff out of the boat to be able to fit this monster into place. After toilet and tubing removal I set about cutting out the raised area beside the sink to accommodate the new toilet, see picture 1. After getting all this done I then had to cut away the lower portion of the door frame on the door into the V berth, this door is slightly wider than the door into the cabin area. With the frame cut away the toilet slipped into the head area with a bit of gentle persuasion, no damage done to either the toilet or the boat.
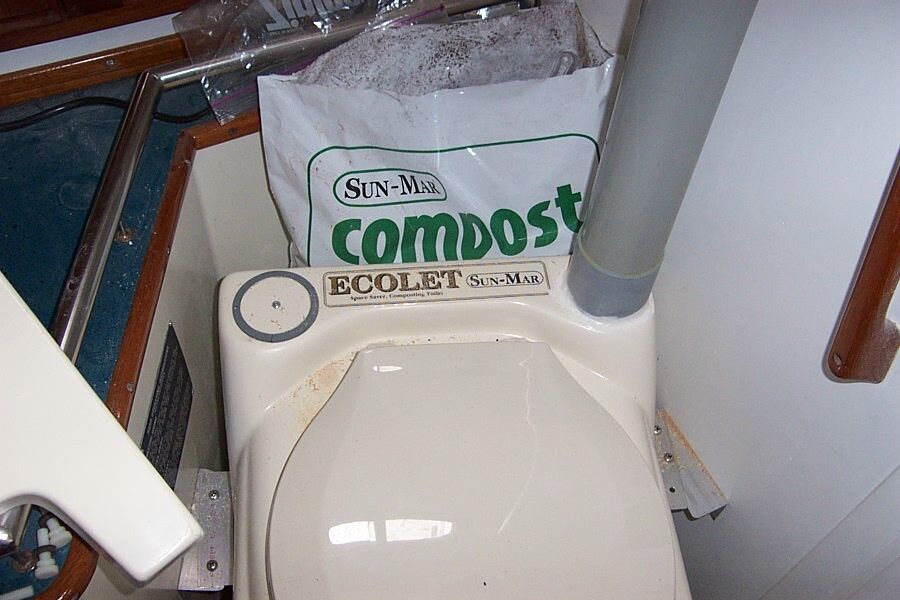
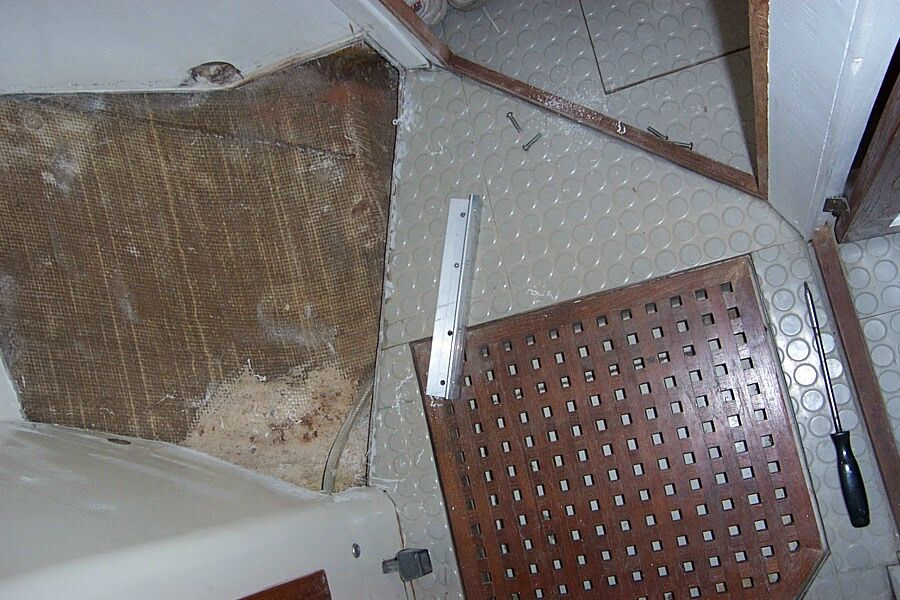
Now that the toilet was in the general vicinity of it’s final resting spot I had to look at how was I going to hold this monster in place! A couple of brackets were fashioned from 3” X 3” aluminium angle for the sides, see picture 2 and a footplate at the bottom front, see picture 3.
The screws already in place on the bottom of the toilet were used for that attach point. The sides though required that I drill a couple of holes on each side and then attach the angle to the toilet side. This all worked out quite well and we have not had any problems with the toilet shifting even in the worst of weather.
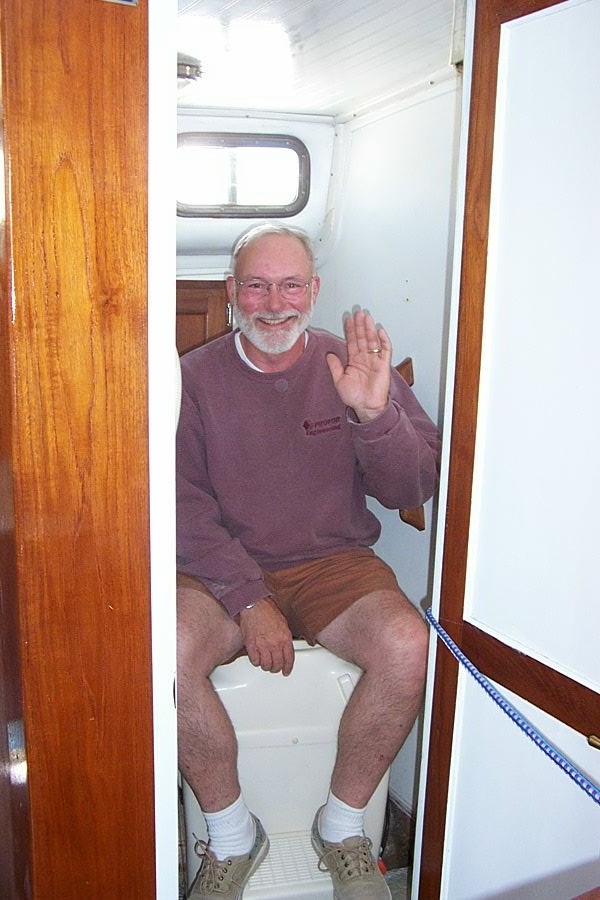
At this stage my buddy thought he would be funny and yell jokes at us from the throne in the head. He didn’t know I had my camera handy, he did laughingly wave at me and say don’t you snap that picture you bugger! See picture 4
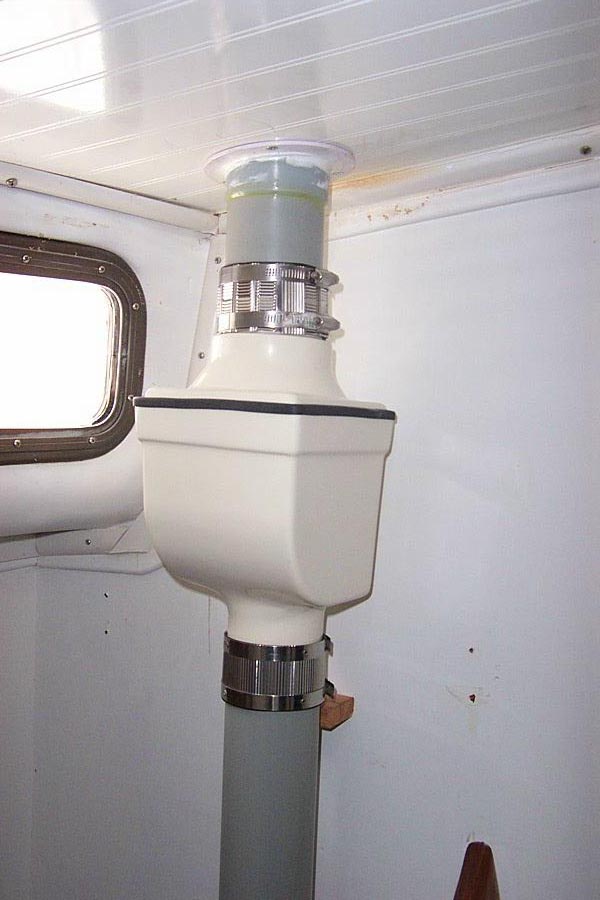
Here is a picture of the installation just before the vent pipe is installed, see picture 5. The vent pipe comes out the wrong side for installation in a Downeaster; this was easily remedied by cutting a hole in the opposite side of the toilet. A blanking plate was made out of a piece of aluminium and put onto the old hole. The two holes are visible in picture 5. In order for the vent to work a hole was cut into the cabin roof and the pipe stuck outside. The toilet comes with a vent fan, however I didn’t want to use anymore 12-volt power so I ditched that fan and bought a Nicro Solar vent day/night 4″ stainless steel vent and put that on. It fit directly into the piping that came with the toilet so that was great, see picture 6. I used Sikaflex to seal up all of the vent pipe installation.
You should first know that the toilet has a heater to evaporate the liquid waste. The first season we used the toilet as recommended by the manufacturer, plugging in the heater while we were at the dock and leaving it unplugged while away from the dock. This did not work! The toilet did leak moisture from the bottom seal when we were heeled over on the starboard side. It wasn’t a big leak but it was annoying and messy! We were pulling out the bleach after almost every sail. We even went so far as to rent a Honda generator for a two-week trip, that didn’t work, as we didn’t have it on long enough each day. The toilet requires the heater to be on about 14 hours per day, there was no way we were going to run that noisy generator for that long each day! That winter I put a small holding tank, about 5 gallons, under the floor just aft of the mast. This solved our problem. Now the toilet evaporates the moisture while we are at the dock fine and when we are away it spills over into the holding tank. By the way after the first season we only had 2 gallons or so in the holding tank. Second season it was even less than that, I had to put water in before I could pump it out!!
To use the head you have to put some peat moss mixture into it after each solid waste usage, we keep the bag of peat right behind the toilet, the next project is to make a nice container with a lid for the peat and to finish off the open areas around the toilet with some paneling or something so that it looks nice in the head again.
We virtually live on our boat from June 15th till September 10th; our season is so short that we have to do this in order to get full usage. During that time I empty the toilet of solid waste twice. To put it away for the winter I don’t do anything, just unplug it. In the spring I empty almost all of the waste that is there and then start it up according to the manufacturer’s instructions. What is the downside? It smells bad when you are cleaning it out, but so does a holding tank! You have to keep the moisture level right (not hard) or else you get fruit flies (easy to get rid of). You have to carry a bag of peat mixture to put in the toilet after each time you put solid waste in. The upside, each time I empty the toilet I can put it on a compost heap or on someone flower gardens. I can empty it in the bush and not cause any harm to anyone or anything! I put all of my kitchen waste into it; boy oh boy does that save on the smelly old garbage!

Recent Comments