DE 45 Holding Tank Replacement
By Bob Salnick
The factory holding tank installed in the DE45 is made of aluminum, a poor choice for the service. Ours is over 20 years old, and it had begun to seep, especially where someone had screwed a bronze fitting into it, causing galvanic corrosion. It may be an uncomfortable subject (and a terrible project), but it needs to be replaced. Unfortunately, there is just no way to get at it while the mast is in place.
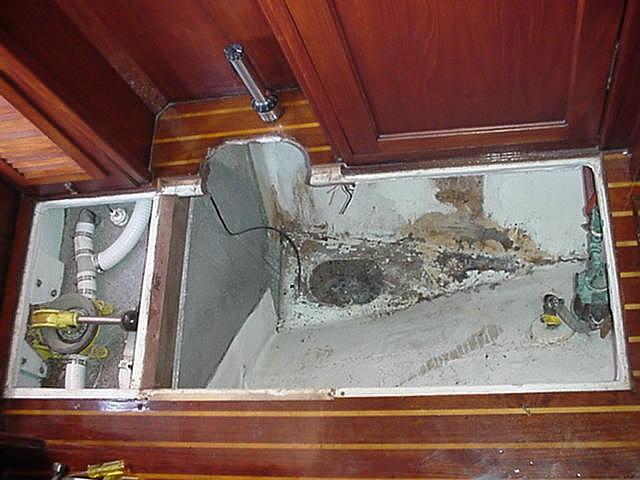
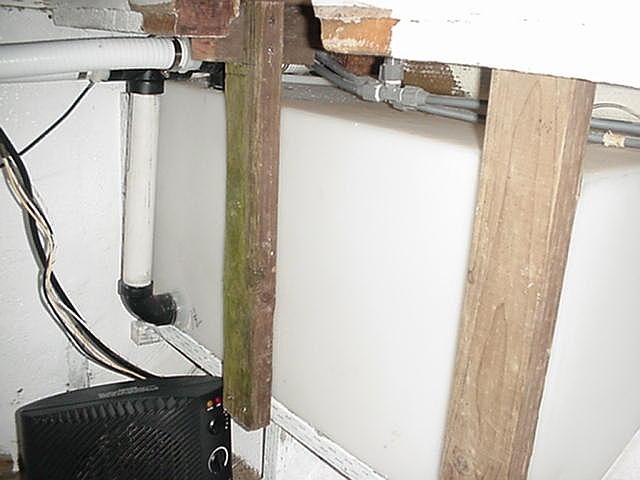
On the DE45, the holding tank is in a small bilge compartment amidship. It lays athwartship, just forward of the main bulkhead. There are two hatches into this compartment, but neither is very large. Initially, I carefully measured up the space and the hatches and sent the measurements to my son Adam, who put them into a CAD program. I then gave him a Ronco tank catalog which he then used to determine which tank(s) might be able to fit thru the hatch and be subsequently turned into place. As it turned out, only very small tanks (less than 20 gallons) could fit and be turned into position. So we bit the bullet and cut out the section of floor between the hatches and removed the supporting 4×4 teak beams underneath. (Pix #1 shows the situation when the aft beam was still in place. The existing holding tank is the silver tank in the left of the picture. You can also see the place on the bottom of the bilge where the mast step used to be.) Now the opening is large enough to accommodate a tank of realistic size: 45 gallons (the same as the existing tank).
Not so incidentally, I cannot recommend Ronco strongly enough. They have an extensive catalog of tank shapes, apparently any of which caqn be manufactured in short order. Fitting placement is completely flexible.
Thankfully, there are no pictures of the next step. The existing tank was too big to fit thru the opening, even if it could be moved forward (which was impossible) and turned thru 90 degrees (ditto) to align it with the floor opening. As preparation, we pumped and rinsed the tank repeatedly, then dumped a gallon of bleach into it and filled it again and left it to steep. Then another pump out to get rid of the bleach solution. Now the steps are these:
- rent a SawzAll (not gonna use any of MY tools for this…)
- <>climb down in the hole
- cut the tank up
- hand the pieces out
Now mind you, there was only a little smell initially, but after the coating on the inside walls was disturbed, and after the 2″ of sludge in the bottom started sloshing around, it was a totally disgusting job. After all the pieces were out, I sloshed bleach over everything and then scooped up the remainder into a bucket. Yes, there was a lot of misc. “stuff” around, behind and under the tank. Then hose out the area after the bleach swab-down. Then shower. Shower. Shower again.
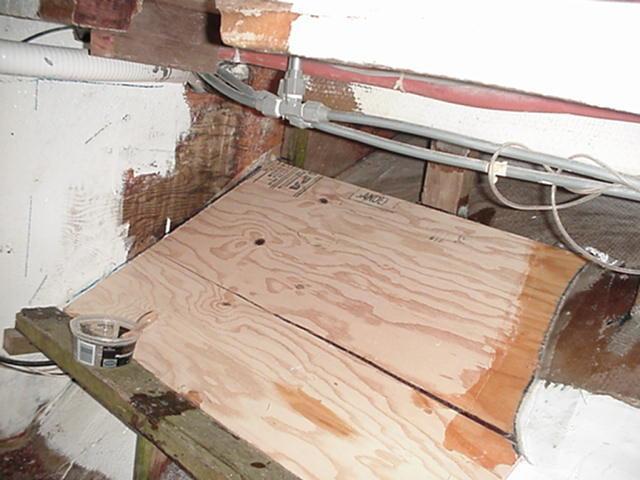
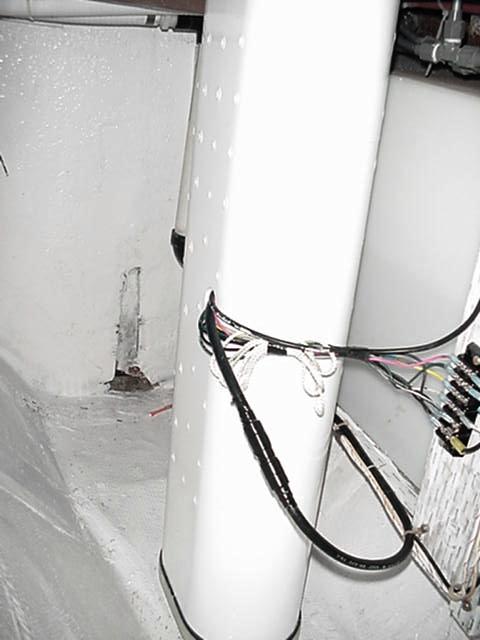
There is a lot more room down there now…(pix #2).
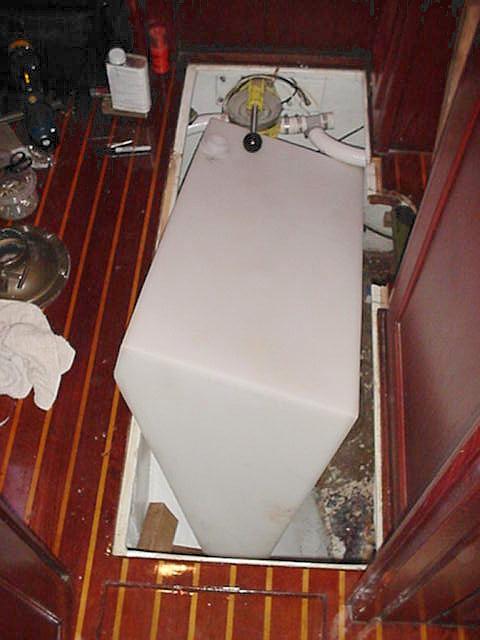
The custom-manufactured tank arrived only a week after ordering! It is a rotationally molded polyethylene tank, with 3/8″ wall thickness. The new tank goes on the port side of the compartment instead of the aft bulkhead. In order to keep the tank in place, a substantial framework had to be built and fiberglassed to the hull (pix #3). It was an interesting design problem fitting the framework as an interface between the regularly shaped tank and the tapered form of the hull. One should remember that when full, the tank will weigh over 400 lb, and will attempt to jump around down there in a seaway. A loose, full holding tank is a thought I really don’t want to contemplate.
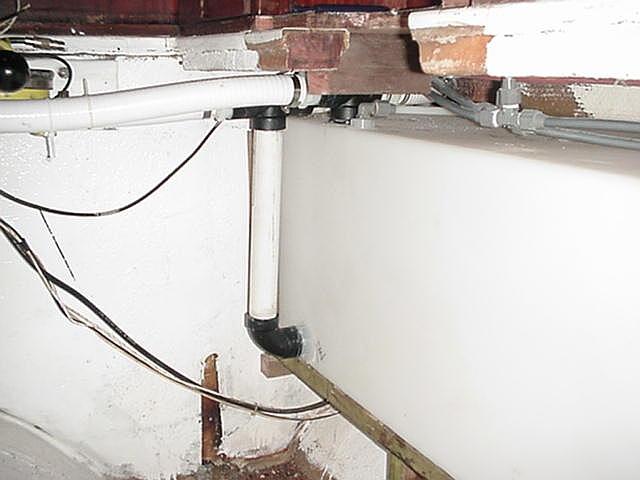
As the construction proceeded, lots of trial fittings were required, each a fairly major ordeal (pix #4). For the final fitting, the plumbing was attached (pix #5 – it couldn’t be done when the tank was in place), and the tank was installed. For completion, 2×4 keepers were screwed in place trapping the tank (pix #6). You can also see that we gave the entire bilge compartment a couple of coats of white paint, which improved appearances immensely (pix #7).
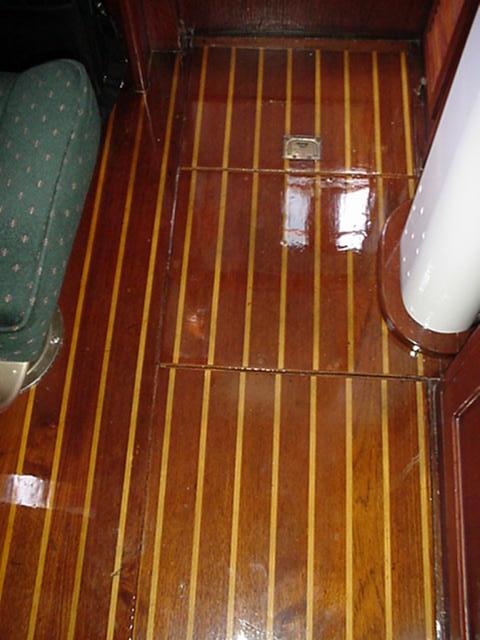
Finally, the deck beams were replaced, and the floor panel was reinstalled. To make the seam where the saw cut was made look like a factory installation instead of a repair, thin teak strips were cut and used to edge the opening and the panel. Then the whole works was given several fresh coats of varnish (pix #8).


Recent Comments