By Eric of DE38 Windsong
A major project from the past year or so has been the restoration of the teak cap rails on Windsong. I had hoped the rail was just fine and could be left alone, but with each piece of hardware that got removed from it, the more I realized how damaged it was. On top of that, there were plenty of leaks under the cap rail where sealant had dried up and became useless. I eventually came to the conclusion that it had to come off, get restored, and re-bedded.
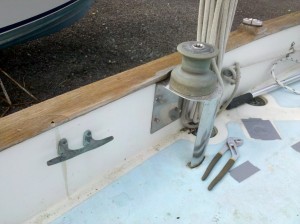
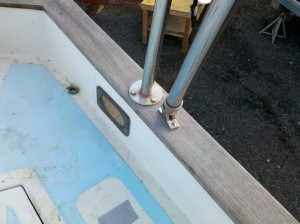
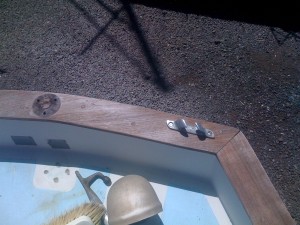
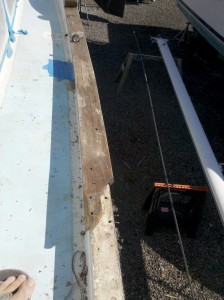
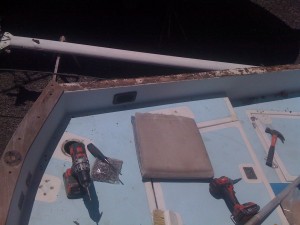
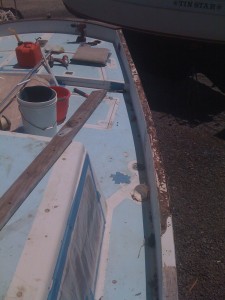
The first step came with removing the rails from the boat. This happened some time ago, as they needed to come off before I even started the deck restoration and painting. It wasn’t until I removed them that I had realized the extent of the damage. I had originally feared that they were unsalvagable in many spots, and I would have to replace the wood all together. Fortunately, that wasn’t the case. As with any project, I took my time doing research and figured I could restore the teak and make the original rails last for much longer.
Just to forewarn, I did a pretty poor job of photo-documenting this project. I have a few, but I didn’t photo the restoration like I should. This is in part to the fact that I had my Dad help me out with the initial restoration and repairs to the major problem areas. He took the rails to his garage to work on while I concentrated on other projects. When I got them back, all of the repairs were done and I had forgotten to photo the problem areas to begin with for before and after pics.
The process for the restoration was initiated by the works of Don Casey, who has some great words on how to bring teak back to life. We cleaned each piece thoroughly with Bar Keepers Friend, a cleaner with oxalic acid, a cheap and effective alternative to teak cleaners. After cleaning we gave each piece an initial sanding to flatten out the grain and give us a better picture of where the problem areas were.
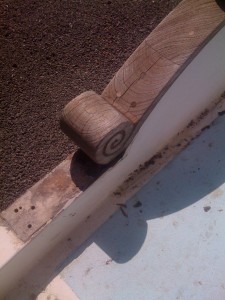
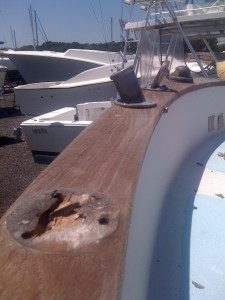
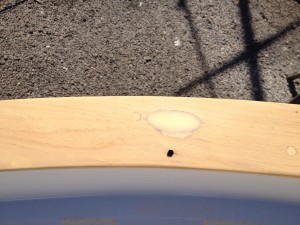
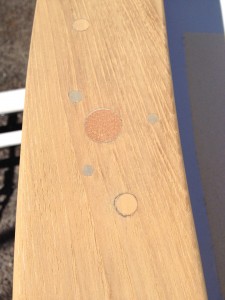
As you will see in the pictures below, certain areas where water had been trapped under hardware had been rotted away. Other areas were broken off due to collisions or whatever reason. Some areas were just soft and worn away. Where possible, we just fixed bad areas with teak plugs, but areas with small enough diameters to handle even 1″ plugs were rare.
The big problem areas were fixed using epoxy and fillers. You will often read that epoxy doesn’t adhere to teak all that well due to the natural oils in the wood; well when the wood is as dry and beat up as this…it sticks quite well. We initially experimented with wood filler, but that looked pretty bad; so I stuck with what I know and went with epoxy for the rest of the repairs. Some small areas I mixed saw dust from the initial sanding to fill the epoxy, but found that Cabosil and the red fairing compound I normally use with epoxy to do the job best.
Here are the pictures of the rail removal, some of the damage areas, and some of the restoration work:
Damage, and examples of repairs:
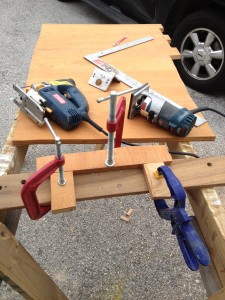
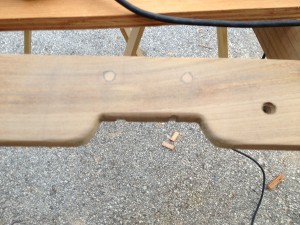
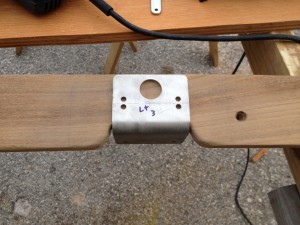
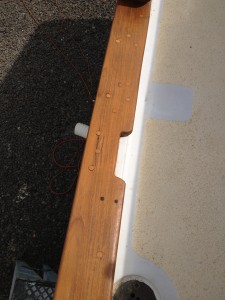
One modification I had to make to the rails was to create some grooves where the new stanchion bases will be. The old stanchion bases were just plates bolted to the top of the rails, the new ones have a vertical section to bolt to the bulwark for more stability. This was my first time ever using a router and making a jig, the one I have is just a small trim router. It turned out well after a few tries and errors on scrap wood:
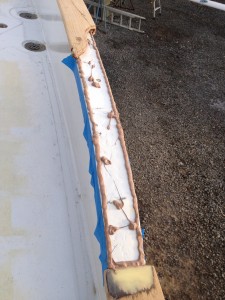
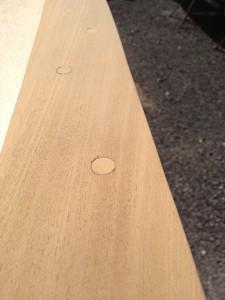
After all of the repairs, each rail received a final few sandings of increasing grit before being ready to install. I used Life-Calk polysulfide for the bedding, in their teak-brown color. Each piece was painted with the Life-Calk primer for good adhesion, and was bedded with a good slab of the goo on all edges and in each screw hole. I beveled all holes with a counter-sink bit to create a good space for the sealant to work into. Each screw hole was then plugged with a teak bung. I had to spend some time making final repairs to some areas that I had missed, and had to open up and re-drill some bung holes that weren’t taking the smaller bungs. The rails then received a final sanding up to 220 grit. The Life-Calk sanded down quite nicely where it had gooped over.
Only picture I have of applying the goop, and a few more of the final sanded wood. You can see a big area of repair in the first picture at the edge of the bottom piece:
Of course, as with any project like this, I spent a stupid amount of time debating on how I would finish the teak. As some of you may have read previously, I have been restoring the interior wood with varnish. Varnish is gorgeous, but in the tropical sun it is an intensive thing to keep up with and maintain, way too much for my tastes. I have been using Cetol Natural Teak to finish my restored hatches, and have really liked how it looks. It is less fussy than varnish, and lasts longer in the tropical sun, but it still needs some care and maintenance. I am fine with the few pieces that are getting the Cetol, but the cap rail is easily the biggest area of wood on the deck. Of course, there is the option to leave it alone and let it silver, but I just spent countless hours restoring this wood and I would like to protect it somehow. Regular oiling didn’t appeal to me, as it didn’t last long and was prone to blackening as dirt collected.
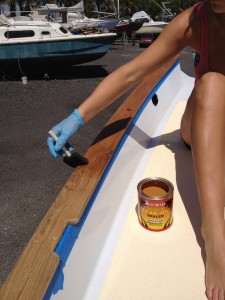
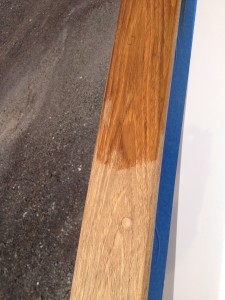
After doing much research and going back and forth between Cetol and anything else I could find, I ended up going with Starbrite Tropical Teak Oil Sealer. It was recommended by a few people on the Cruisers Forum, and it seemed to fit the bill. It lasts a good bit, though not as long as Cetol, but it initially only needs one or two coats that can be applied in a day. Maintenance coats are easy to apply. I bit the bullet and bought a can of Starbrite, and after applying it to some test pieces came away pleasantly surprised.
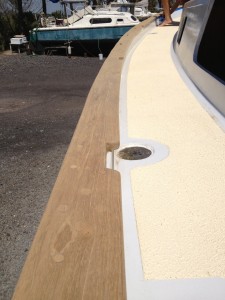
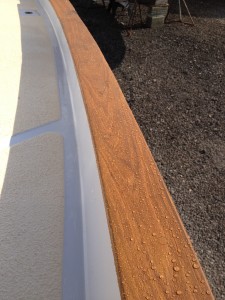
I spent a day with Jenny applying two coats of it to the cap rails, and I think it looks fantastic. It sealed up the wood just right, as tested with a hose and you can see the water bead in the last few pictures.
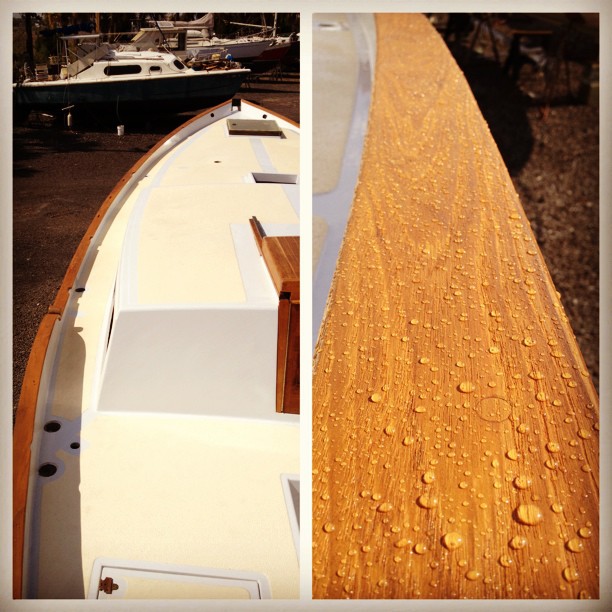
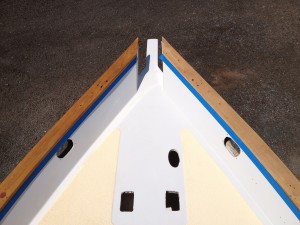
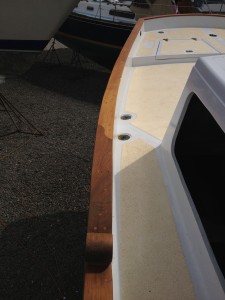
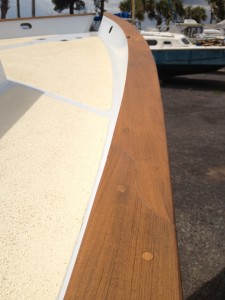
Here is a picture preview of the fully restored caprails, finished with Starbrite Tropical Teak Oil Sealer
It feels absolutely outstanding to have such a big project finished.
To see more of Eric and Windsong visit http://www.thequestforwindandwaves.com

Recent Comments