David Gill of Tondelayo sent in some pictures of his current projects. I have to say they look nice. Below are a short description by him and pictures of each project. If you have questions I’m sure you could get him to talking about it on the forums 🙂
Hi Scott,
I thought I’d send you an email with a few photos rather than trying to upload them into the forum.
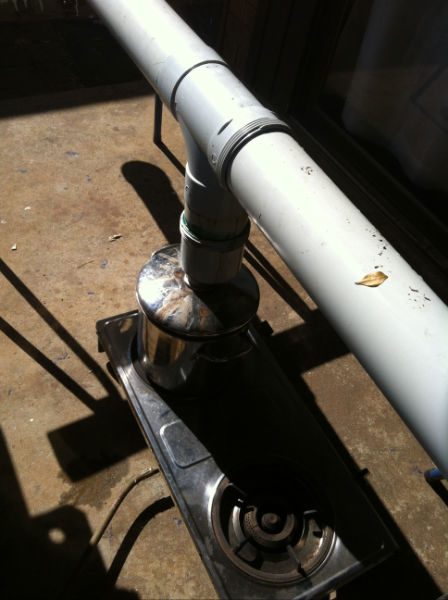
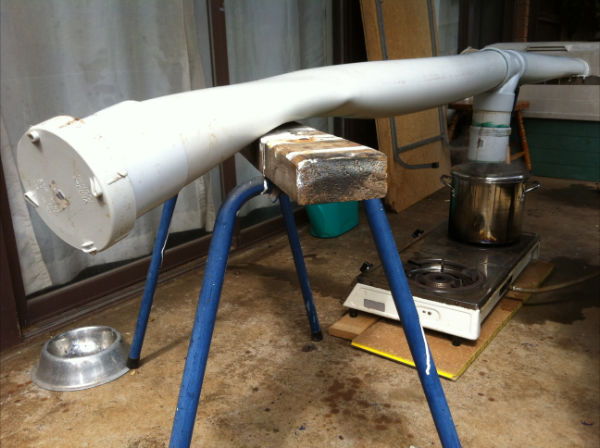
These shots show how to make a “steam box” to steam bend timber. It’s really easy. All you need is a heat source eg gas burner, a pot joined to some Stormwater pipe and away you go. Note that I used standard PVC pipe which loses it’s integrity above 60 degrees Celsius and it still worked however I believe it’s possible to get better quality pipe that will handle the steams elevated temp.
Also, make sure you have a hole at each end to allow the release of the pressure that builds up.
The trick is to get your timber finished to the desired profile before bending. I was working with hardwood and trying to bend it along it’s width which is probably the hardest possible technique but I still got results. (I went through a few prototypes prior to succeeding.)
Happy to discuss further if anyone’s interested.
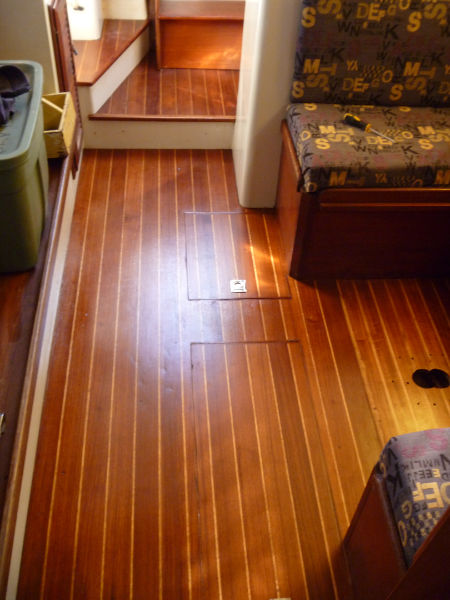
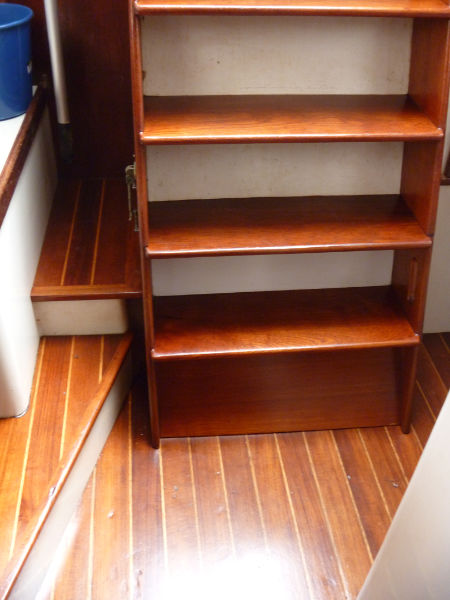
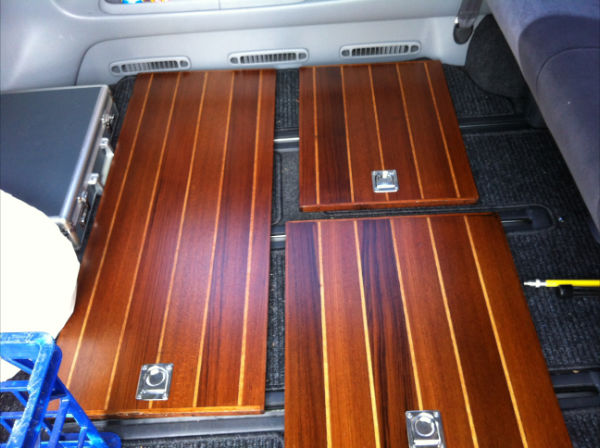
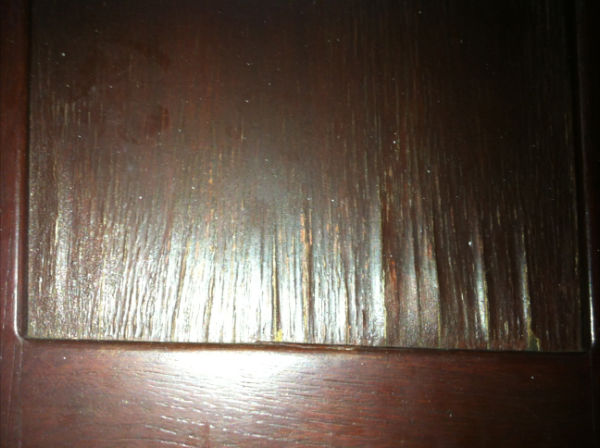
Here’s some shots of Tondy’s floor. It took a lot of elbow grease to sand it back to bare timber before applying 1 coat of a mould inhibitor then 3 coats of Feast Watson Floor Clear Polyurethane. The good thing about this product is that if I want to tidy it up in a few years it just needs a clean and a light sand then you just put a fresh coat straight on.
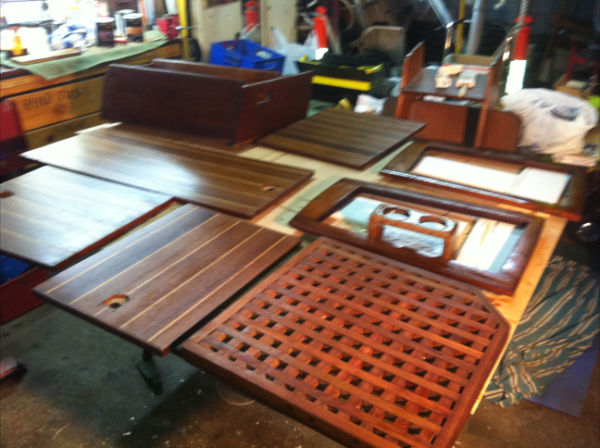
A word for the wise, If you can get everything out of the cupboards and cover all electrics before you start then it won’t be so hard cleaning up all the dust which gets in everywhere! Also if you can take as many parts home and work on them it’ll give them a better finish and you’ll generate less dust on the boat.
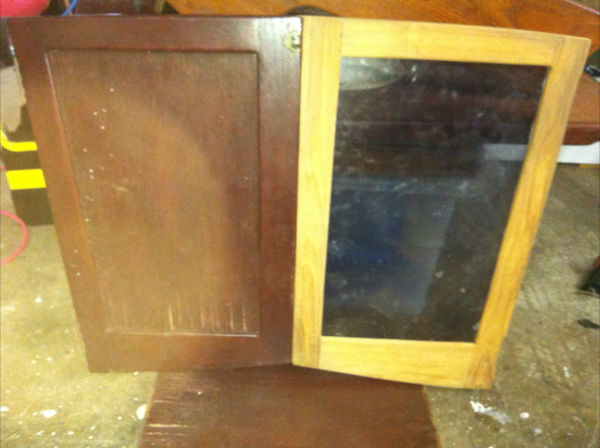
These shots show how I replaced the plywood with perspex on the companionway doors. I put 7 coats of varnish on so we’ll see how long it lasts.
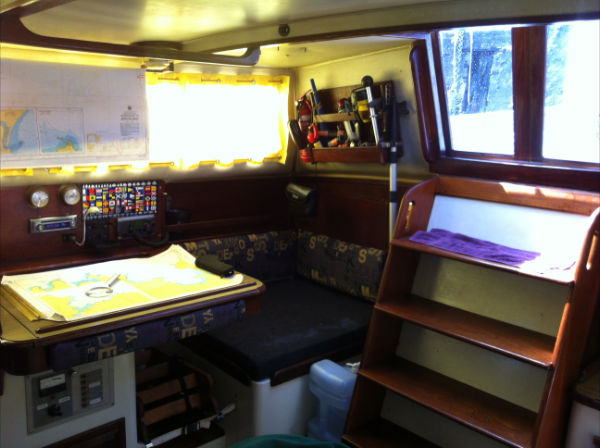
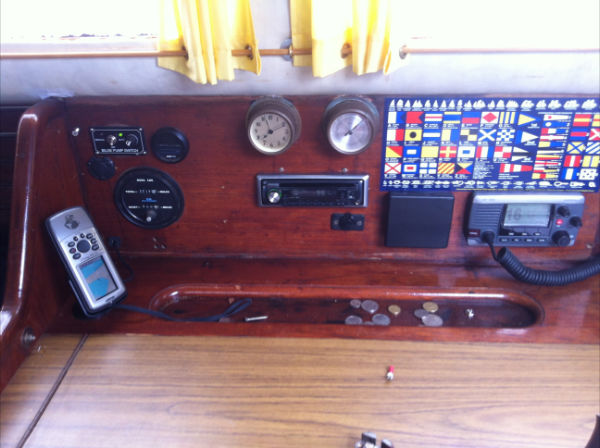
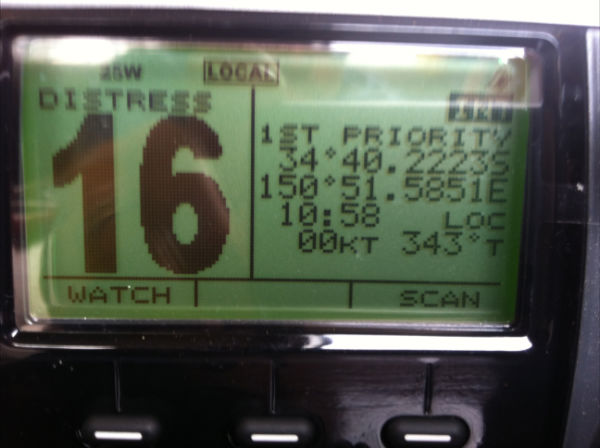
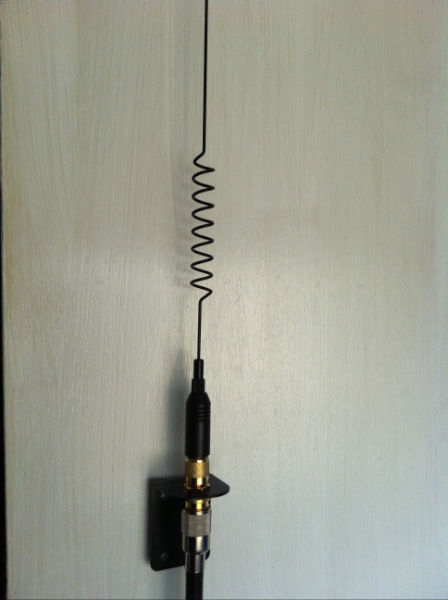
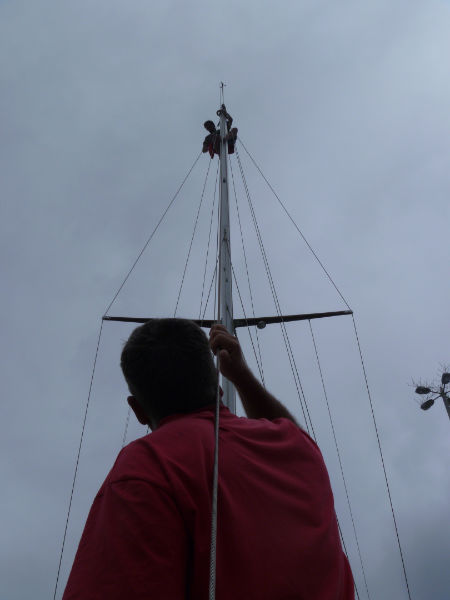
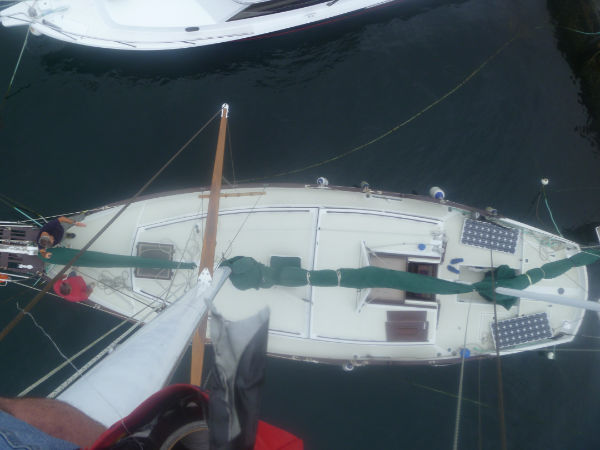
I was lucky enough to get a Garmin 100i DSC VHF for Christmas so I decided to run new coax from the radio to the mast and fit a new antenna. I used Rg213u coax onto a new shakespeare antenna. It was very hard to run the coax down the mast and it seemed to get caught on everything and anything that was inside the mast. I think it ended up being approx 22m of coax back to the nav station so I’m glad now that I used it but others may wish to consider the thinner stuff although it’s not supposed to be used for runs greater than 20m. I think it took around 4 trips up the mast before we got it done. I wired up my Garmin GPSMAP76CSx and it works a treat. I can hear Sydney 80nm North of me and all my transmissions have been well received. It’s so nice to know that everything works perfectly.
When I climb the mast I try to use the two rope methodology so I have two crew/mates on the main and headsail halyards and I pull down on the halyards as they take the starin on the mast winches. If I get to a tricky spot eg at the top of the mast then they can winch me that last little bit. I can also take the starin on one line whilst I readjust the other if need be.
Regards,
David.
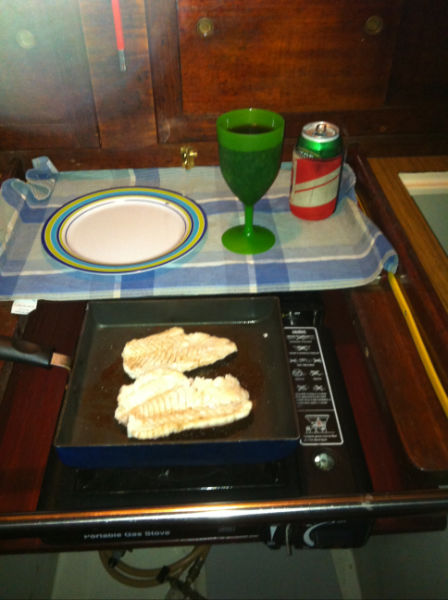
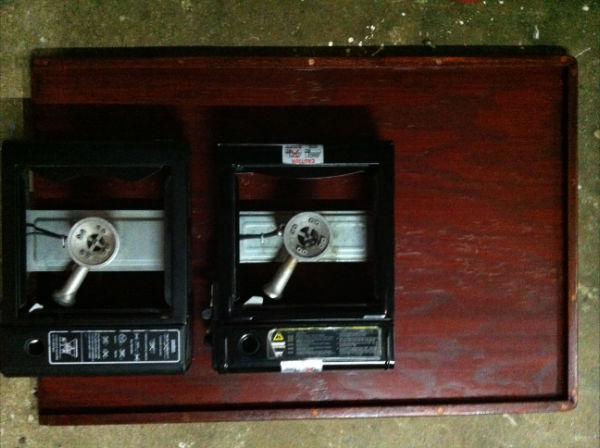
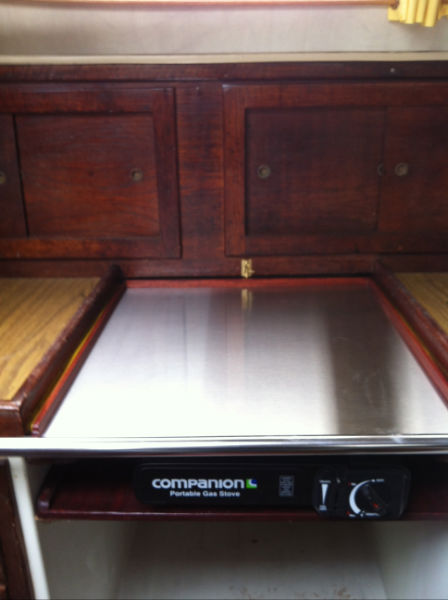
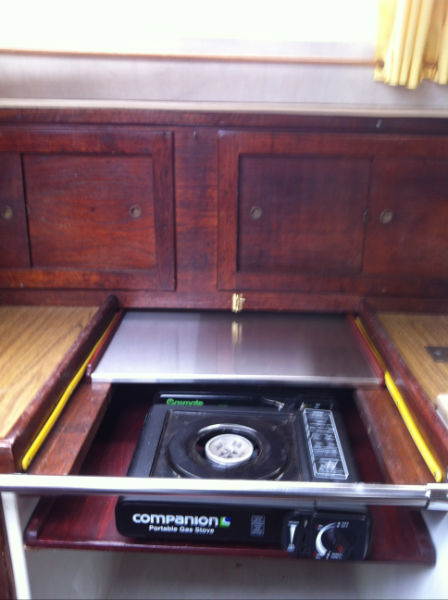
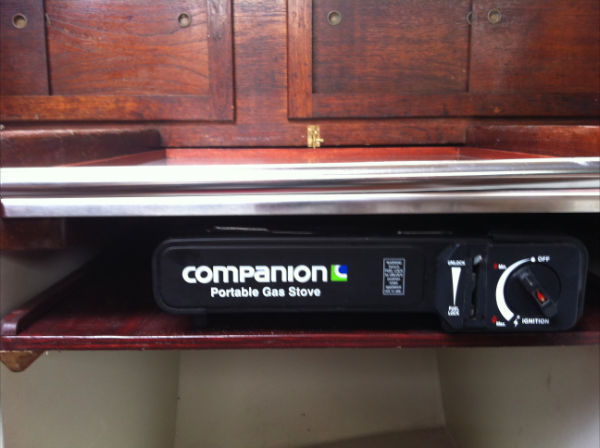
We decided to generate some more bench space in the galley so I removed the metho burner and installed two of those cheap Gas Canister burners. I know they have their limitations and safety risks but as we are not heading off around Australia for at least 5 years then we are happy to have the benefit of the instant heat and reduced space requirement. Eventually we will get a proper oven and cook top but for now it’s these gas cookers backed up by our Magma BBQ.
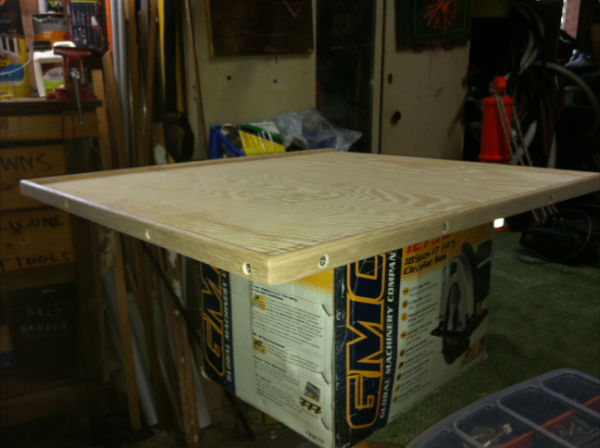
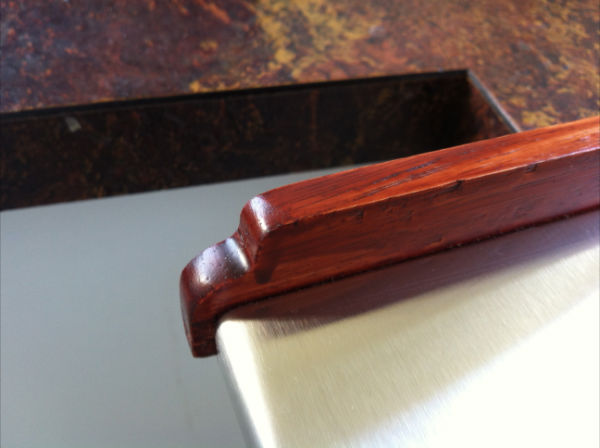
I made the bench top with a bit of construction grade plywood that was in the garage and some Tassie Oak trim which I shaped then screwed glued and plugged. I took it to a sheet metal company who supplied and bent the 316 stainless and I glued it on. A couple of coats of Sikkens Cetol HLS and we’re done!
We’re happy with the end result and the extra bench space.
David






Recent Comments