We pick up the story of Eolian’s heat pump from last week with two more articles about the installation. One is some finishing touches a week later and the second is the next spring.
As I mentioned last week, we are still putting the finishing touches on the heat pump installation. One of those finishing touches is to protect the flexible ductwork in the storage compartment under Jane’s berth from the heavy things that are normally stored there.
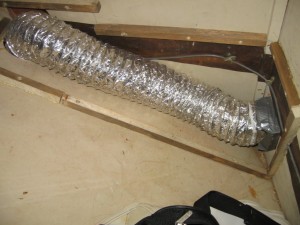
The first step was to cut some cleat stock out of some scrap lumber, and glue/screw it to the surfaces surrounding the ductwork, to provide a foundation.
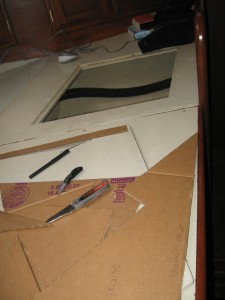
Next, making templates out of cardboard saves lumber, and allows you to change your mind about the design at zero material cost.
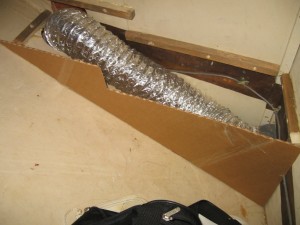
Once I settled on a design, I used the templates to mark up the plywood, cut it out with a saber saw. Because everything is made to fit, it fits perfectly (OK, I was surprised too).
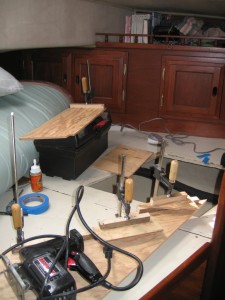
After all the pieces were cut, I glued on more cleat stock in the appropriate places, and then assembled the whole thing.
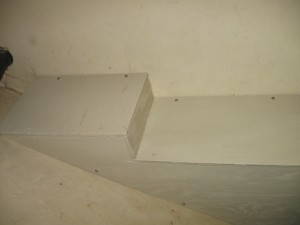
A little sanding, a couple of coats of paint, and it looks like a factory install (almost).
The heat pump which has been keeping us warm all winter was not really installed. Last fall when I got it, I kind of jury-rigged the install in order to get it up and running. Today I tackled one part of that jury-rigging: I positioned the heat pump in its final location and bolted it down – a prerequisite for us to be able to go sailing (wouldn’t do to have it flopping around down there).
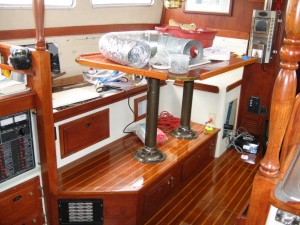
In order to do this, it was necessary to make a giant mess of the cabin, of course. I uninstalled the ductwork, the water plumbing, and removed all the other non-heat pump stuff in the compartment.
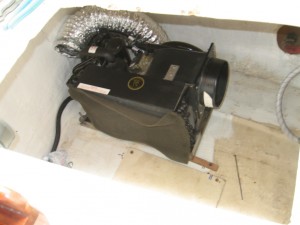
Last week, Jane picked up the collection of stainless nuts, bolts and washers that I figured would cover any installation eventuality, so I was prepared to do the bolt down. I drilled the holes and test-fitted the bolts. They didn’t work – the threaded length was not sufficient. So, since I needed more water hose anyway, we left the mess and made a trip to West Marine. With the proper bolts and 14′ of hose, I once again wedged my tender body into the small space under the dinette seating. The first two bolts went in without a hitch, and required maybe 10 minutes to make up. The last bolt, however, had bad threads part way down its length. After I essentially welded the nut on (stainless galls up easily) by trying to turn it past the bad place, I gave up and hacksawed it off. I invested a good hour in this last bolt. Jane made a quick trip back to West Marine to exchange the defective bolt, while I caught my breath. The replacement bolt went in easily, and all I had left to do was to cut off the excess ductwork (left long in the initial “install” on purpose), and hook up the new hose.
Done. Remaining: permanently mount the water circulating pump, and provide permanent 110V wiring.
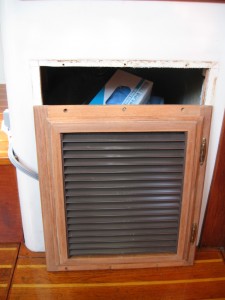
I also completed the fabrication of a new teak door and frame for what is now the heat pump compartment. This door incorporates a return air vent, needed because the heat pump has to get the air it blows throughout the boat from somewhere. The new door and frame is larger than the previous one (to get adequate return air), and so the opening will have to be enlarged. I think it is going to look OK once it is mounted and varnished. Don’t you?


Recent Comments