This project was submitted by Bob Salnick of DE45 Eolian
This project is from the winter of 2004/2005
During the last months I had noticed that the amount of water being delivered out the exhaust pipe had been decreasing. (Water? Out the exhaust pipe? Read on.)
First, a brief lesson on marine engines… ours is ‘fresh water cooled’. That means that it is exactly like a car engine. Except that instead of an air-cooled radiator, we have a heat exchanger which is cooled with sea water. The engine coolant and the sea water do not mix, any more than the air and the engine coolant in a car mix – they are separated by the internal walls of the water-air heat exchanger (radiator) or water-water heat exchanger (marine engine). Once the sea water has picked up the waste heat from the engine, it is put to one final use: It is dumped into the exhaust gases to cool them so that high temperature plumbing is not required for the exhaust system. It exits with them. The injection point is at an elbow on the very end of the (water cooled) exhaust manifold.
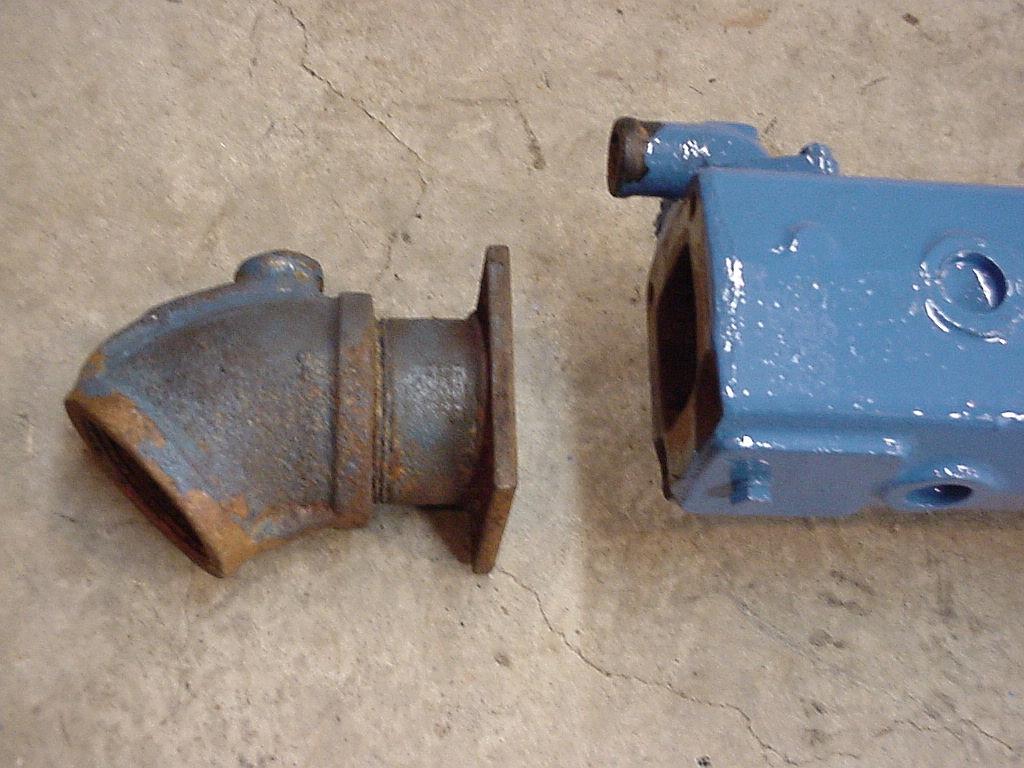 I had cleaned the exhaust elbow once before by poking around inside it with a piece of wire – I am sure that I didn’t do a very good job, but I did get the water flowing again OK that time. This time, I decided to remove the elbow and acid pickle it to clean it completely.
It looked easy.
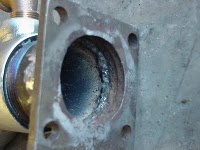
Tho the working space is very cramped, the elbow itself is not large, and it is held onto the exhaust manifold (painted blue in the picture) with only 4 nuts. Well, when I tried to turn the first nut, the stud it was screwed onto immediately broke off. Right here, it stopped being easy. Working on this in place is absolutely impossible, so now the exhaust manifold had to come off too.
Fortunately, the exhaust manifold is held on by only 4 nuts (the Perkins 4-236 has siamese ports). Two of these nuts are accessible from the top, but the lower two are firmly hidden behind the heat exchanger. OK, so that had to come off too. In typical British engineering, before you can take something off, you must first take something else off (apply recursively, forever and ever).
Because the available space to work on this is an awkward wedge-shaped small torture chamber, removal of the heat exchanger was a real difficult chore. Once it was off, the exhaust manifold came out easily.
I used a nut buster to cut the remaining nuts off the mounting studs for the elbow and removed it. 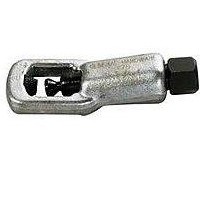 The studs were corroded to about 1/2 their original diameter – no wonder the first one twisted off. I applied heat with a torch, heating the studs to red heat and cooling them alternately, and finally they were removable from the manifold with a pair of vise grips – even the twisted off one. (Note to self: never use excessive force if you can get a nut buster on the nut…)
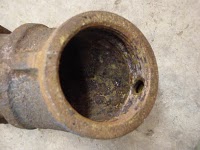
Using a scraper, I began to remove the layered deposits from inside the elbow. Immediately I poked thru the pipe nipple which served as the outlet piece (providing a place for the 3″ exhaust hose to attach). OK, as it was rotten, I made no attempt to unscrew it, I just cut it off flush with the elbow using my sawzall. Then I used a chisel to bend the remaining threaded ring inside the elbow to the inside and removed it.
Finally, I hammered away at the deposits inside with a chipping hammer, and then pickled the elbow in concentrated HCl. The results were sobering. Corrosion (or erosion?) had eaten more than half way thru the elbow in various places. Combined with the easy scraper penetration of the outlet nipple, this whole thing was a disaster just waiting to happen. I am SO HAPPY that I had removed it when I did.
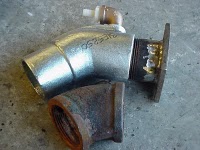
After cleaning, another defect was revealed. This exhaust elbow was constructed from a 2.5″ 45 degree pipe elbow, on which an external channel had been welded (very nice job!). Finally, a hole was drilled into the external channel at the outlet end of the fitting to provide the water exit into the exhaust gas stream. In order to ensure that water exiting the hole would not find its way back to the exhaust manifold and the engine, the hole was drilled as close to the exit as possible (good!).
Unfortunately, it was drilled so close to the exit that it was in the threads, and when the outlet nipple was screwed in, it partly occluded the hole, undoubtedly spraying water back toward the engine (defeating the purpose of drilling near the exit – bad!).
I checked and found (very surprisingly) that a new exhaust elbow was only $88. Aside from solving the corrosion problems, this elbow also had a water exit in the form of a 3/8″ x 1″ slot instead of the 3/8″ diameter hole in the old elbow. This will pass perhaps 4x as much water and will take a lot longer to block with lime than the small hole, partly covered by the exit nipple.
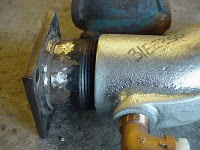 When I attempted to remove the flange end from the old elbow, the pipe broke off (corrosion again…). A repair was therefore necessary. Rather than weld directly on the flange plate (which would cause warping, and thus poor gasket contact), I cut off all but about 3/8″ of the old pipe. Then I bought a 2.5″ pipe nipple, and cut off an appropriate-sized piece. I beveled the ends of both and mig-welded them together. Since the new fitting had a heavier wall thickness than the old (corrosion again?), there was a shoulder on the inside – I welded this too.
After grinding and painting, it looks really nice!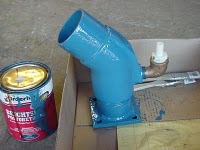
Reinstalling the exhaust manifold was easy, but then attaching the exhaust hose to elbow was really tough. I installed new studs in the exhaust manifold. Then I cut off about 3/4″ of the old exhaust hose because the new elbow assembly is a little longer than the old one – tough job! This is heavy hose (1/4″ wall thickness), with two, very hard, spiral steel wires inside. Then I coated the inside of the hose with silicone and inserted the elbow. Wow – that makes it sound easy! Actually I fought it for the better part of a half hour, grunting, groaning and bruising myself trying to get the elbow far enough into the hose. Finally, with more grunting and bruising, I had the flange over the new exhaust manifold studs and the whole works tightened down.
Lots of water comes out with the exhaust now!
Visit http://windborneinpugetsound.blogspot.com/ for more great adventurers with Eolian

Recent Comments