Phil Stephenson a longtime Downeast owner of over 20 years and 100,000 miles on the water emailed me when he found out about the new website. He has had to replace his fuel tanks on his boat Kuhela and documented the process. If you would like information on this please email him at Phil@PhilStephenson.com
Another owner that has had this issue is Jason Rose
Jason Rose of Bohdran a DE32 has also had to deal with this issue. Here is the information I was able to salvage of the internet archive.
The diesel tank on my boat was capped off at least 12 years ago by Bodhran’s previous, owner. A 22 gallon fuel tank was installed on the battery shelf under the cockpit. Unfortunately it blocks access to the steering cables and the thru hulls in the aft section of the boat. I also hated the idea of a 70 gallons of space not being used, so I decided to try and repair the old tank and remove the tank under the cockpit sole. Fortunately Good Old Boat had an article instructing me on just what to do.
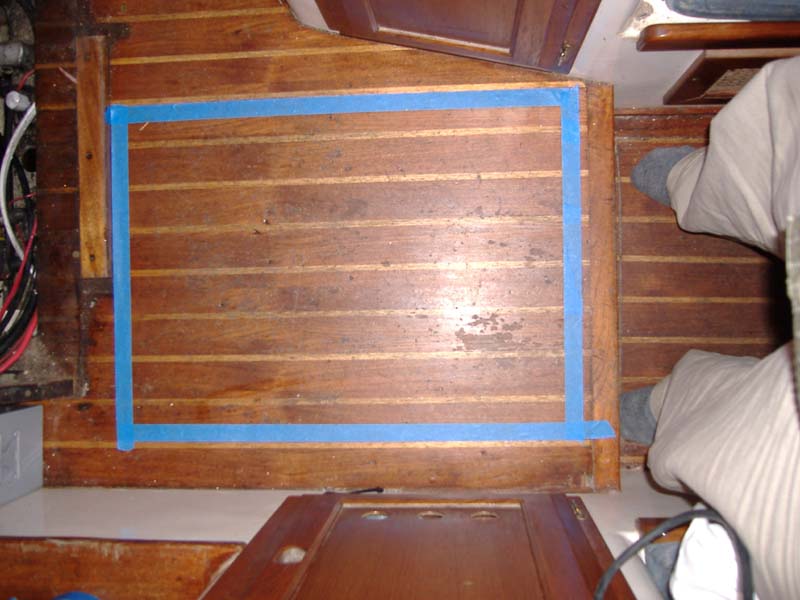
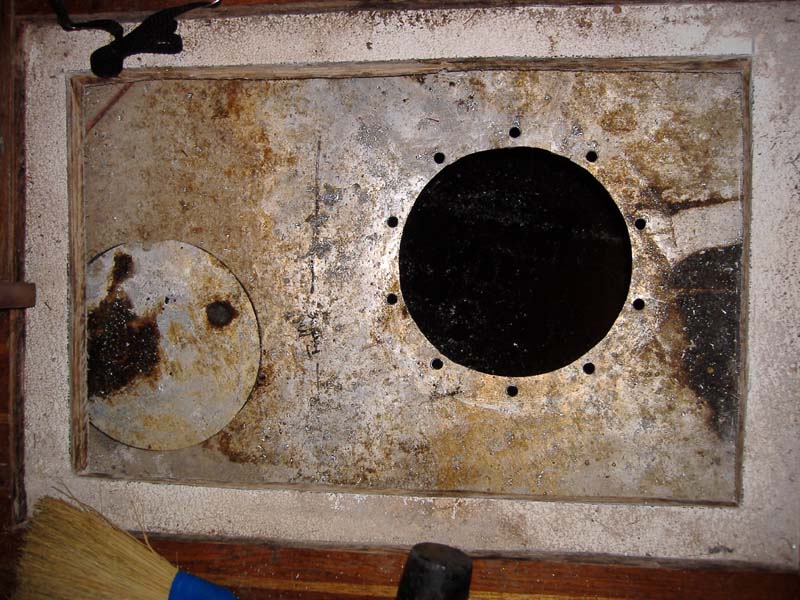
The first step in repairing the tank was cutting access into the top of the tank. I used a Fein Multimaster with with a piece of masking tape 3/4″ up on the blade to mark the depth of the teak and holly plywood sole. Instead of drawing on the floor, I used masking tape to mark off the dimensions of my new access hatch. This way when I’m done I can use the cutout for the hatch.
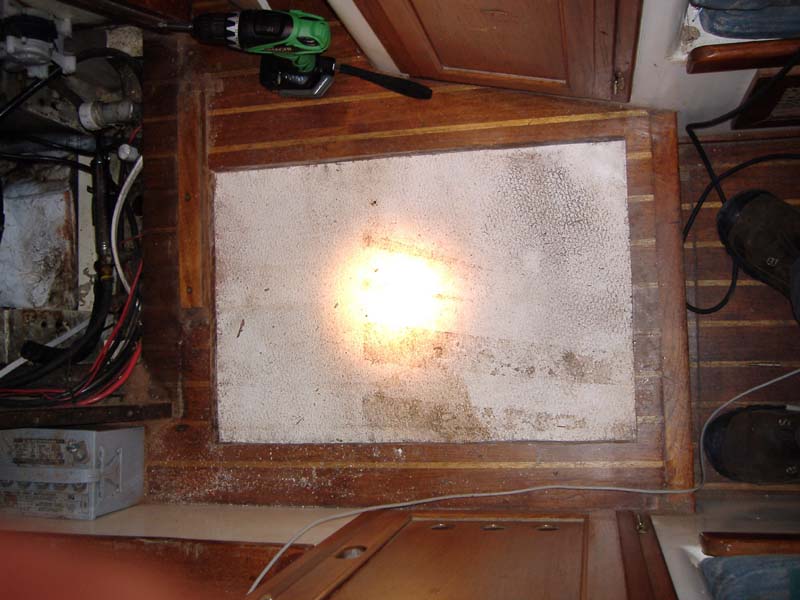
The first cut is only through the wood sole and not the fiberglass liner.
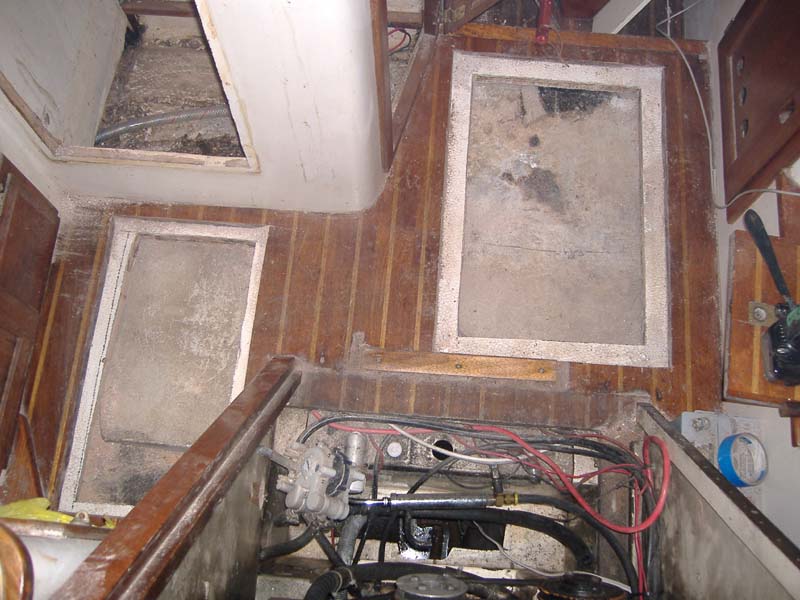
Then I cut through the hull liner leaving a 2″ rim around the opening to act as a base for the hatch. I assumed that there would be baffles both fore to aft and port to starboard so I cut another access hatch in the galley floor and removed the drawers from under the galley counter to be able to access the port side of the tank. It turns out that there is only one baffle running port to starboard, so only the cutout at the base of the companionway is needed. I glassed back in the cutout in the galley to try and return some of the lost structure from cutting through the hull liner.
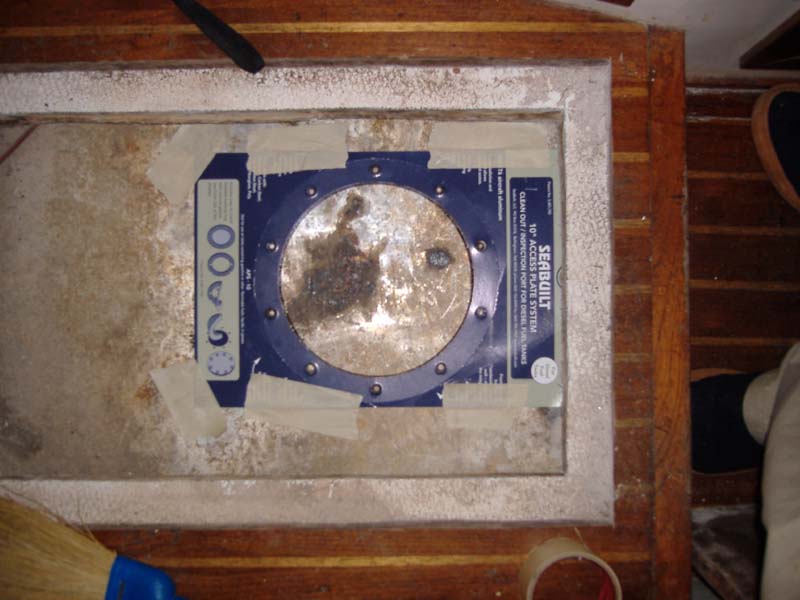
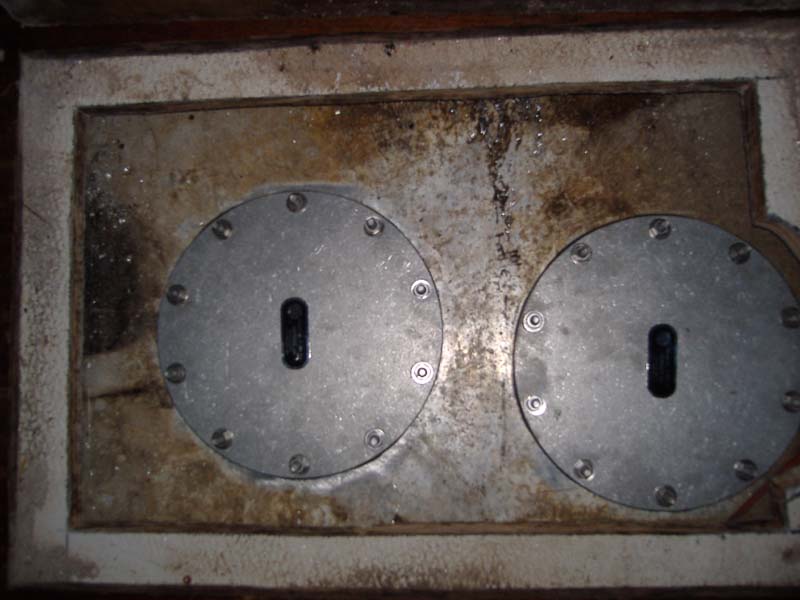
I located the baffle in the tank by thumping the top of it and installed inspection ports on either side of the baffle. I used Seabuilt (www.seabuilt.com) 10″ aluminum inspection ports for diesel tanks. The ports were a bit pricey but were a breeze to install. The packaging for the ports is used as a template.
All the holes lined up on the first try.
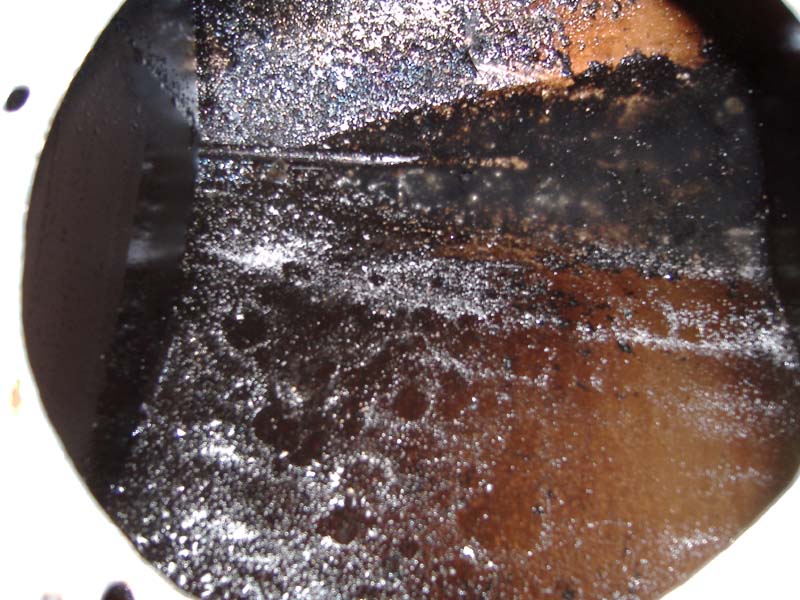
Once inside, I found that the draw line was clogged and there was good layer of sludge at the bottom of the tank. The draw line on these tanks comes in at the aft end, runs down to the vee bottom and ends at the foreword end of the tank.
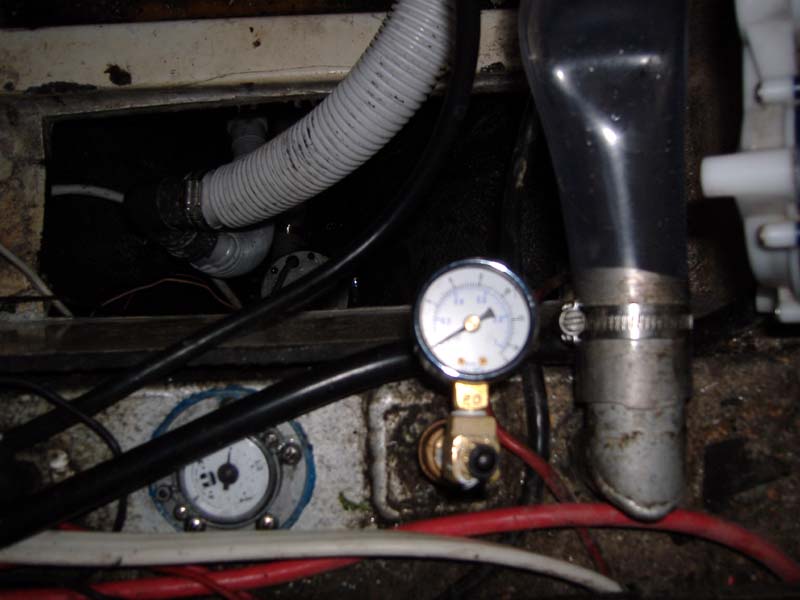
I thought that it was possible that the tank was capped just because the draw line was clogged, so I decided to pressure test the tank. I attached a bicycle pump valve and dial pressure gauge to the fill line. I used a bicycle pump to blow out the fill line and then sealed off the inspection ports, the vent, return and fill lines.
I pumped the tank up to 3psi to determine whether it was air tight or not. I could hear a leak somewhere from the aft end of the tank, so I “painted” all the fittings and as much of the tank I could get to with soapy water to see if I could find the leak. Unfortunately all the fittings were air tight, and I couldn’t find where the tank was leaking.
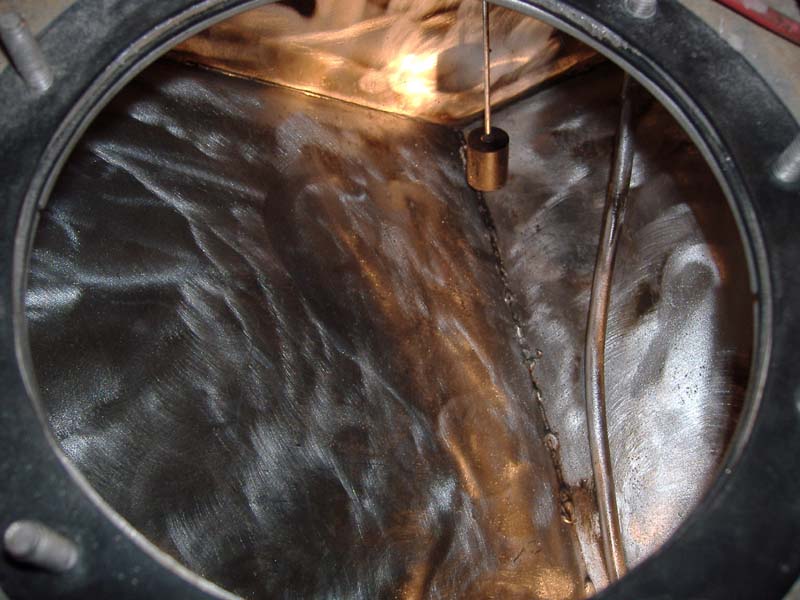
Next I wire brushed as much of the tank as I could reach using a 4.5″ angle grinder and then a hand brush for all the corners. I then wiped down the inside of the tank with acetone.
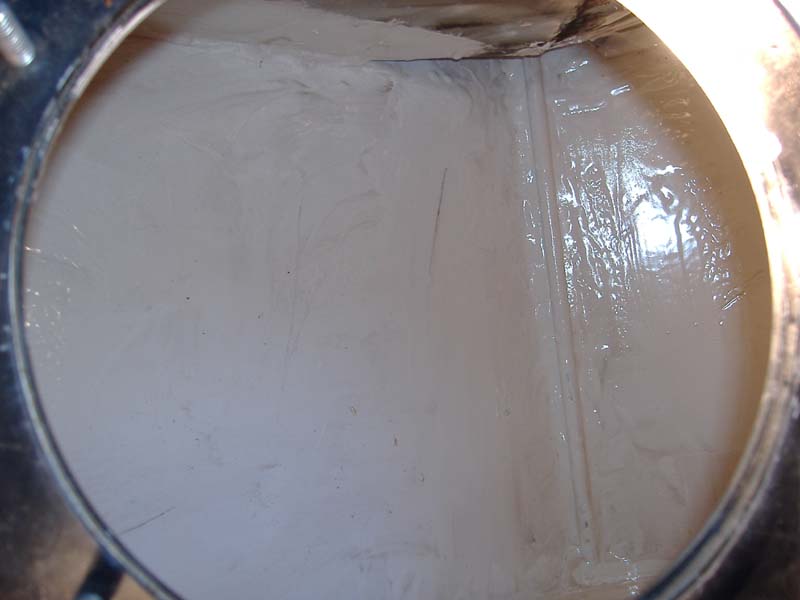
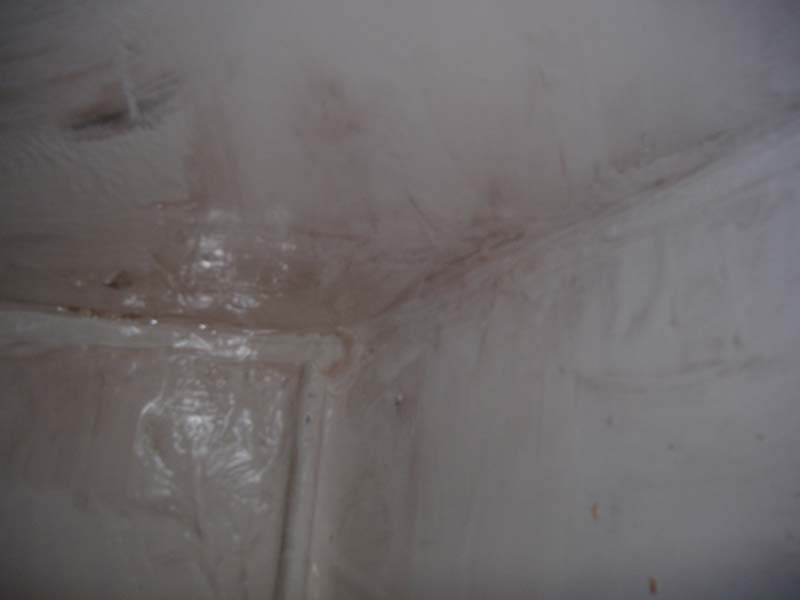
In order to seal the tank I decided to use Ameron Amerlock 2/400 high solids content epoxy paint. It was recommended to me by a company down in Seattle that specializes in fuel tanks. I cleaned out the tank as well as I could by hand. I painted the inside of the tank using a small extension handle and a foam brush. The Amerlock paint goes on thick, so only one coat was necessary. I went back over all the welds and corners to ensure that they got an extra thick coat.
After waiting 3 days for the paint to cure, I resealed the tank and pumped it back up to 3 psi. After holding 3 psi for 3 days I decided that the tank was indeed airtight and suitable for use again. Even better, I now have a way to keep the tank clean.

Recent Comments