 Log In
 Register
 Home
Home

 Topic RSS


 Offline


I'd like to see some pictures or descriptions of how you have insulated your engine room. Prior to my dismantling the entire boat, Windsong only had engine room insulation on the underside of the stairway. I've considered adding insulation to the underside of the cockpit sole, as well as on the quarter-berth wall.
How is yours insulated, and what would you change about it if anything?
Thanks!

 Offline
Erick,
I re-did the E/R on Perelandra this spring, and installed a foam insulation that has two layers of foam with a heavy rubber layer between, and a mylar facing on one side. It is made by Soundown of Salem, MA.
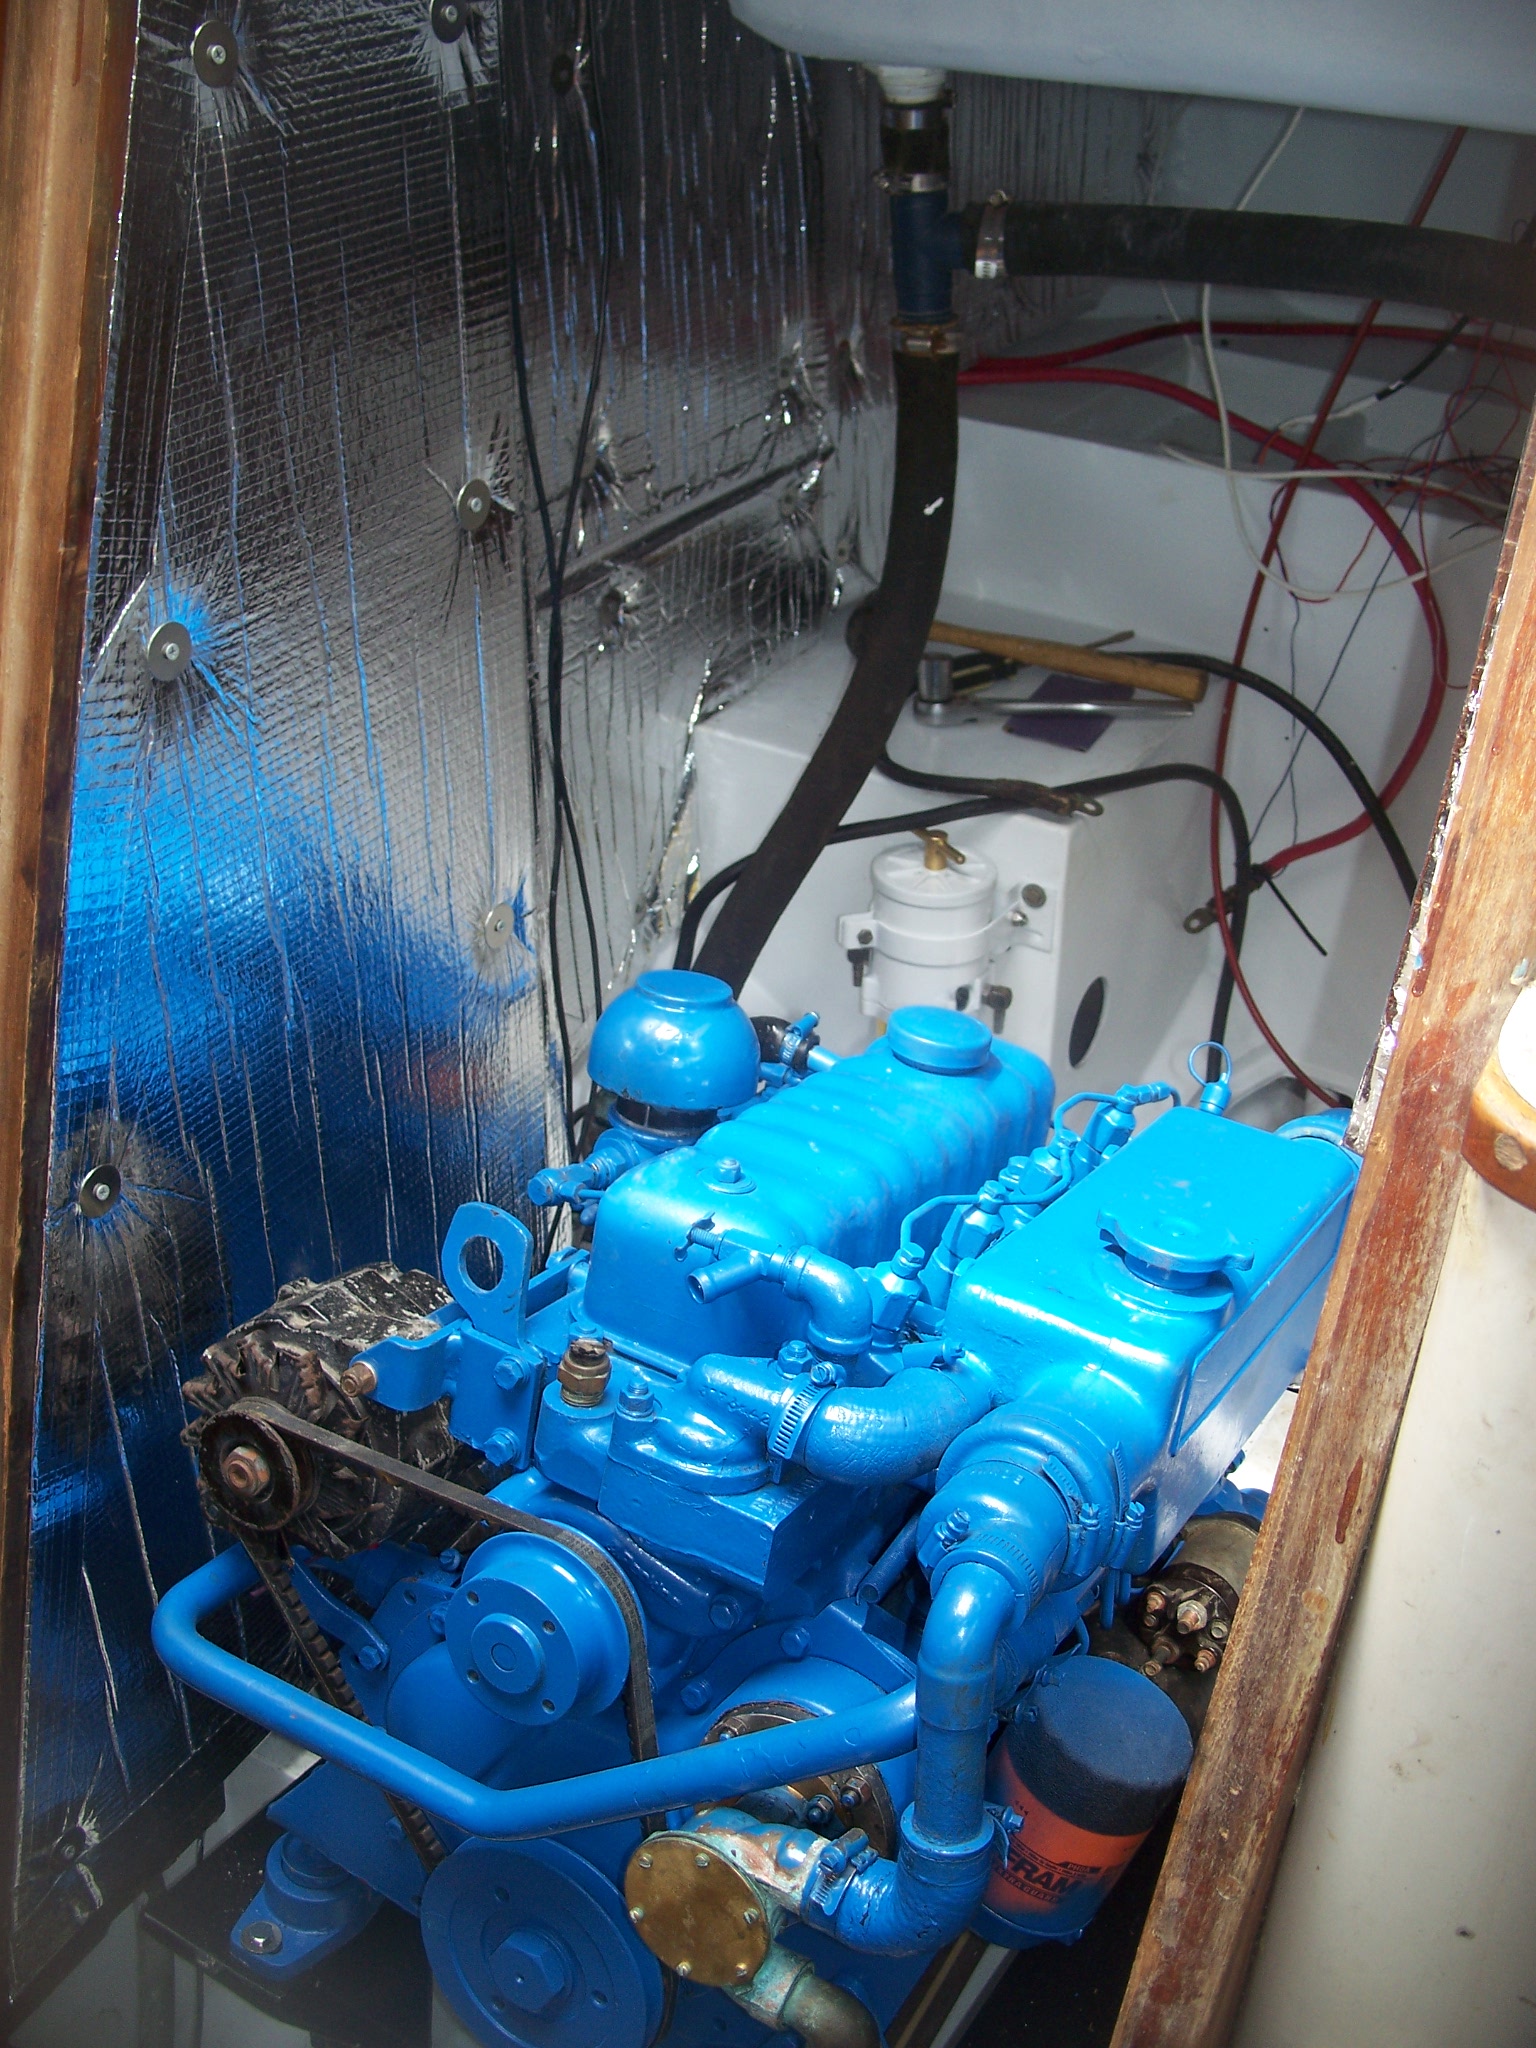

I still have a couple of areas left to do, including the underside of the cockpit sole, but I ran out of time. What I did manage to get done does seem to have helped. One tip I got was to put a radio (noisemaker) in the space and close it after installing the stuff, and then use weatherstripping to fill any noise "leaks". I'll try that after I finish the rest of the installation.
On a somewhat unrelated note, You can see the fresh paint on the engine and engine space. I pulled the engine in the fall to clean the space up, and so I could pull the shaft and replace the cutless bearing without having to drop the rudder. I managed to pull the engine by myself, using a chain falls and the staysail boom from the main gooseneck. It really worked pretty well, as I was able to swing the engine over the side and lower it to my pick-up truck. I used the main halyard and the topping lift together at the end of the boom, and checked the tension of the stays and whether there was any distortion at the gooseneck, as I went along. I just reversed the process to get the engine back aboard. It was a fun excercise in rigging, and save a few hundred bucks renting a crane truck.
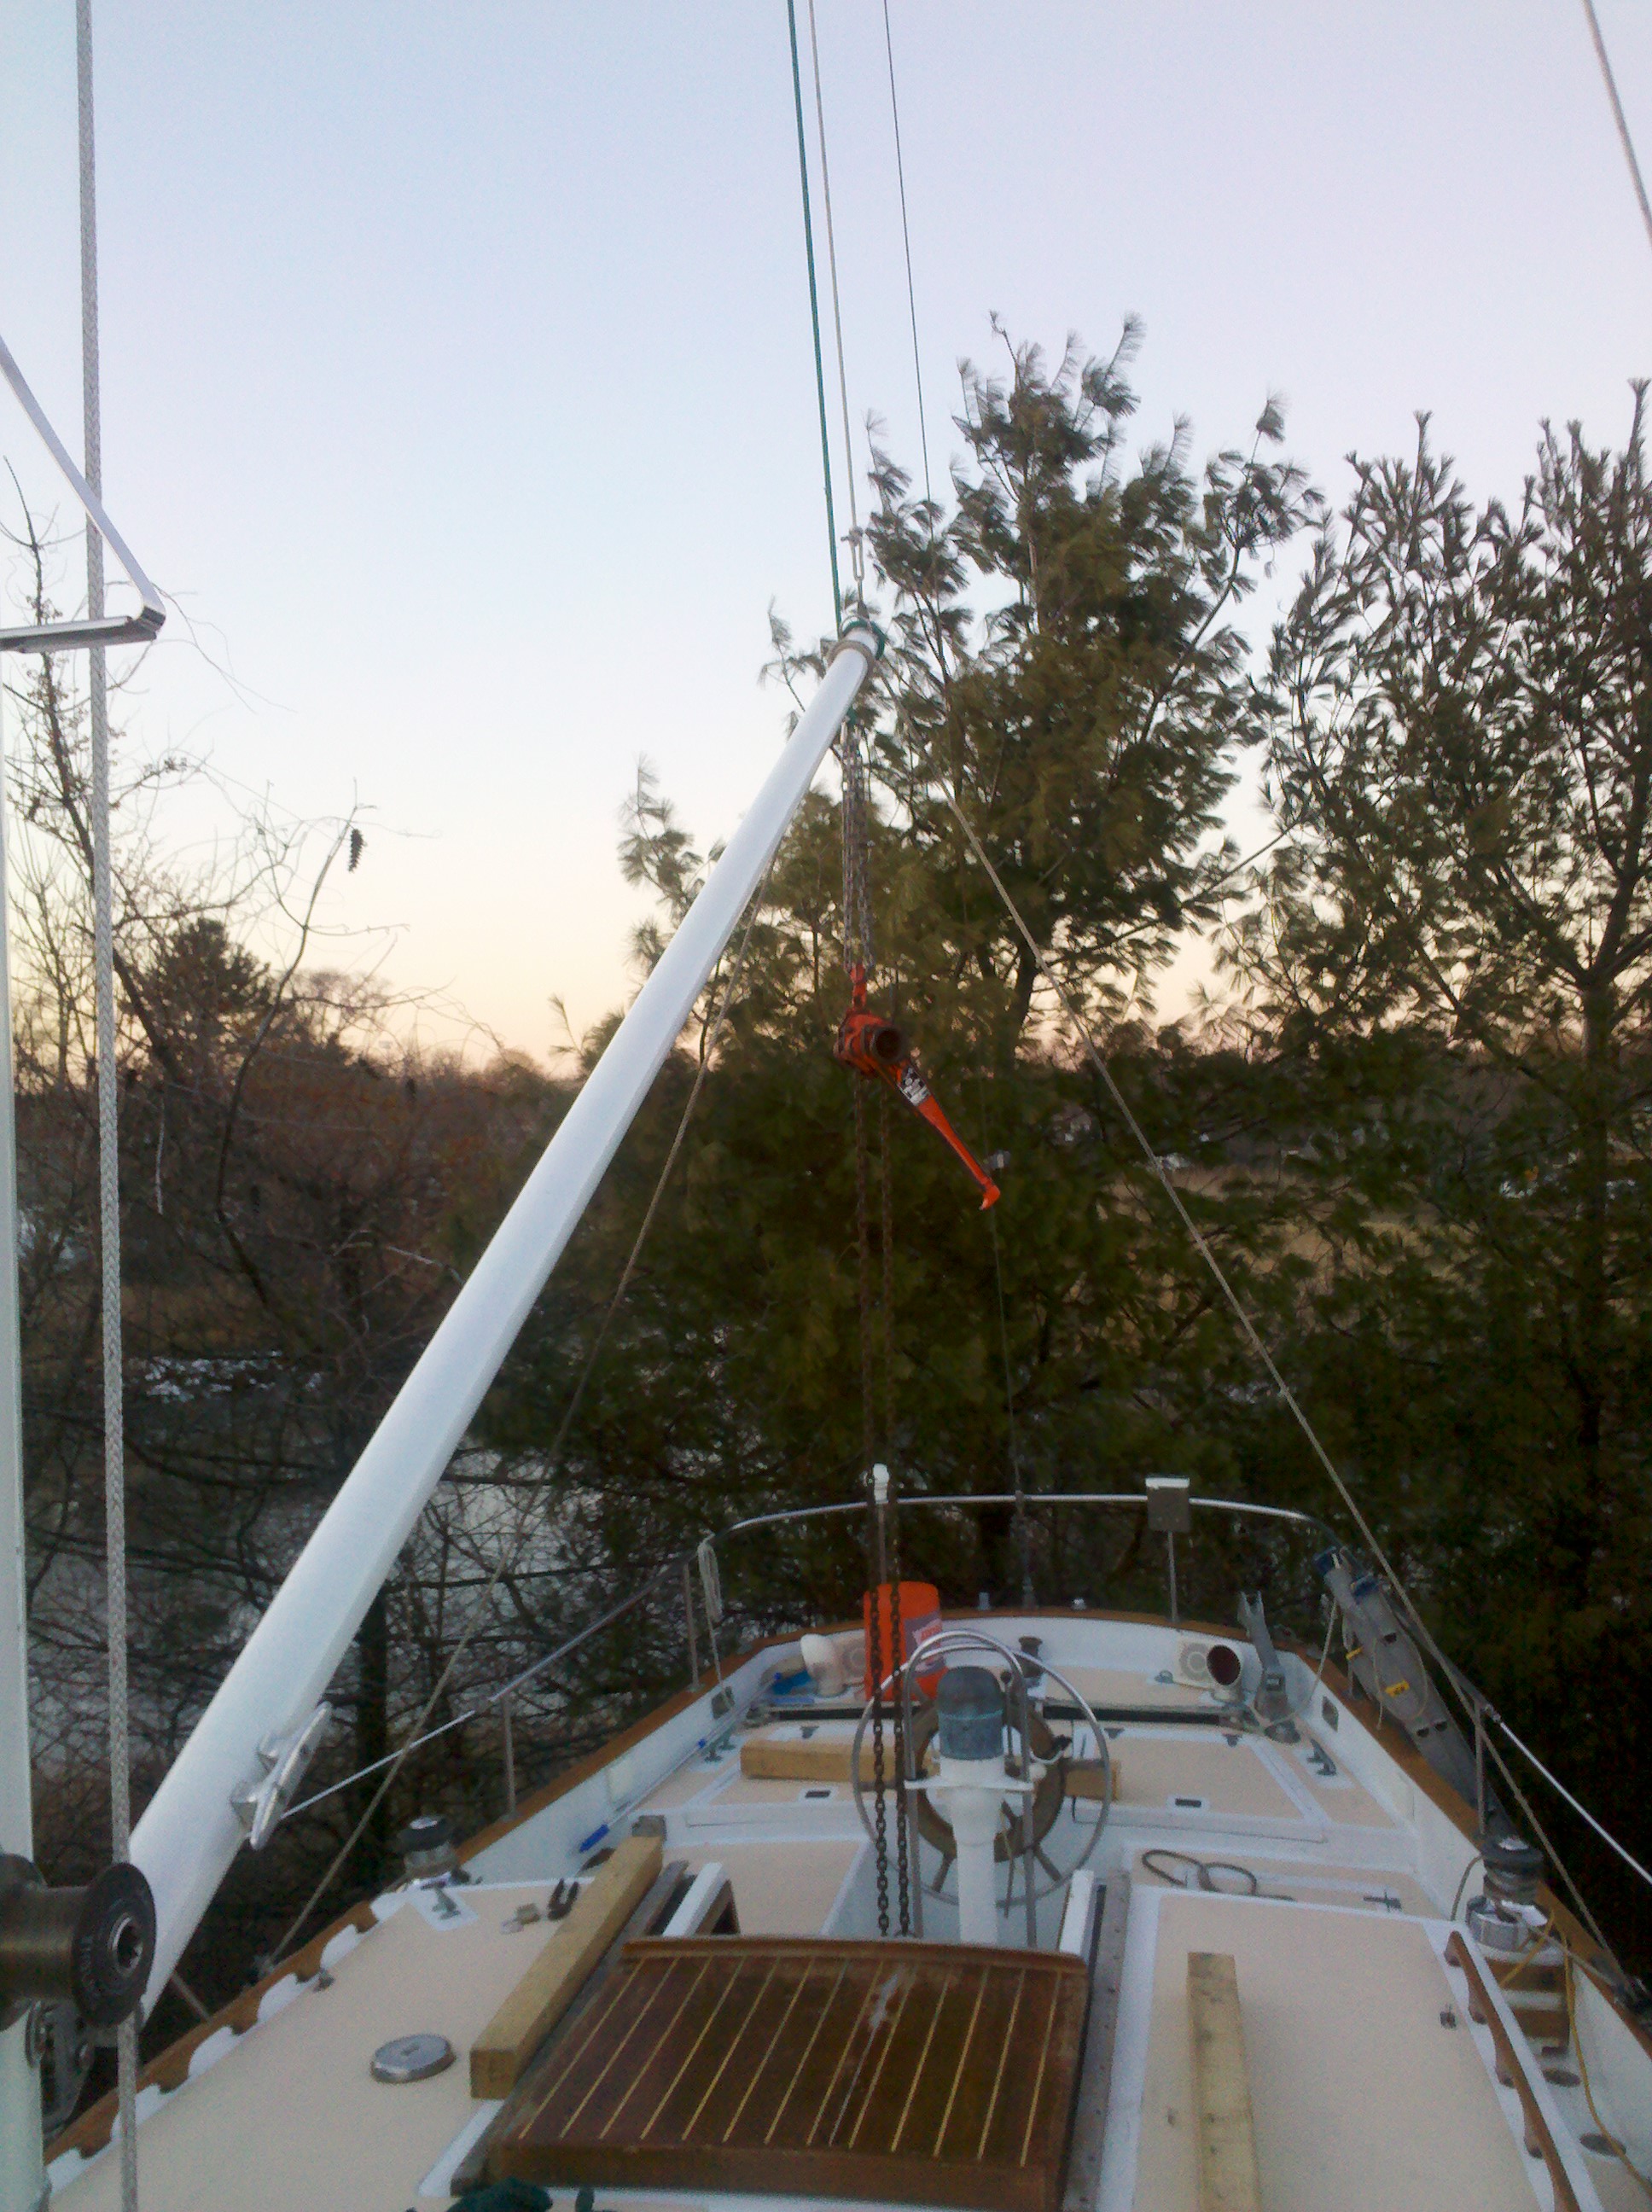
Rigging for lift of engine
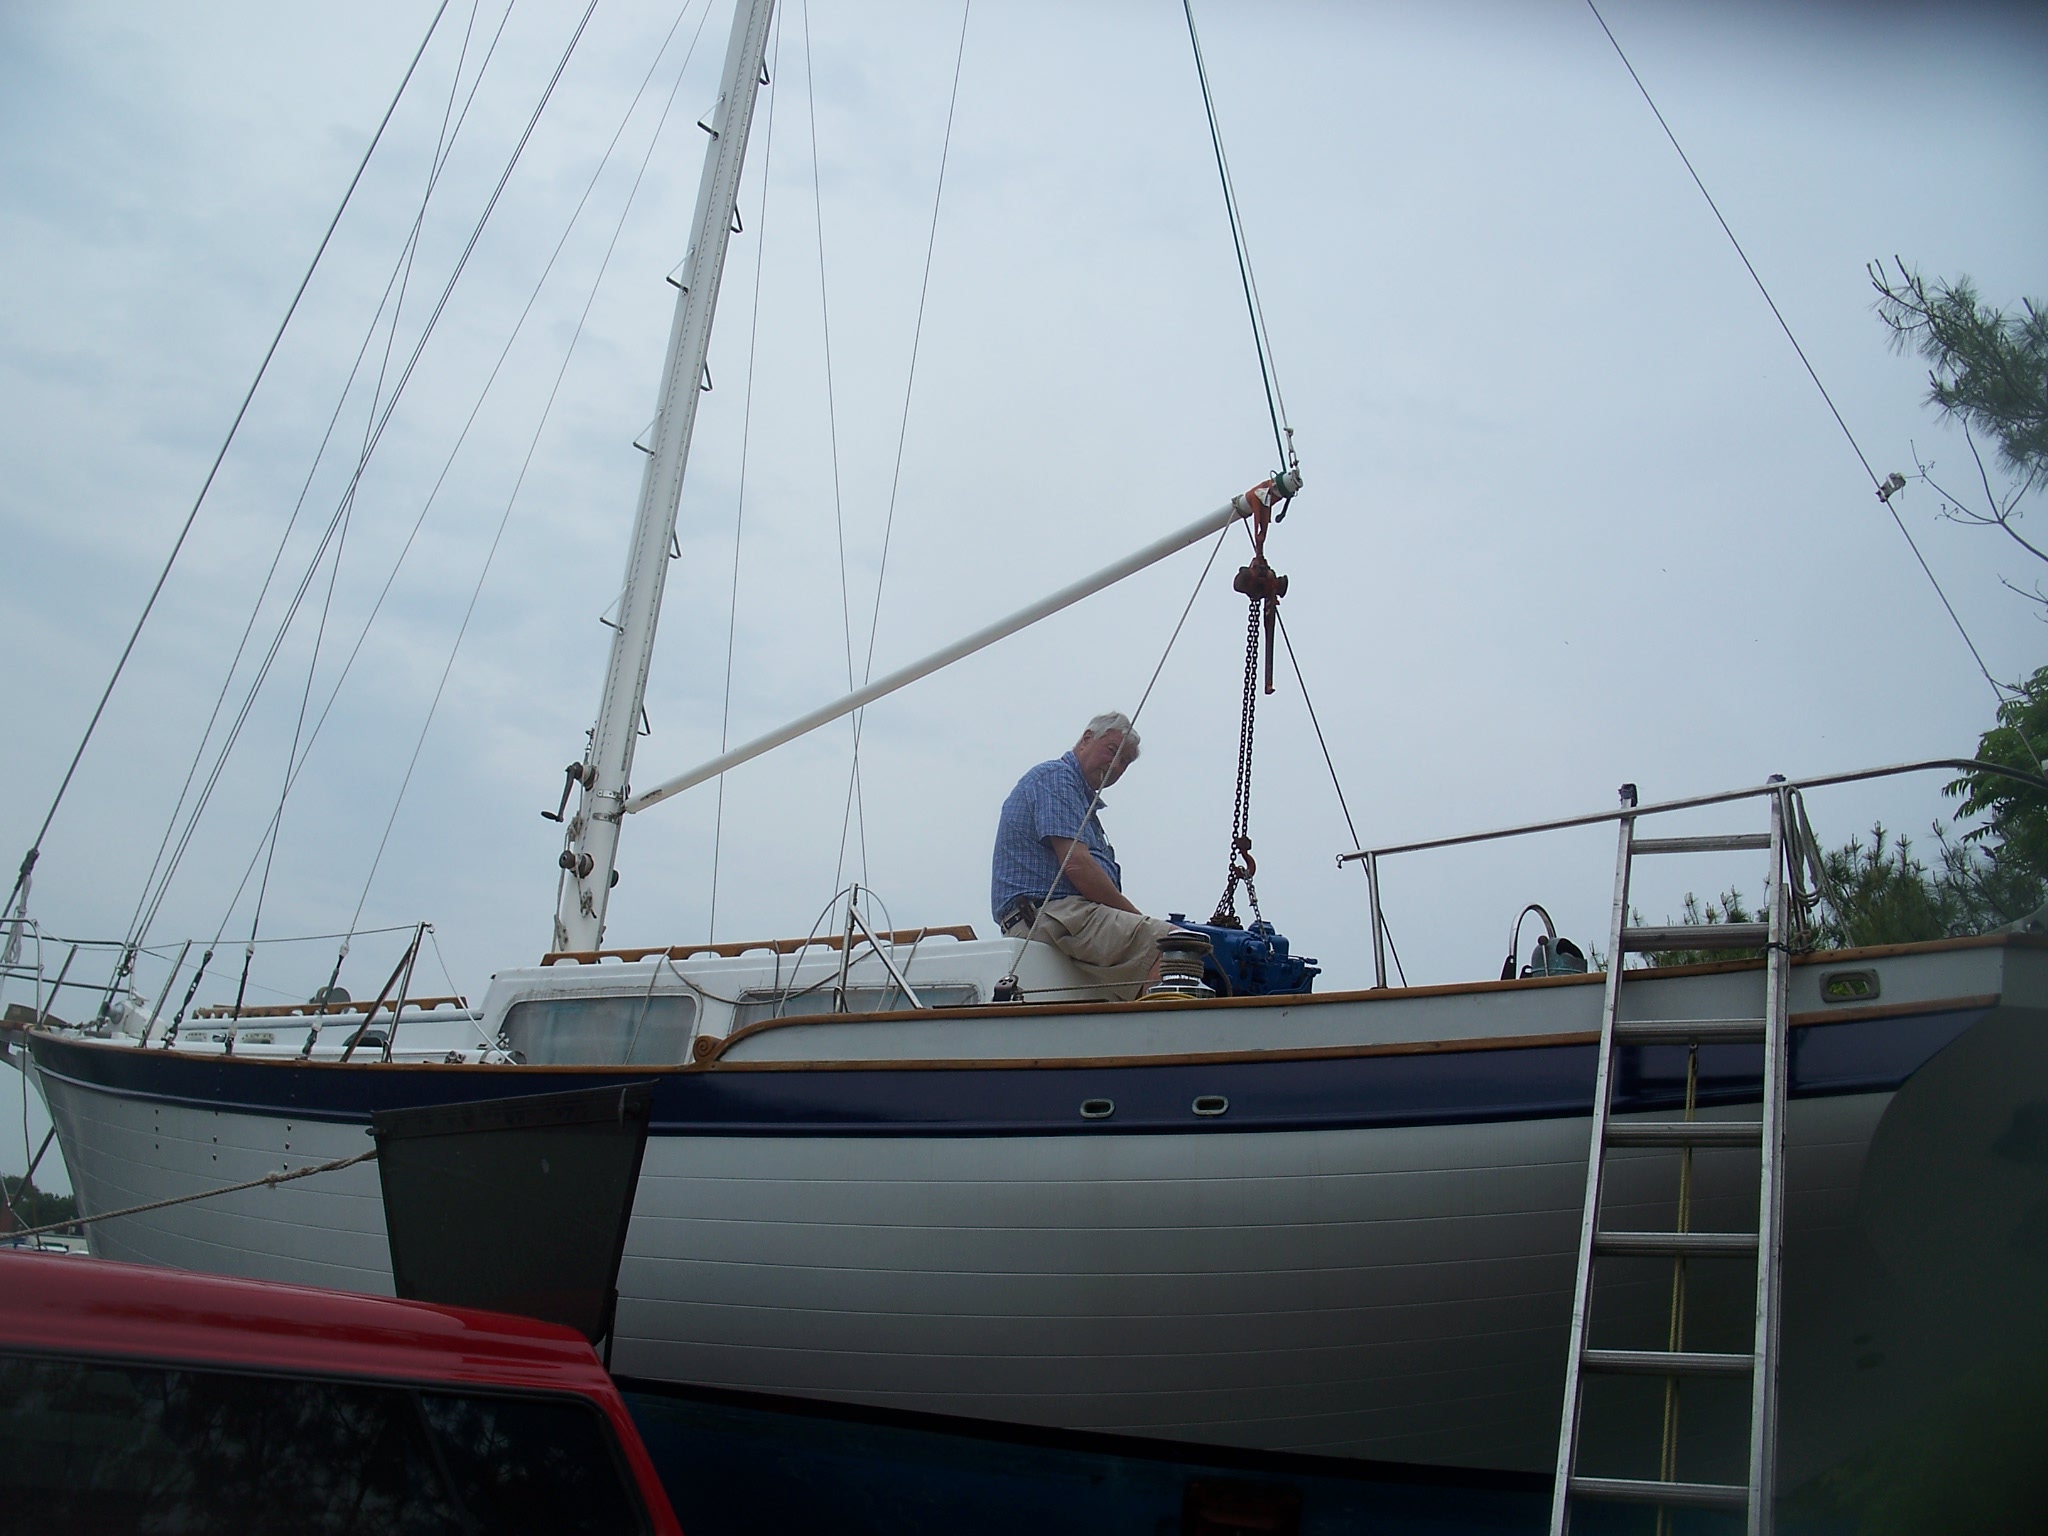
Re-installing engine (with a hand from my father)
I feel like I should have some small print here... "I don't endorse or recommend this method for engine removal" or "Don't try this at home" but it worked fine for me.
I'm back in the water now, with all systems in good shape (knock on wood). Went for the first sail of the year yesterday, Father's day, with my wife and kids, and had a great day.
Doug Mentuck
1975 DE 38 Perelandra
Offline
Thanks for the reply Doug! I wish I would have asked this a few months ago when I pulled out my engine. I went ahead and had the yard pull it with their crane, though I might try something like this to put it back in.
How thick is your insulation? Do you have it anywhere other than the stbd engine room wall and the stair sides?
Offline
Erick,
I used 2" insulation on the bulkheads, and 1" on the back of the stair sections. I've done so far the forward bulkheads, the stairs and the starboard bulkhead. I'm still going to do the port side as well as the overhead, and if I have enough, I'll do the after bulkhead as well.
One trick for this stuff is to use fasteners with fender washers (very thin washers) every 12" or so. If you use screws that are the same length as the insulation thickness, you can just get them to "bite" a couple of turns without going through the plywood bulkheads. A mylar tape with fiber reinforcement is used to seal the edgesof the insulation panels, and spray adhesive on both surfaces is used to mount them.
Doug
 Offline
Nice job... I wish I could do that on valkyr but the bulkhead on starboard is totally covered in bus bars, electrical wiring.
I will be redoing the insulation on the stairs though. 🙂
Most Users Ever Online: 175
Currently Online:
4 Guest(s)
Currently Browsing this Page:
1 Guest(s)

Top Posters:
Jonathan Oasis: 177
bobmcd625: 165
CAE: 150
mgav451: 143
Rick: 94
svbodhran: 84
Member Stats:
Guest Posters: 7
Members: 366
Moderators: 1
Admins: 1
Forum Stats:
Groups: 3
Forums: 13
Topics: 747
Posts: 3838
Newest Members:
Tools of the Smith, tonyflor, sailordad46, Spirare, BradHartliep, DuncanModerators: Patrick Twohig: 134
Administrators: Scott Carle: 1481
